Installation and Configuration
We’ll start with a clean install of Bamboo and Bitbucket Server. You can download them here:
And simply follow the install instructions:
For demo and testing purposes the embedded database install is perfect. Be aware that you might need to install certain prerequisites first!
Once you’ve installed both the tools we need to connect them, for this we need to set-up an application link. Take a look at Integrating Bamboo with Bitbucket Server to see how you can set this up.
Get some data into your tools.
Now you can import a test project into your Bitbucket Server. I choose the run-bucket-run project from my colleague Tim Pettersen which is hosted on Bitbucket Cloud.
Use these instructions to clone the repo to your local instance: Tip of the Week – How to move a full Git repository.
Once this has been done we can create a Bamboo build plan for our Bitbucket repo.
Go to Bamboo start creating a new plan, here is my configuration:
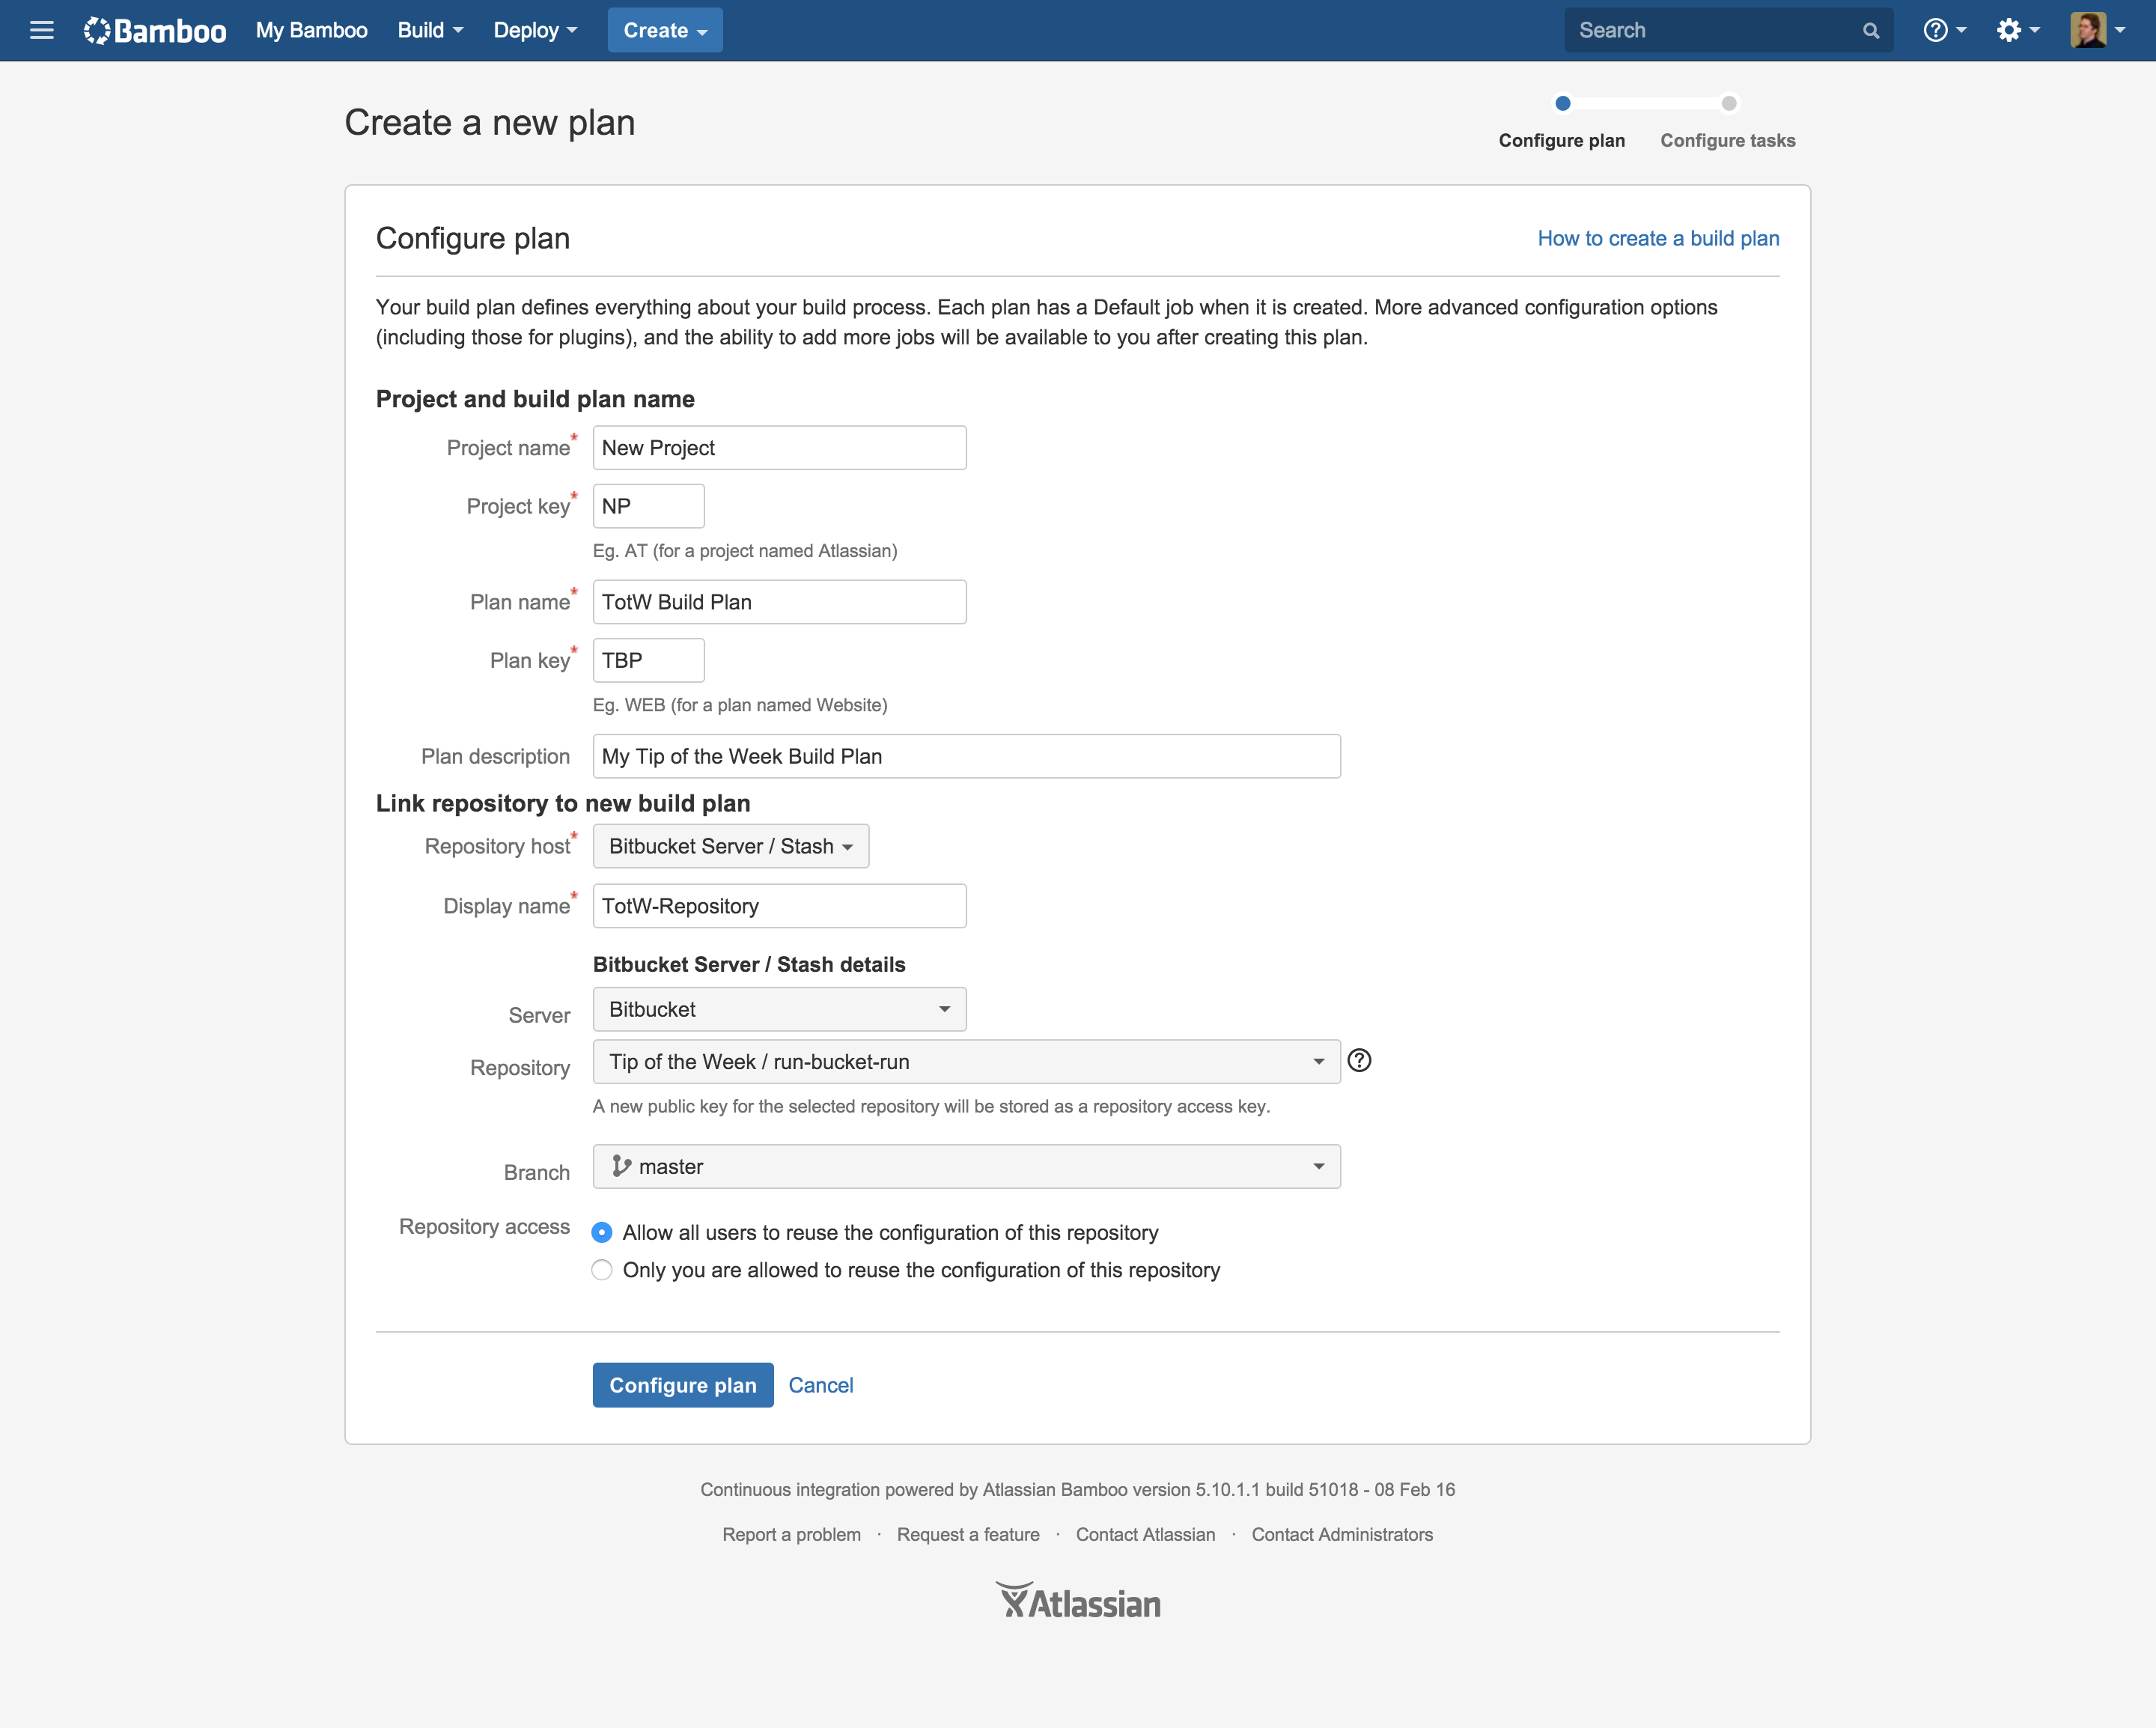
Due to the fact that Bitbucket Server and Bamboo are linked I can immediately select my repository.
The next step is adding jobs and tasks to the build plan.
For the purpose of this example I simply do a source code checkout:
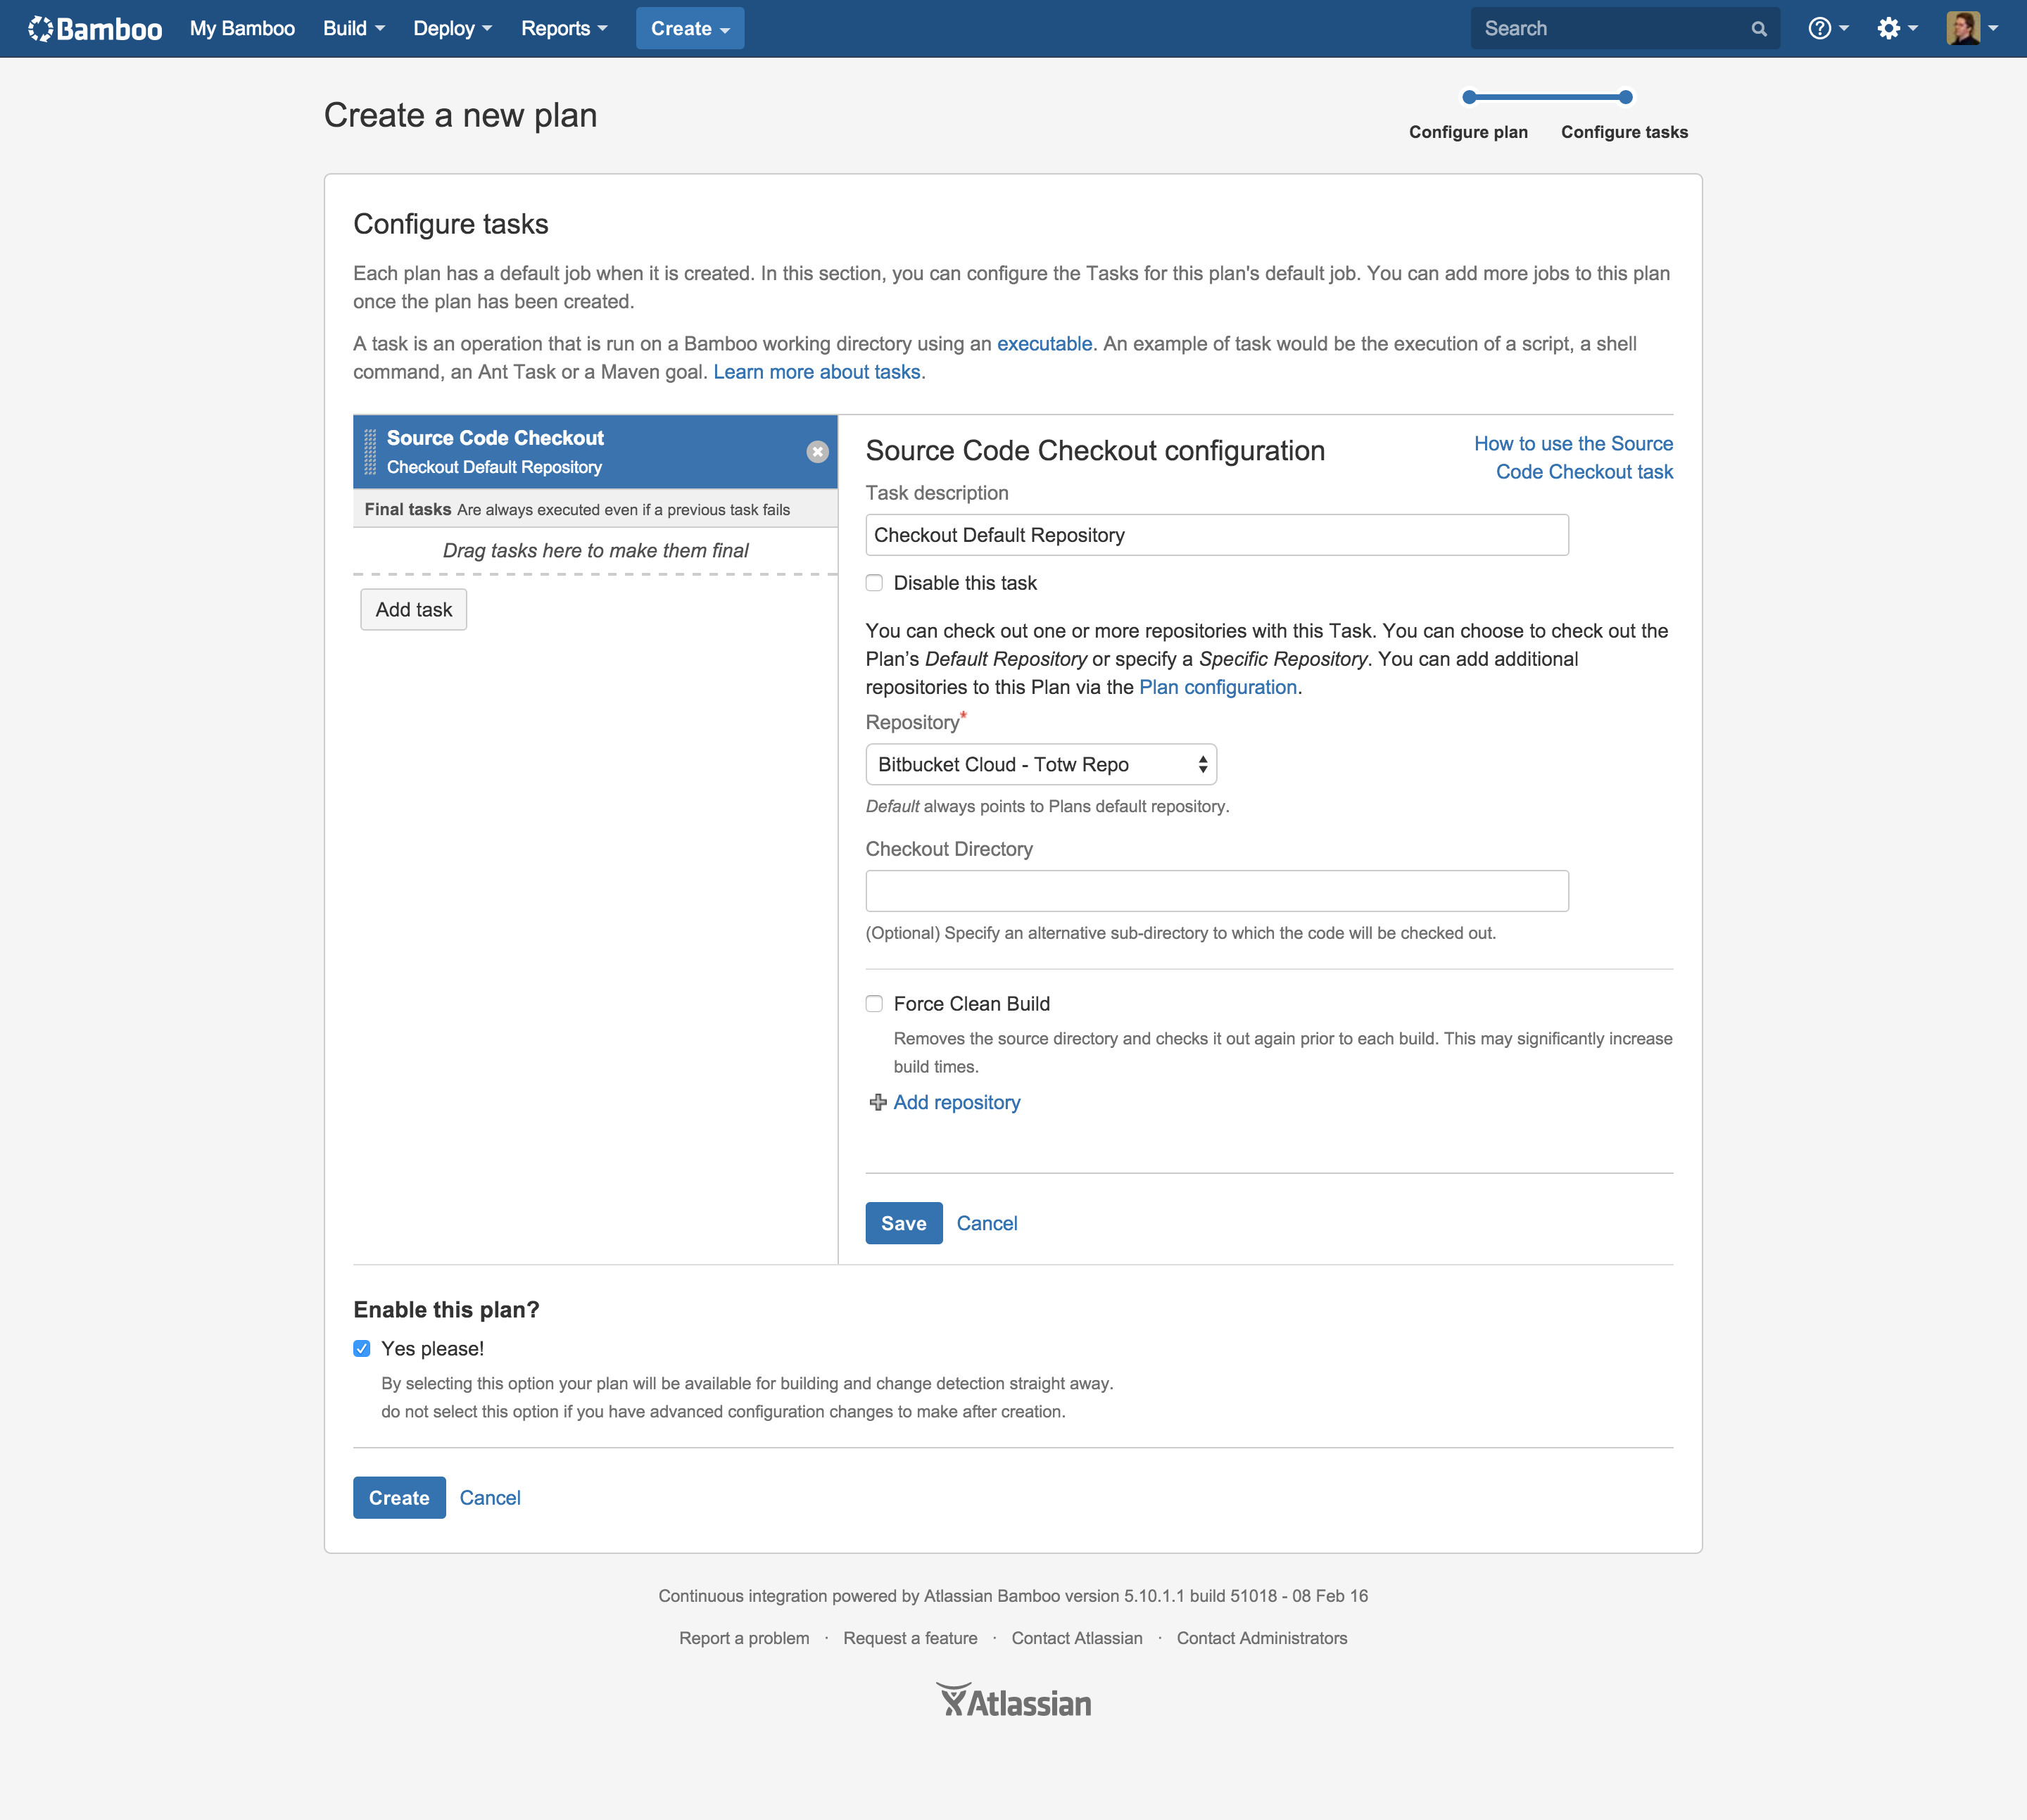
Before clicking on create be sure to activate your build plan!
Immediately a first build will be triggered and displayed in Bamboo:
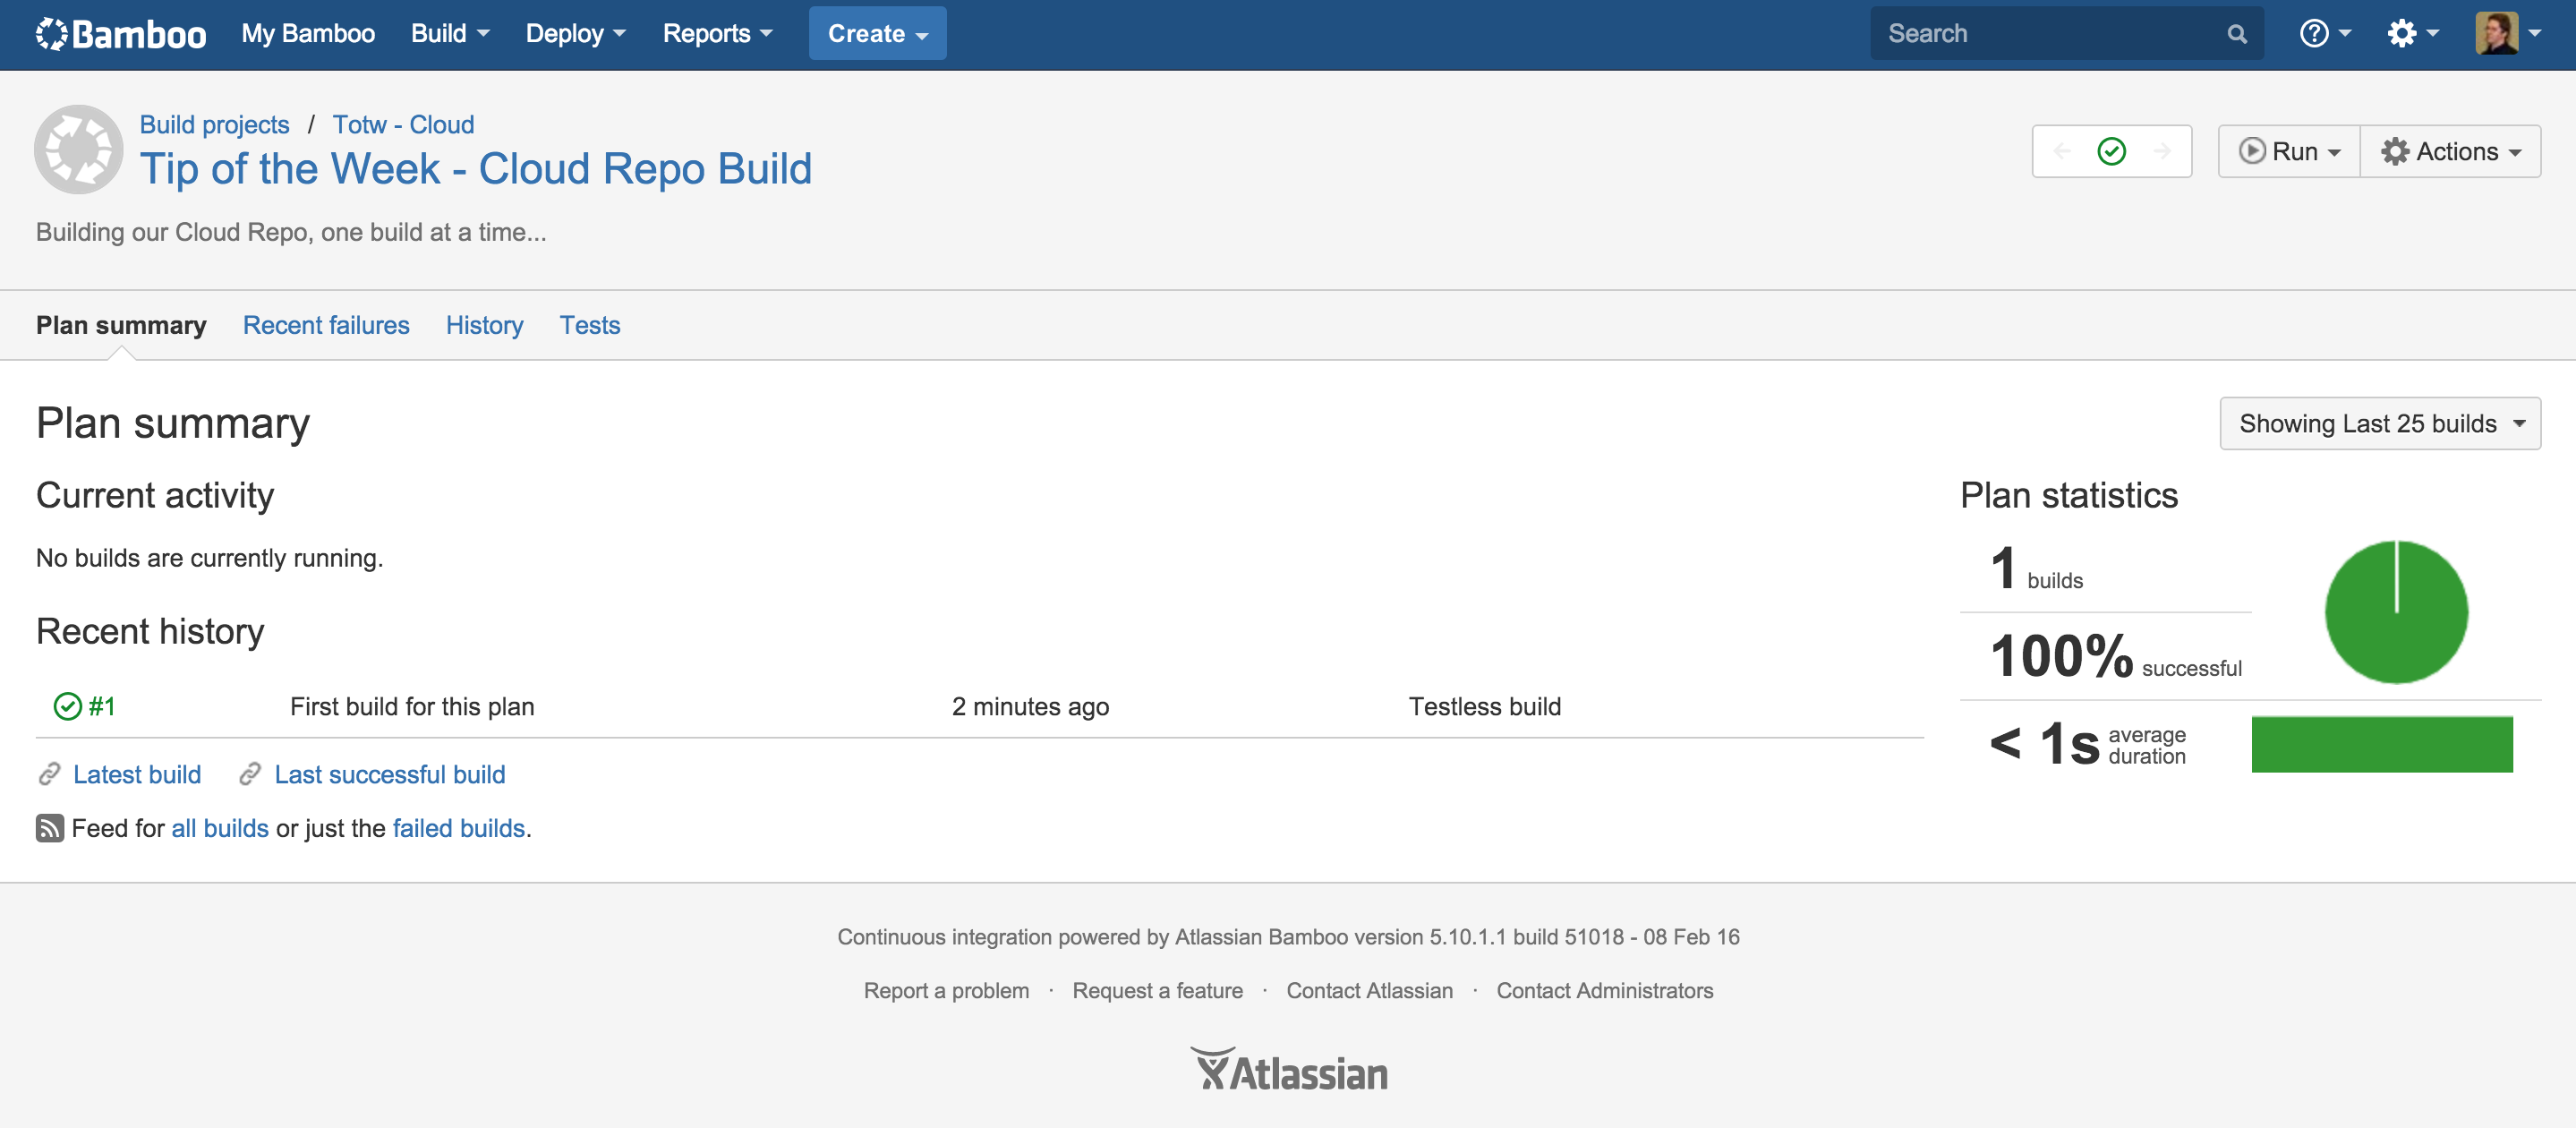
This build plan will be triggered every time you commit something to the repository.
You will also see the build result on each commit in Bitbucket Server. And be able click through to the detailed build results in Bamboo:
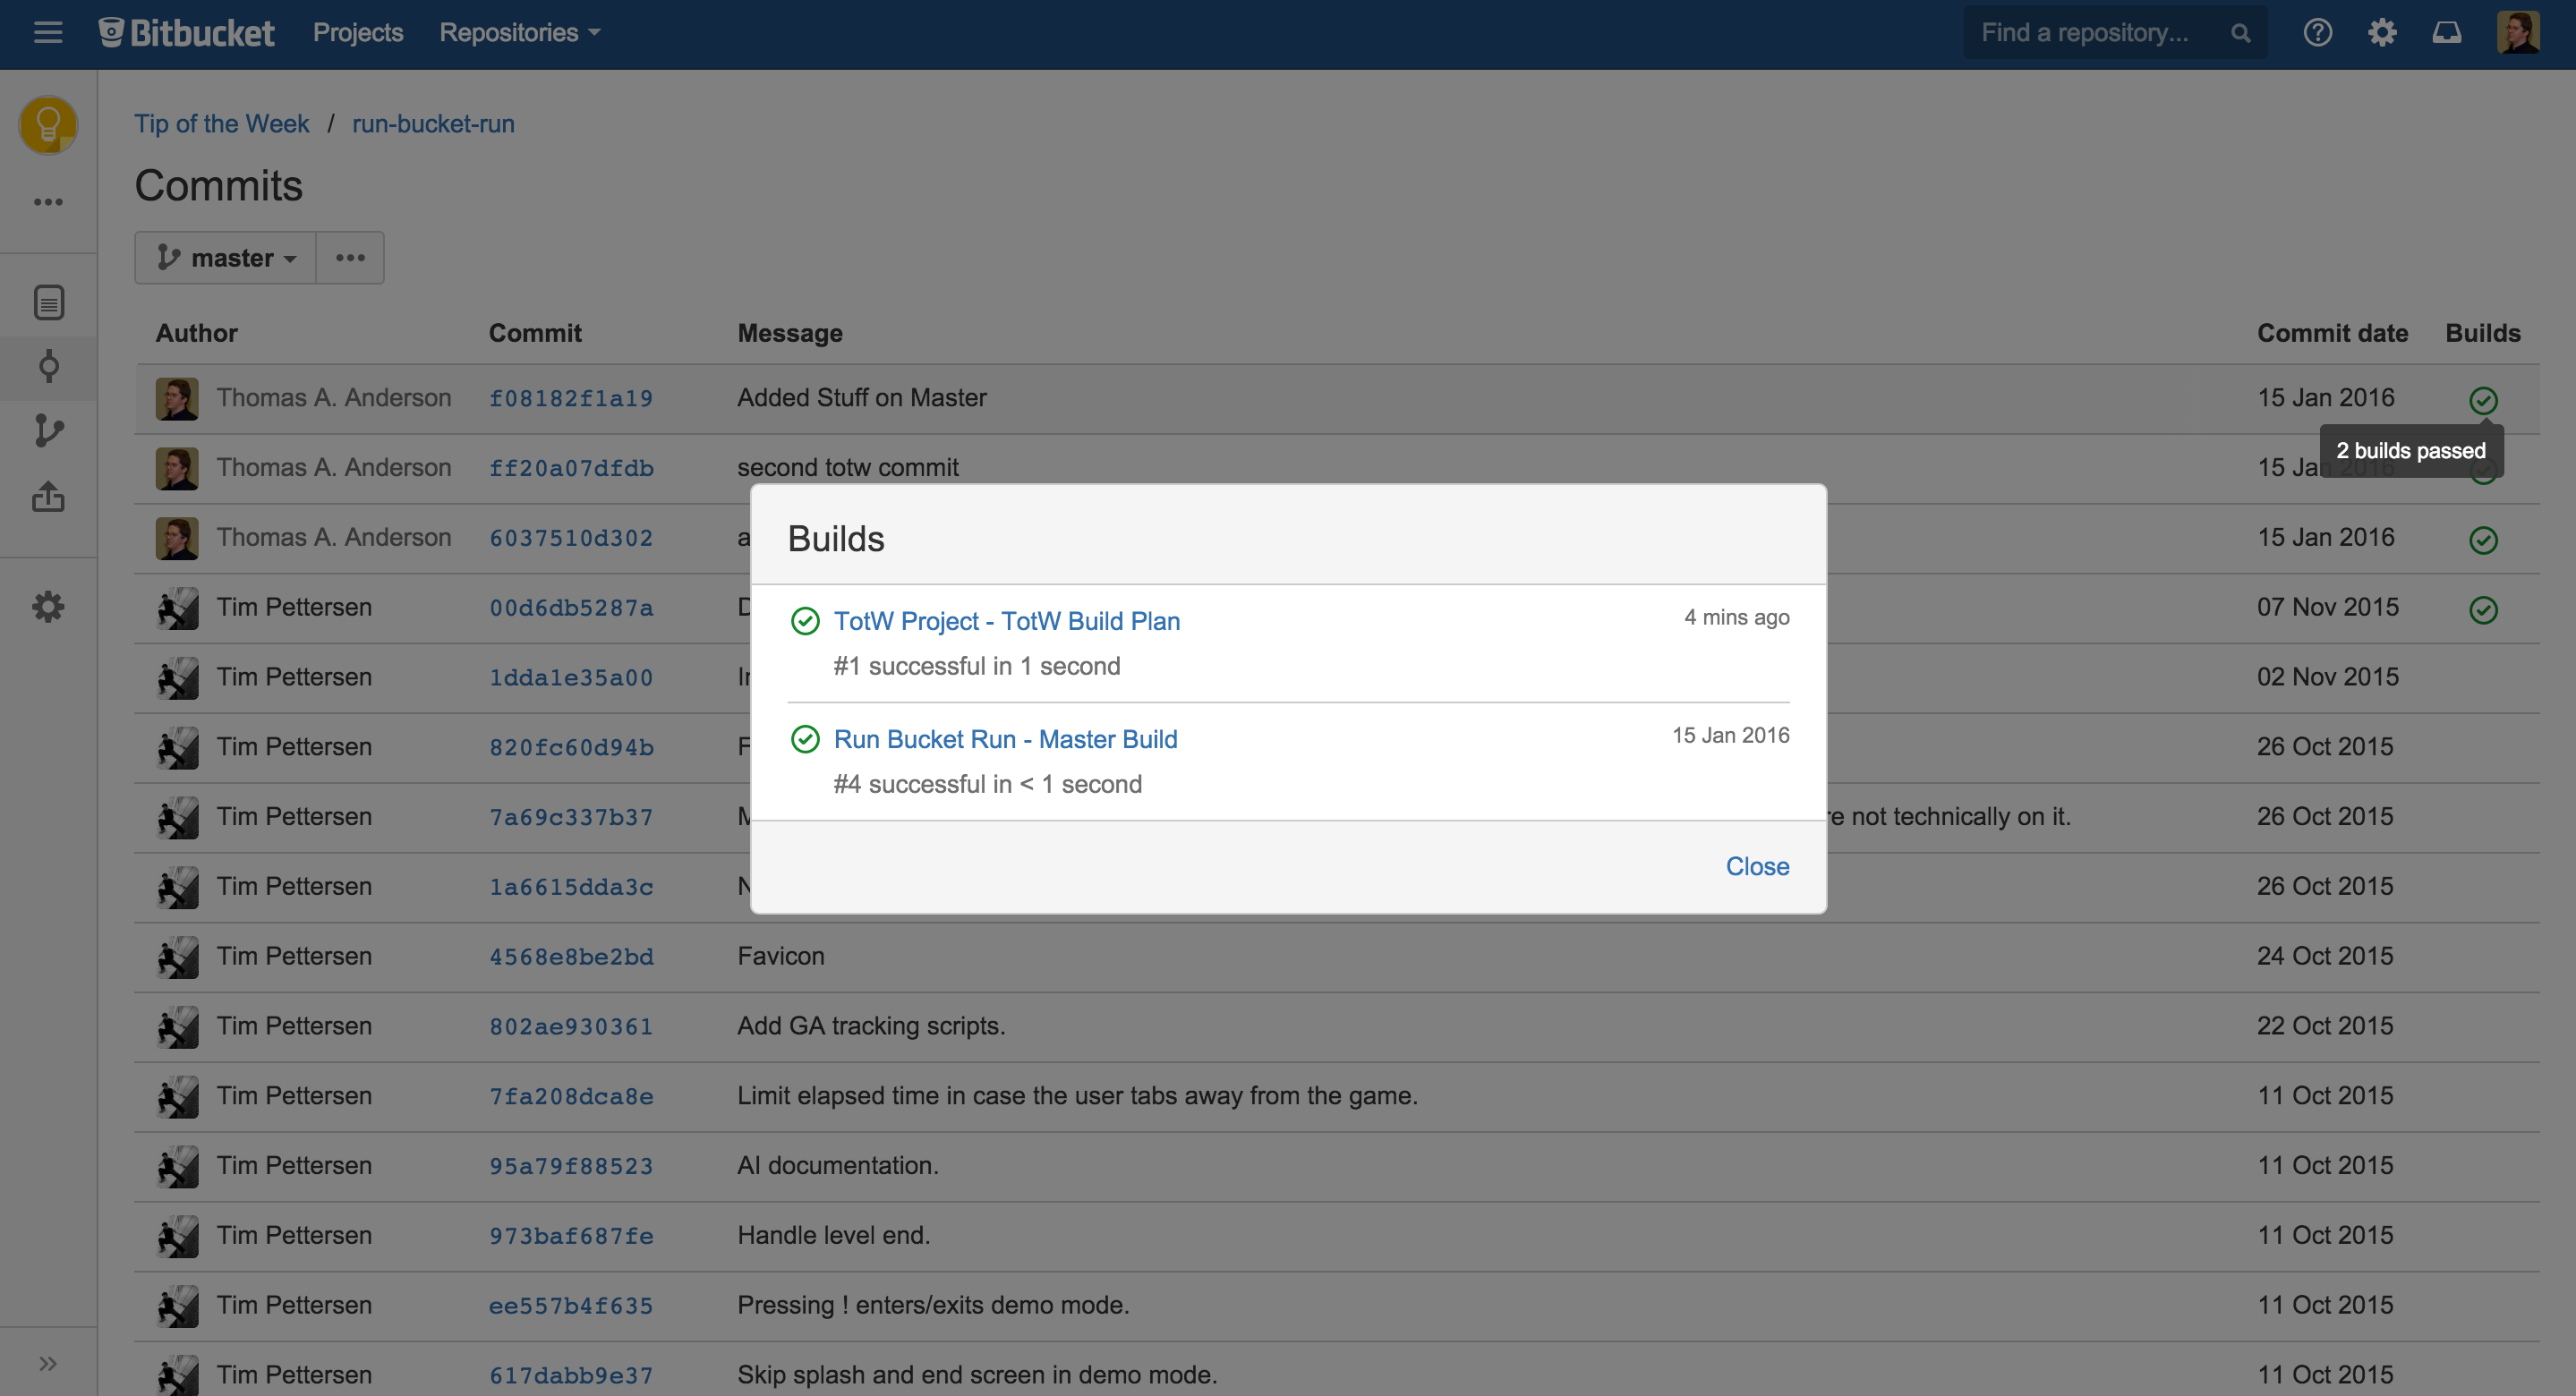
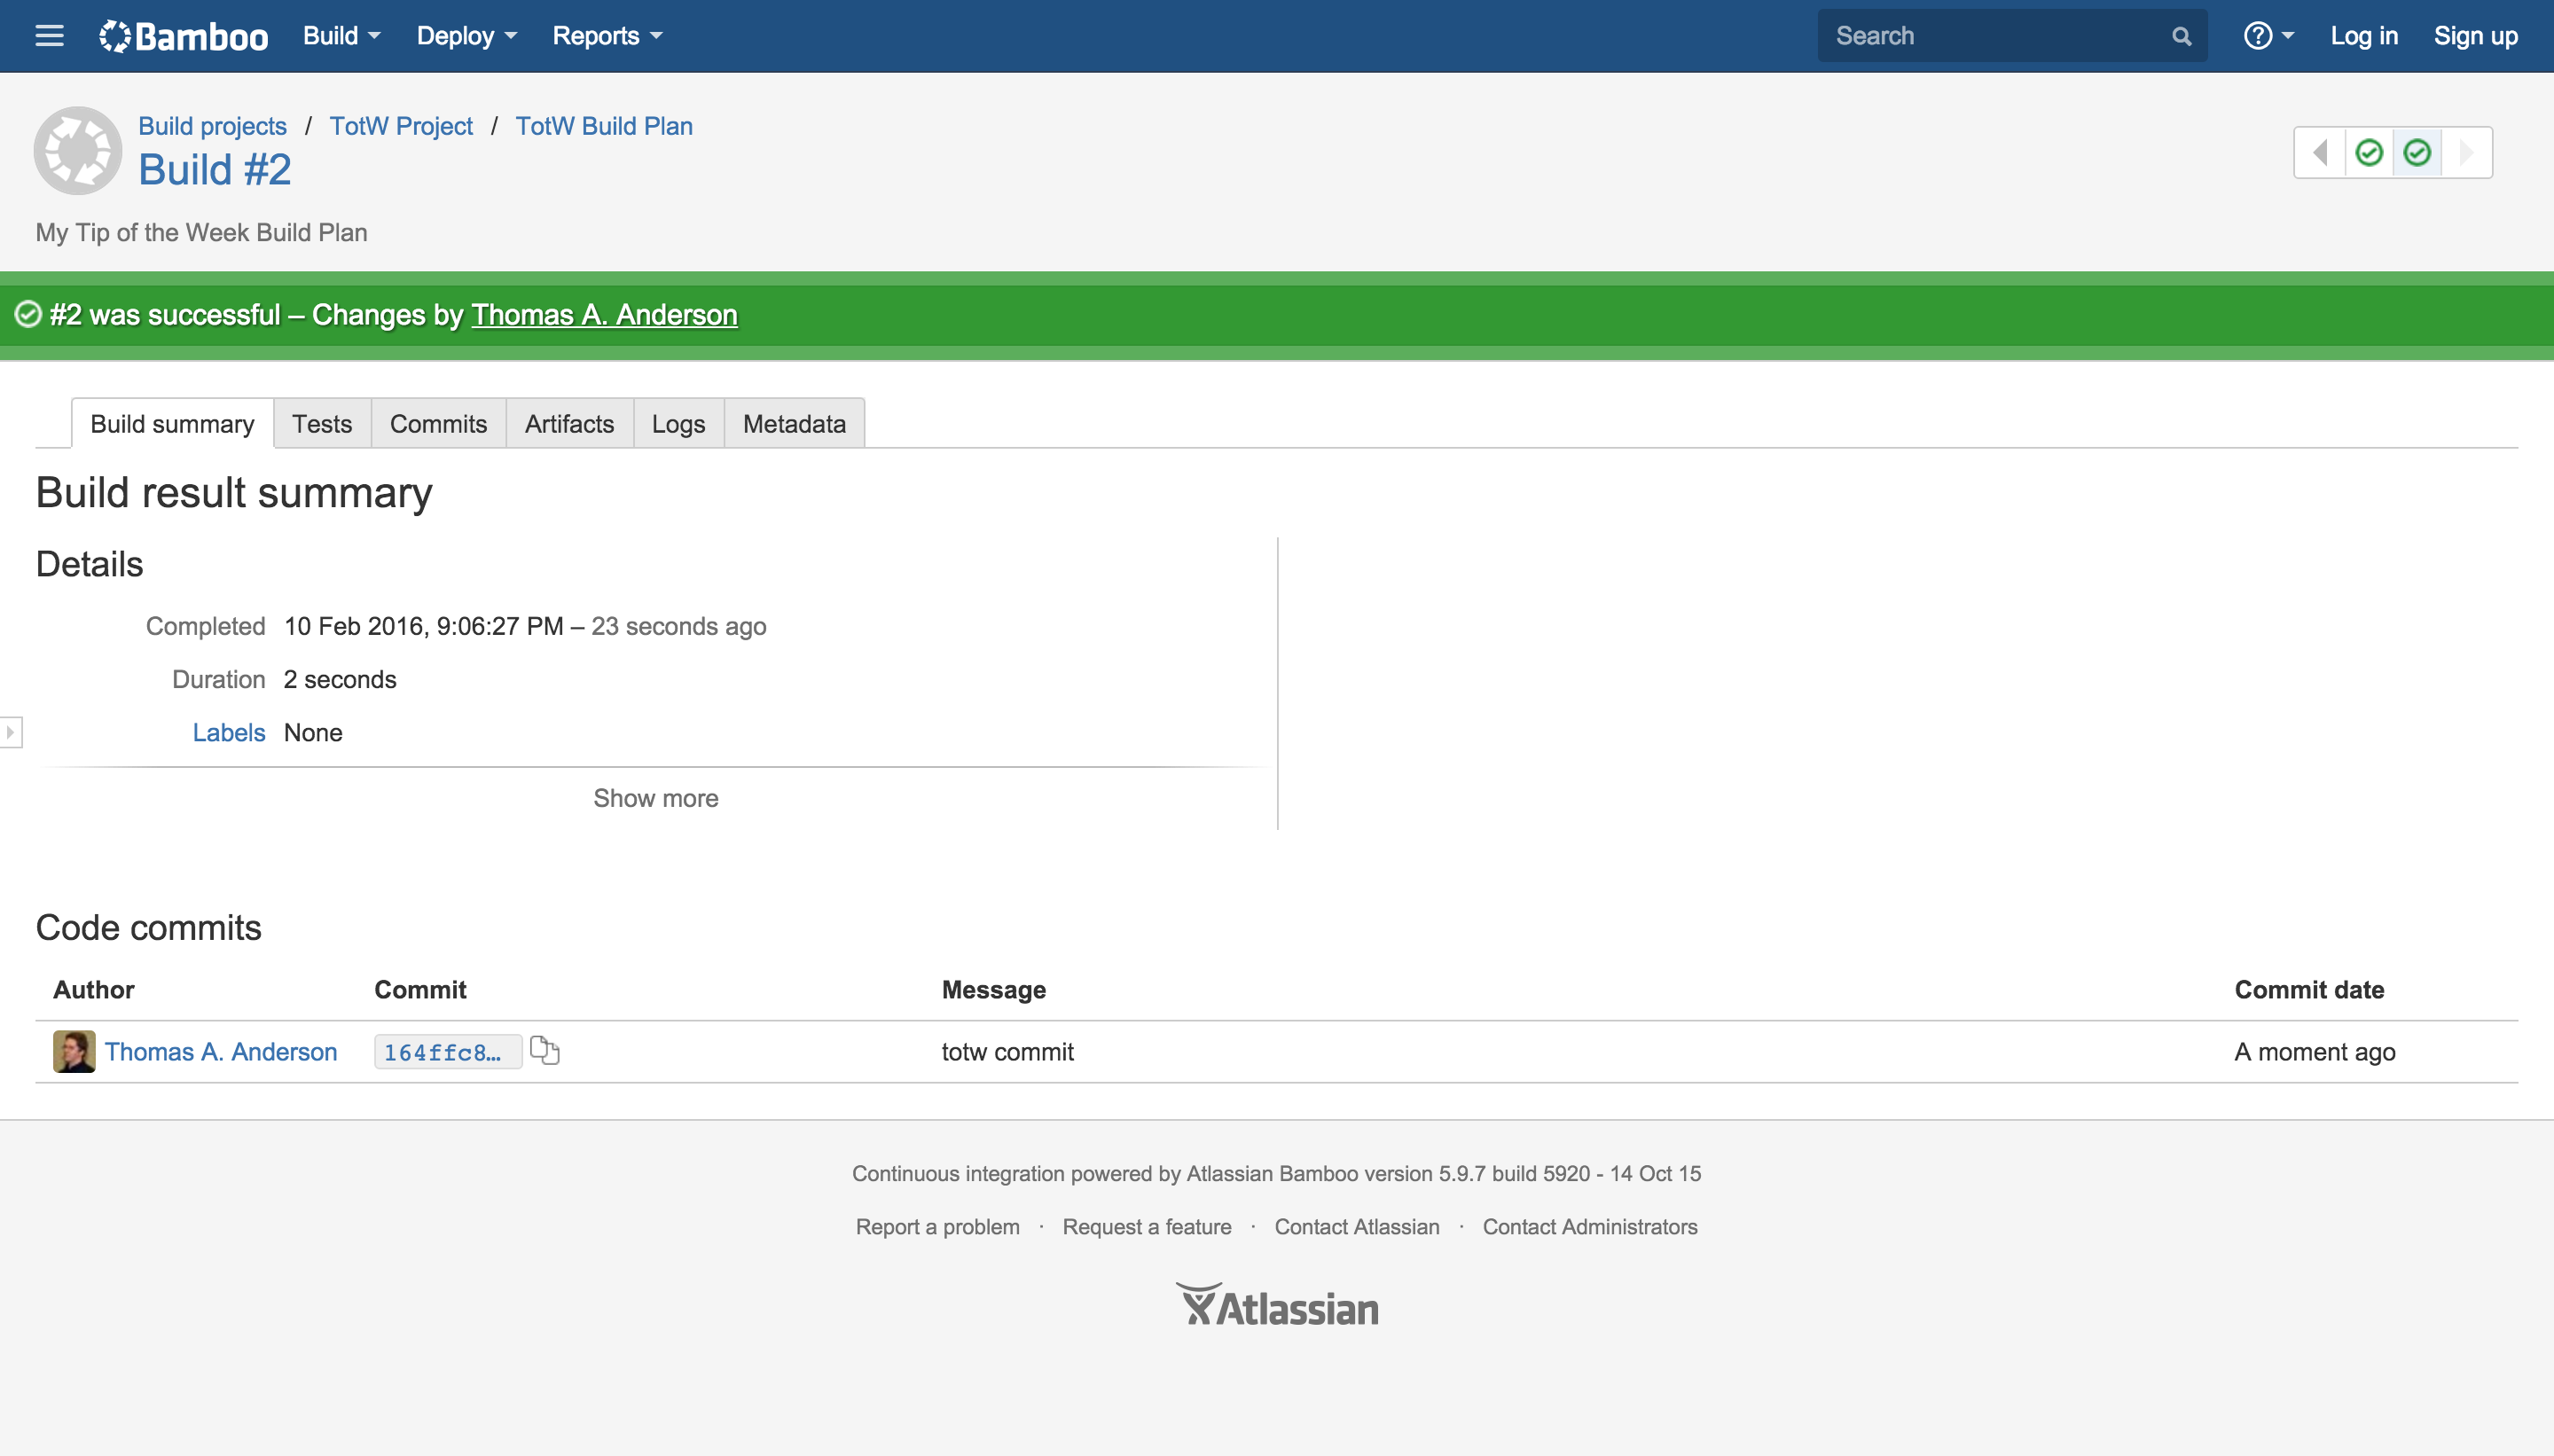
And you will be able to see all commits in a build inside Bamboo. Clicking it will instantly bring you to the relevant commit or diff in BitBucket Server.:
This is only the beginning! Let me show you what Plan Branches can do for you.
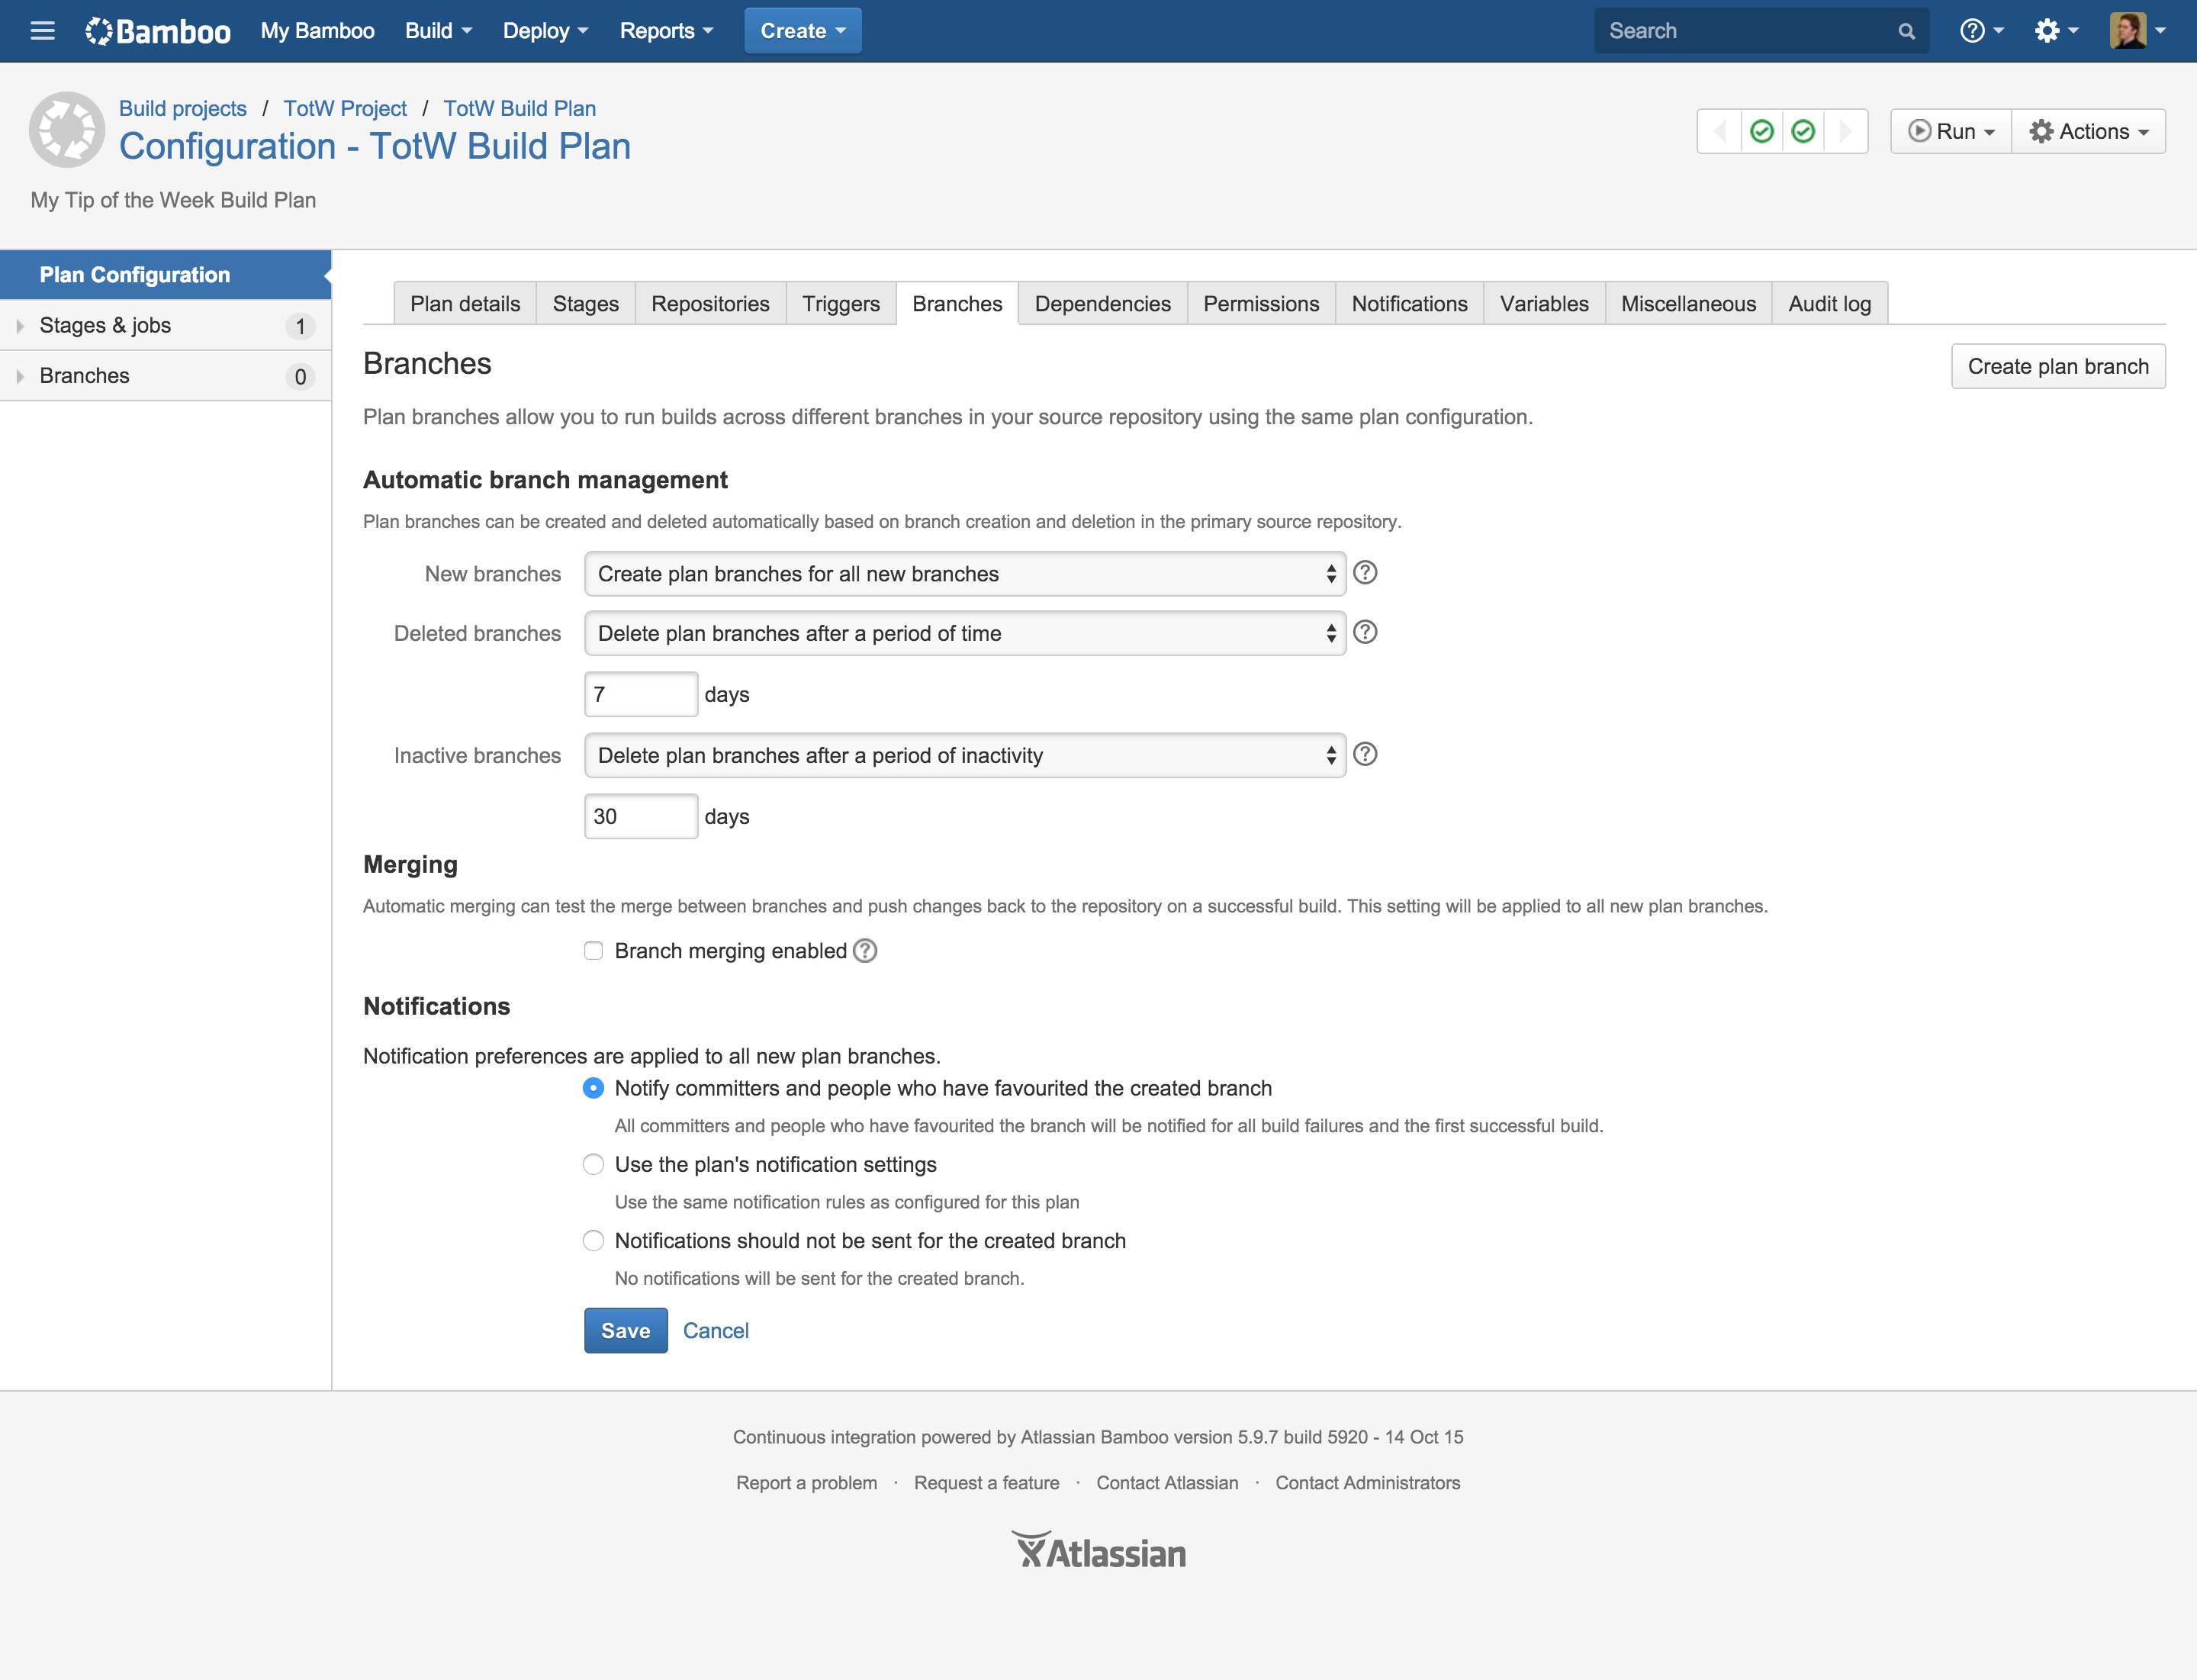
Configuring plan branches is as easy as going to your build plan configuration, go to the branches tab and selecting Create plan branches for all new branches in the dropdown next to the label New Branches:
Now Bamboo will create a plan for each new branch it will detect in your repository. This build plan will be a copy of your original build plan but will have it’s own logs, artifacts and triggers. Out of the box it will be triggered by a commit on the branch itself. So let’s create a new branch feature-totw to test this out. Here is how Bamboo looks like after we’ve created the new Branch:
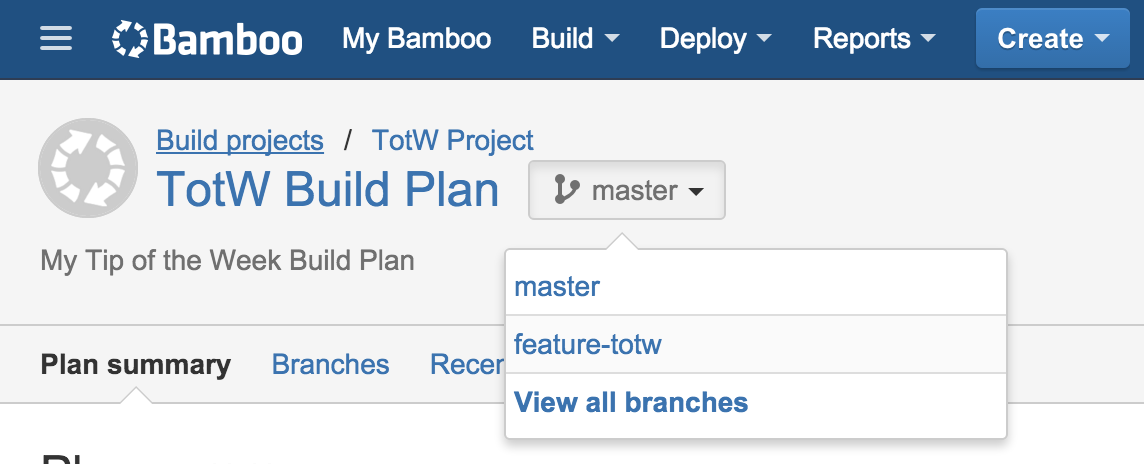
As you can see we can now select 2 branches (Master and feature-totw), this is what we see when feature-totw is selected:

It’s a complete build plan overview for this new branch. If you have several branches at the same time you can even get a nice overview off how their builds are going in Bamboo:
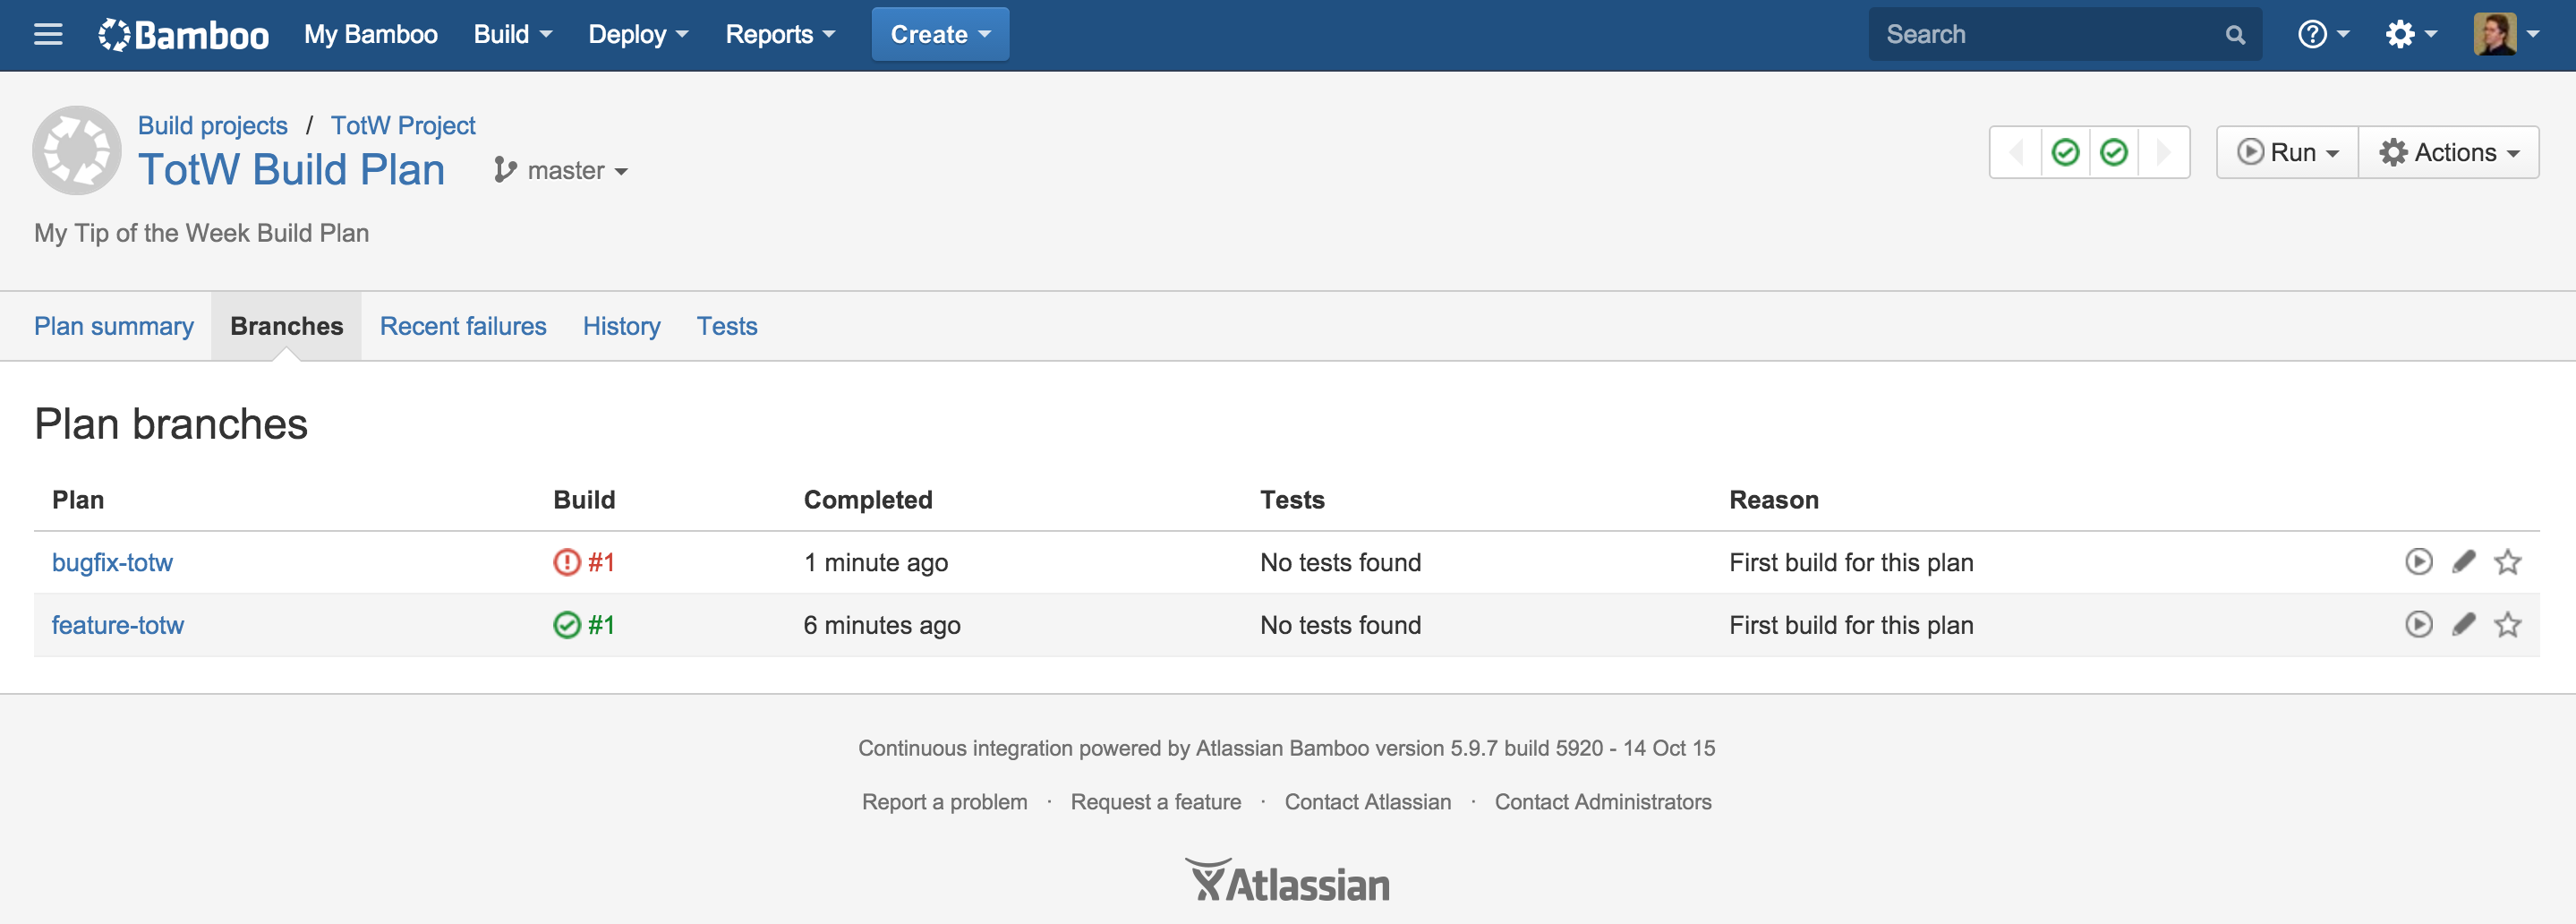
This is very cool if you are working with a big team and using feature branches, you can immediately see which features are breaking their builds.
And this is not everything plan branches can do for you. If have been paying attention you would also have noticed the Merging title on the plan branches configuration tab. This option will give you the possibility to either update your branch with the latest commits from another branch (Branch Updater) or push your changes to another branch (GateKeeper). Both of these actions will happen after a successful build.
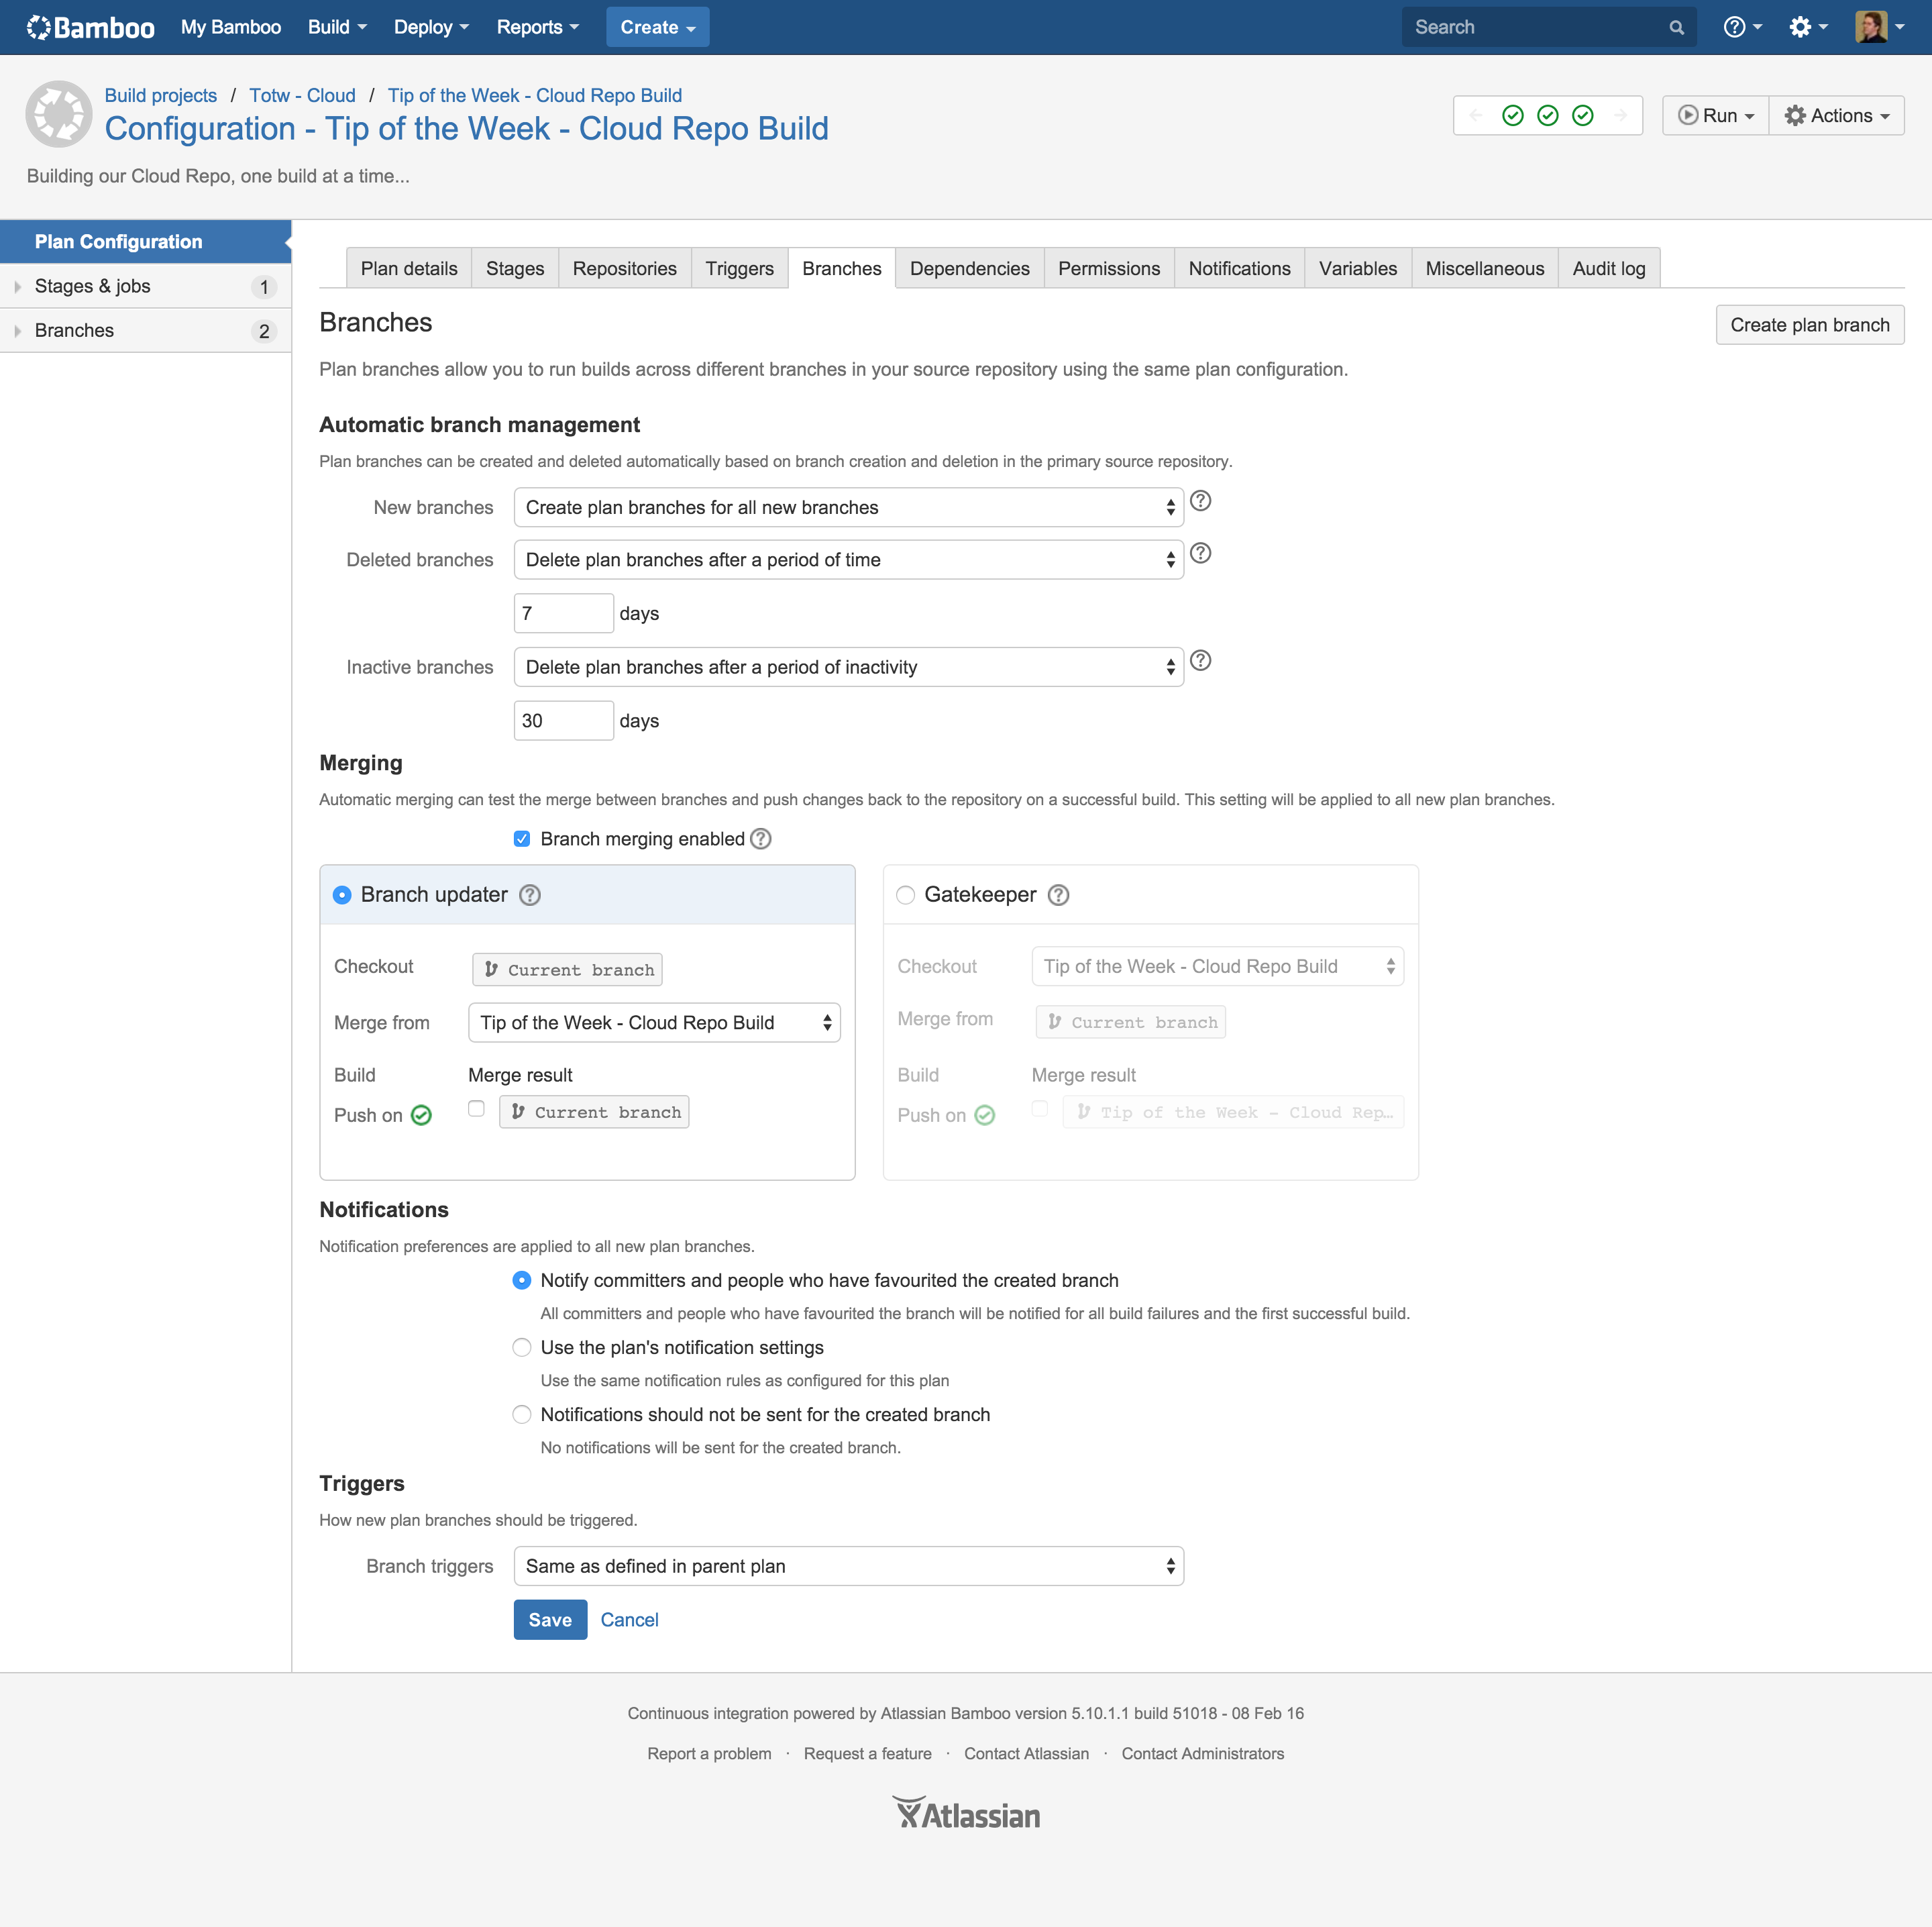
These provide you with some extra tools to make working with feature branches so much easier. Simply use Branch Updater to keep your feature branch up-to-date with the latest changes on Master and you will never have to worry about suddenly breaking a build when you merge your feature into Master.
Here is the result of Branch Updater in Bamboo:
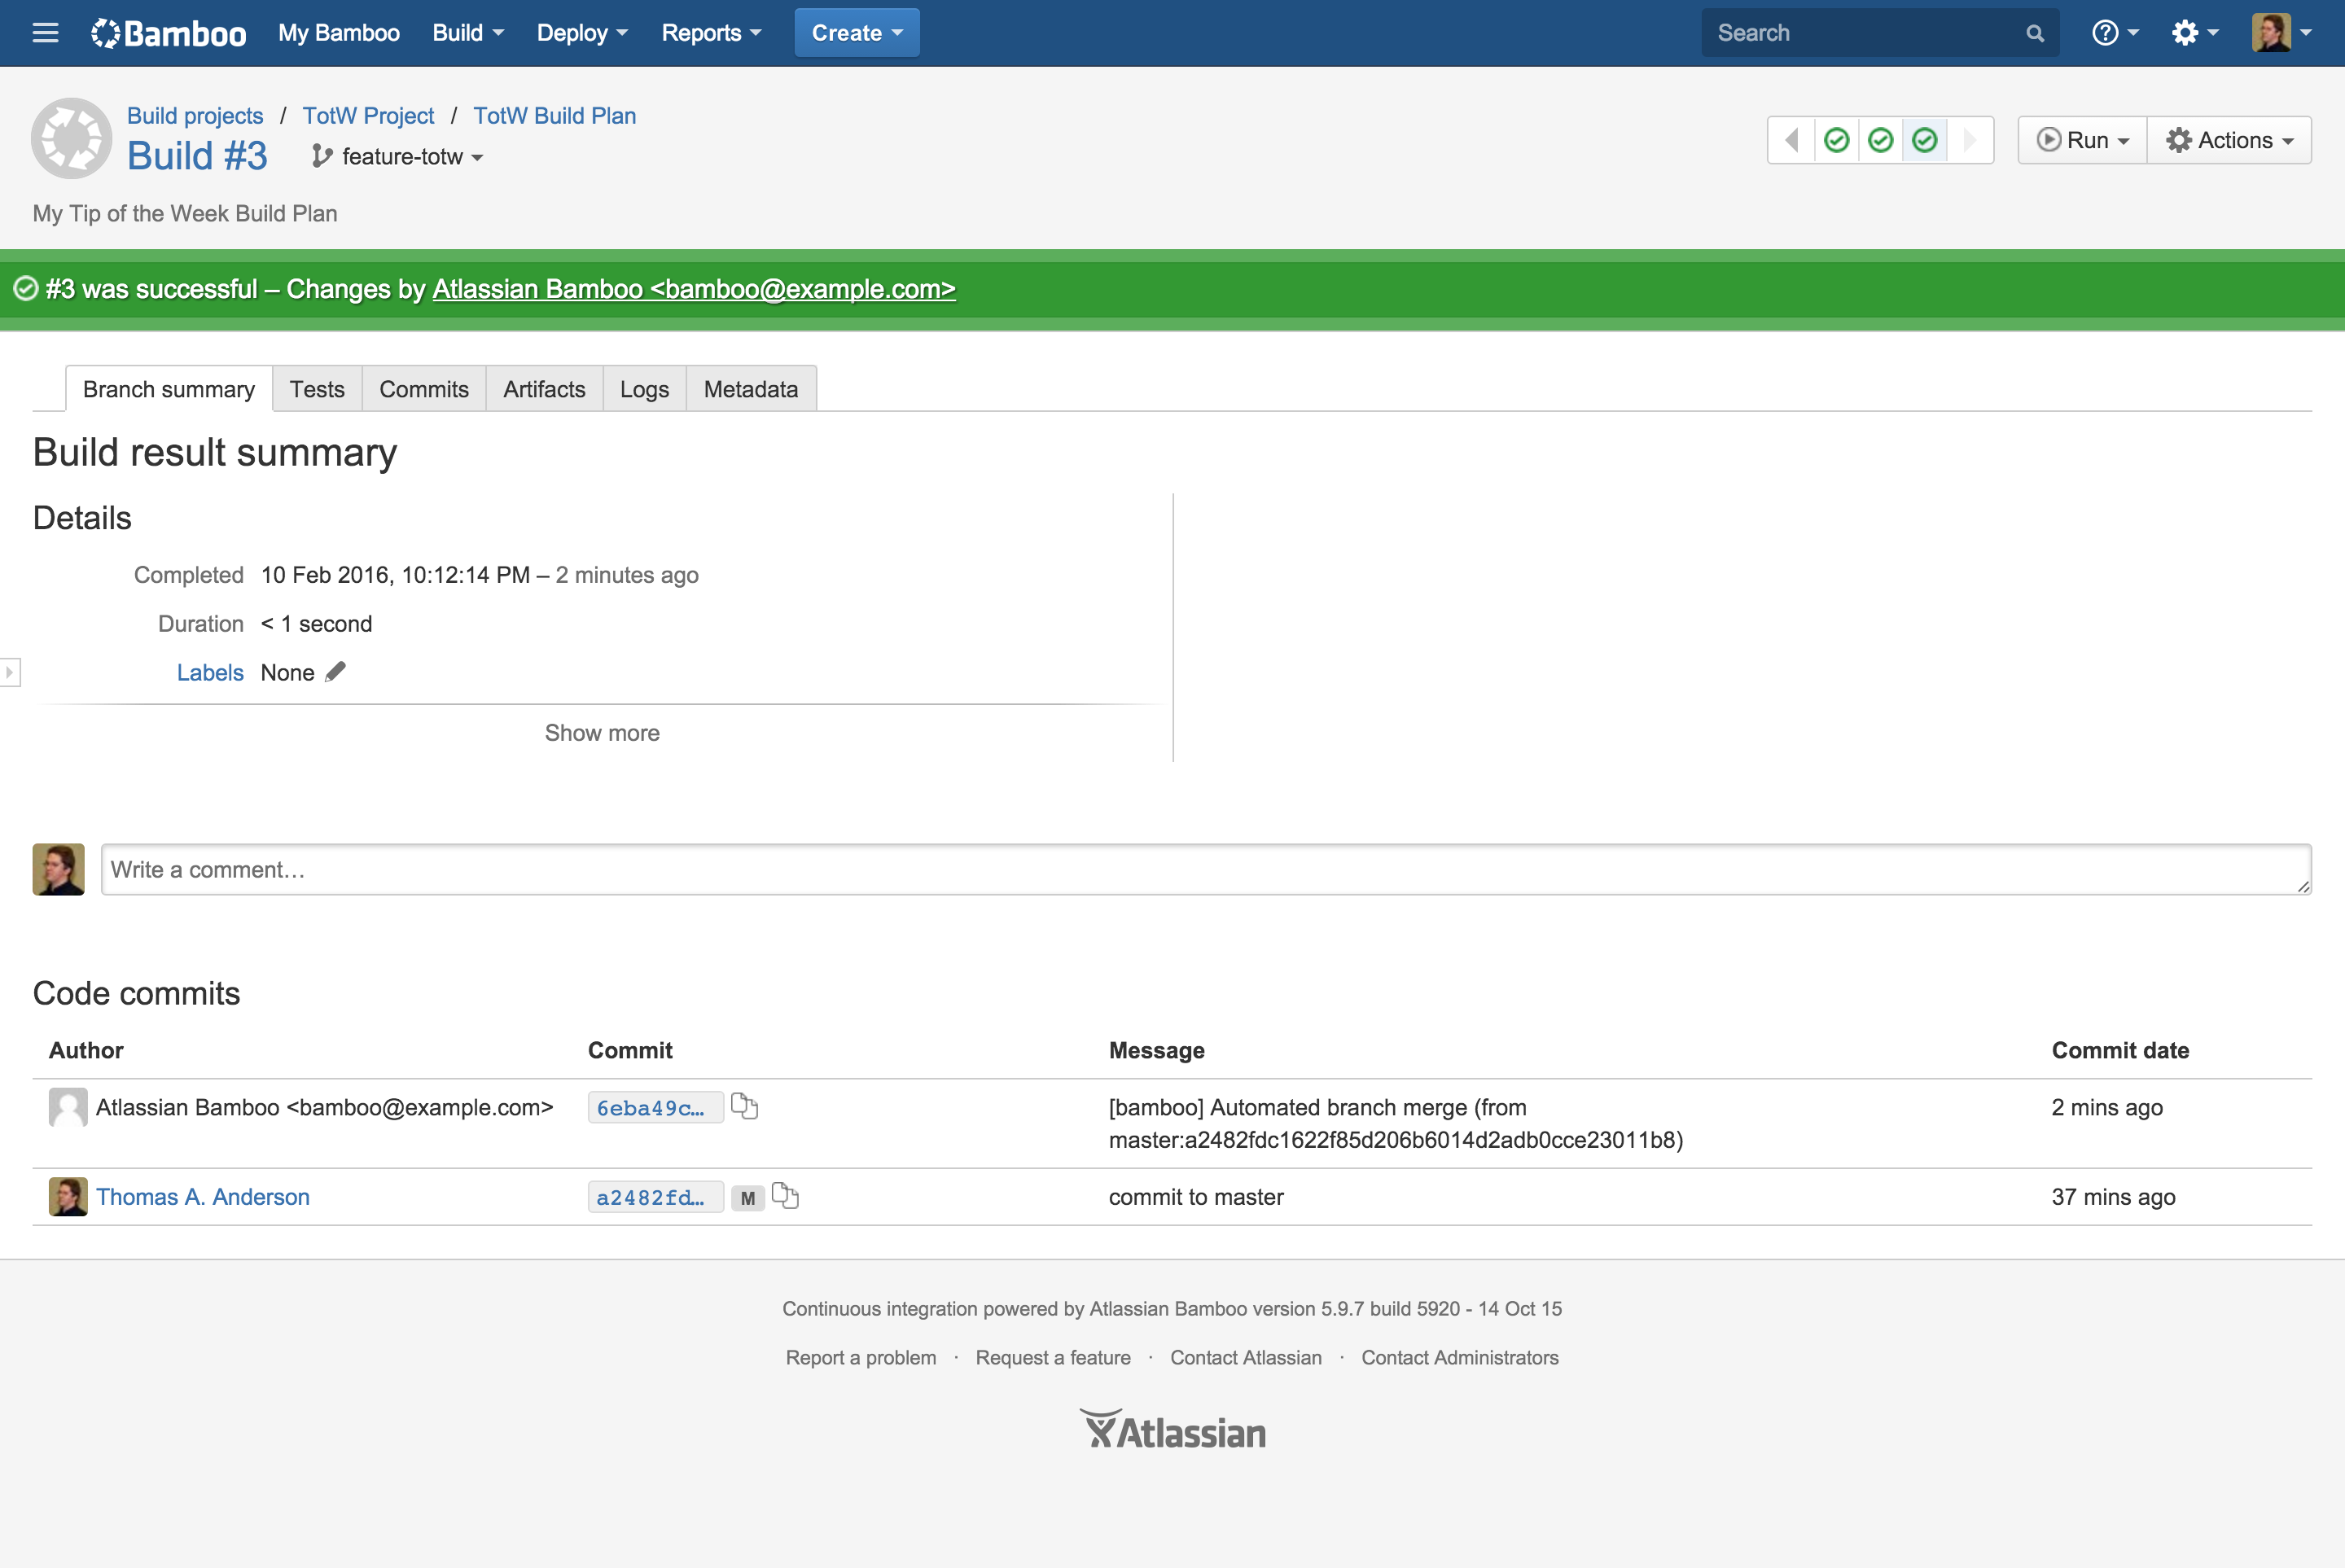
And here is what you see in Bitbucket Server:

So this is all Bamboo, but what about Bitbucket Server? You already saw the build result that are available in Bitbucket Server and the automatic merges created by Bamboo. But what else is there?
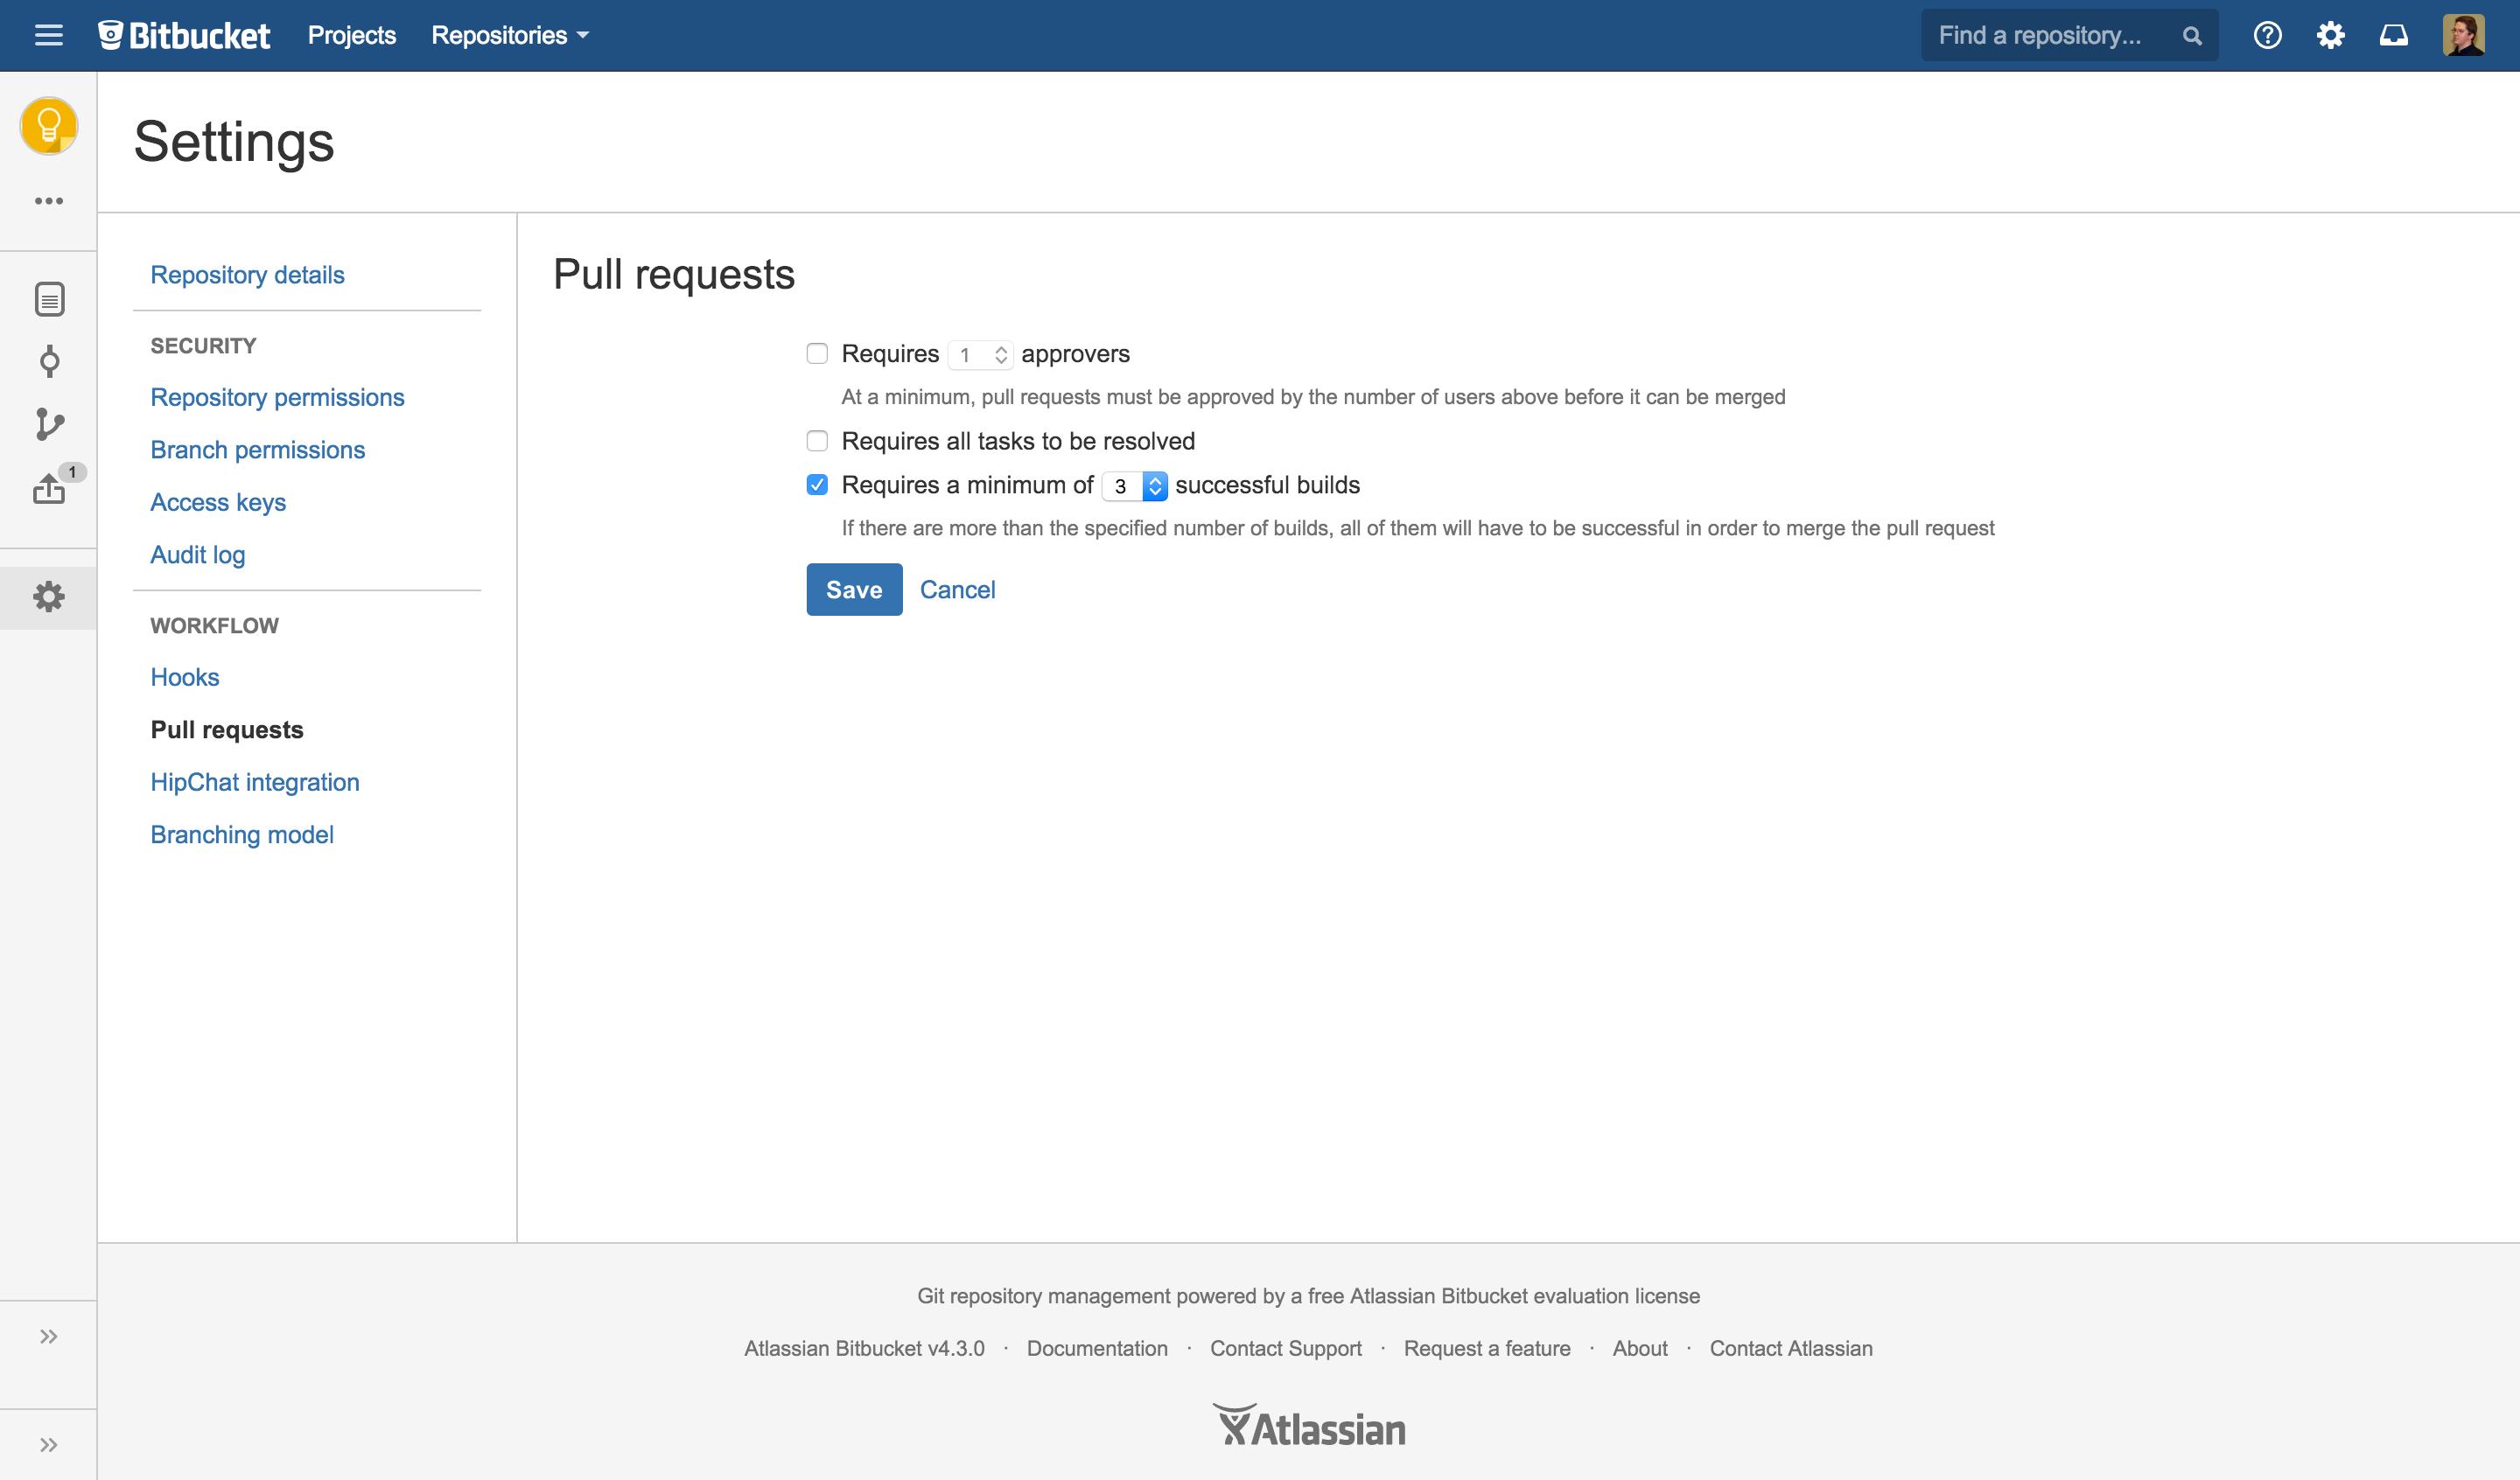
You can use successful builds as a requirement in Pull Requests! Simply go to your repository settings and select the Pull requests menu item. Here you can set the number of successful builds a pull request needs before it can be merged.
And if you try to merge a pull request before you have to right number of successful builds you’ll see this:
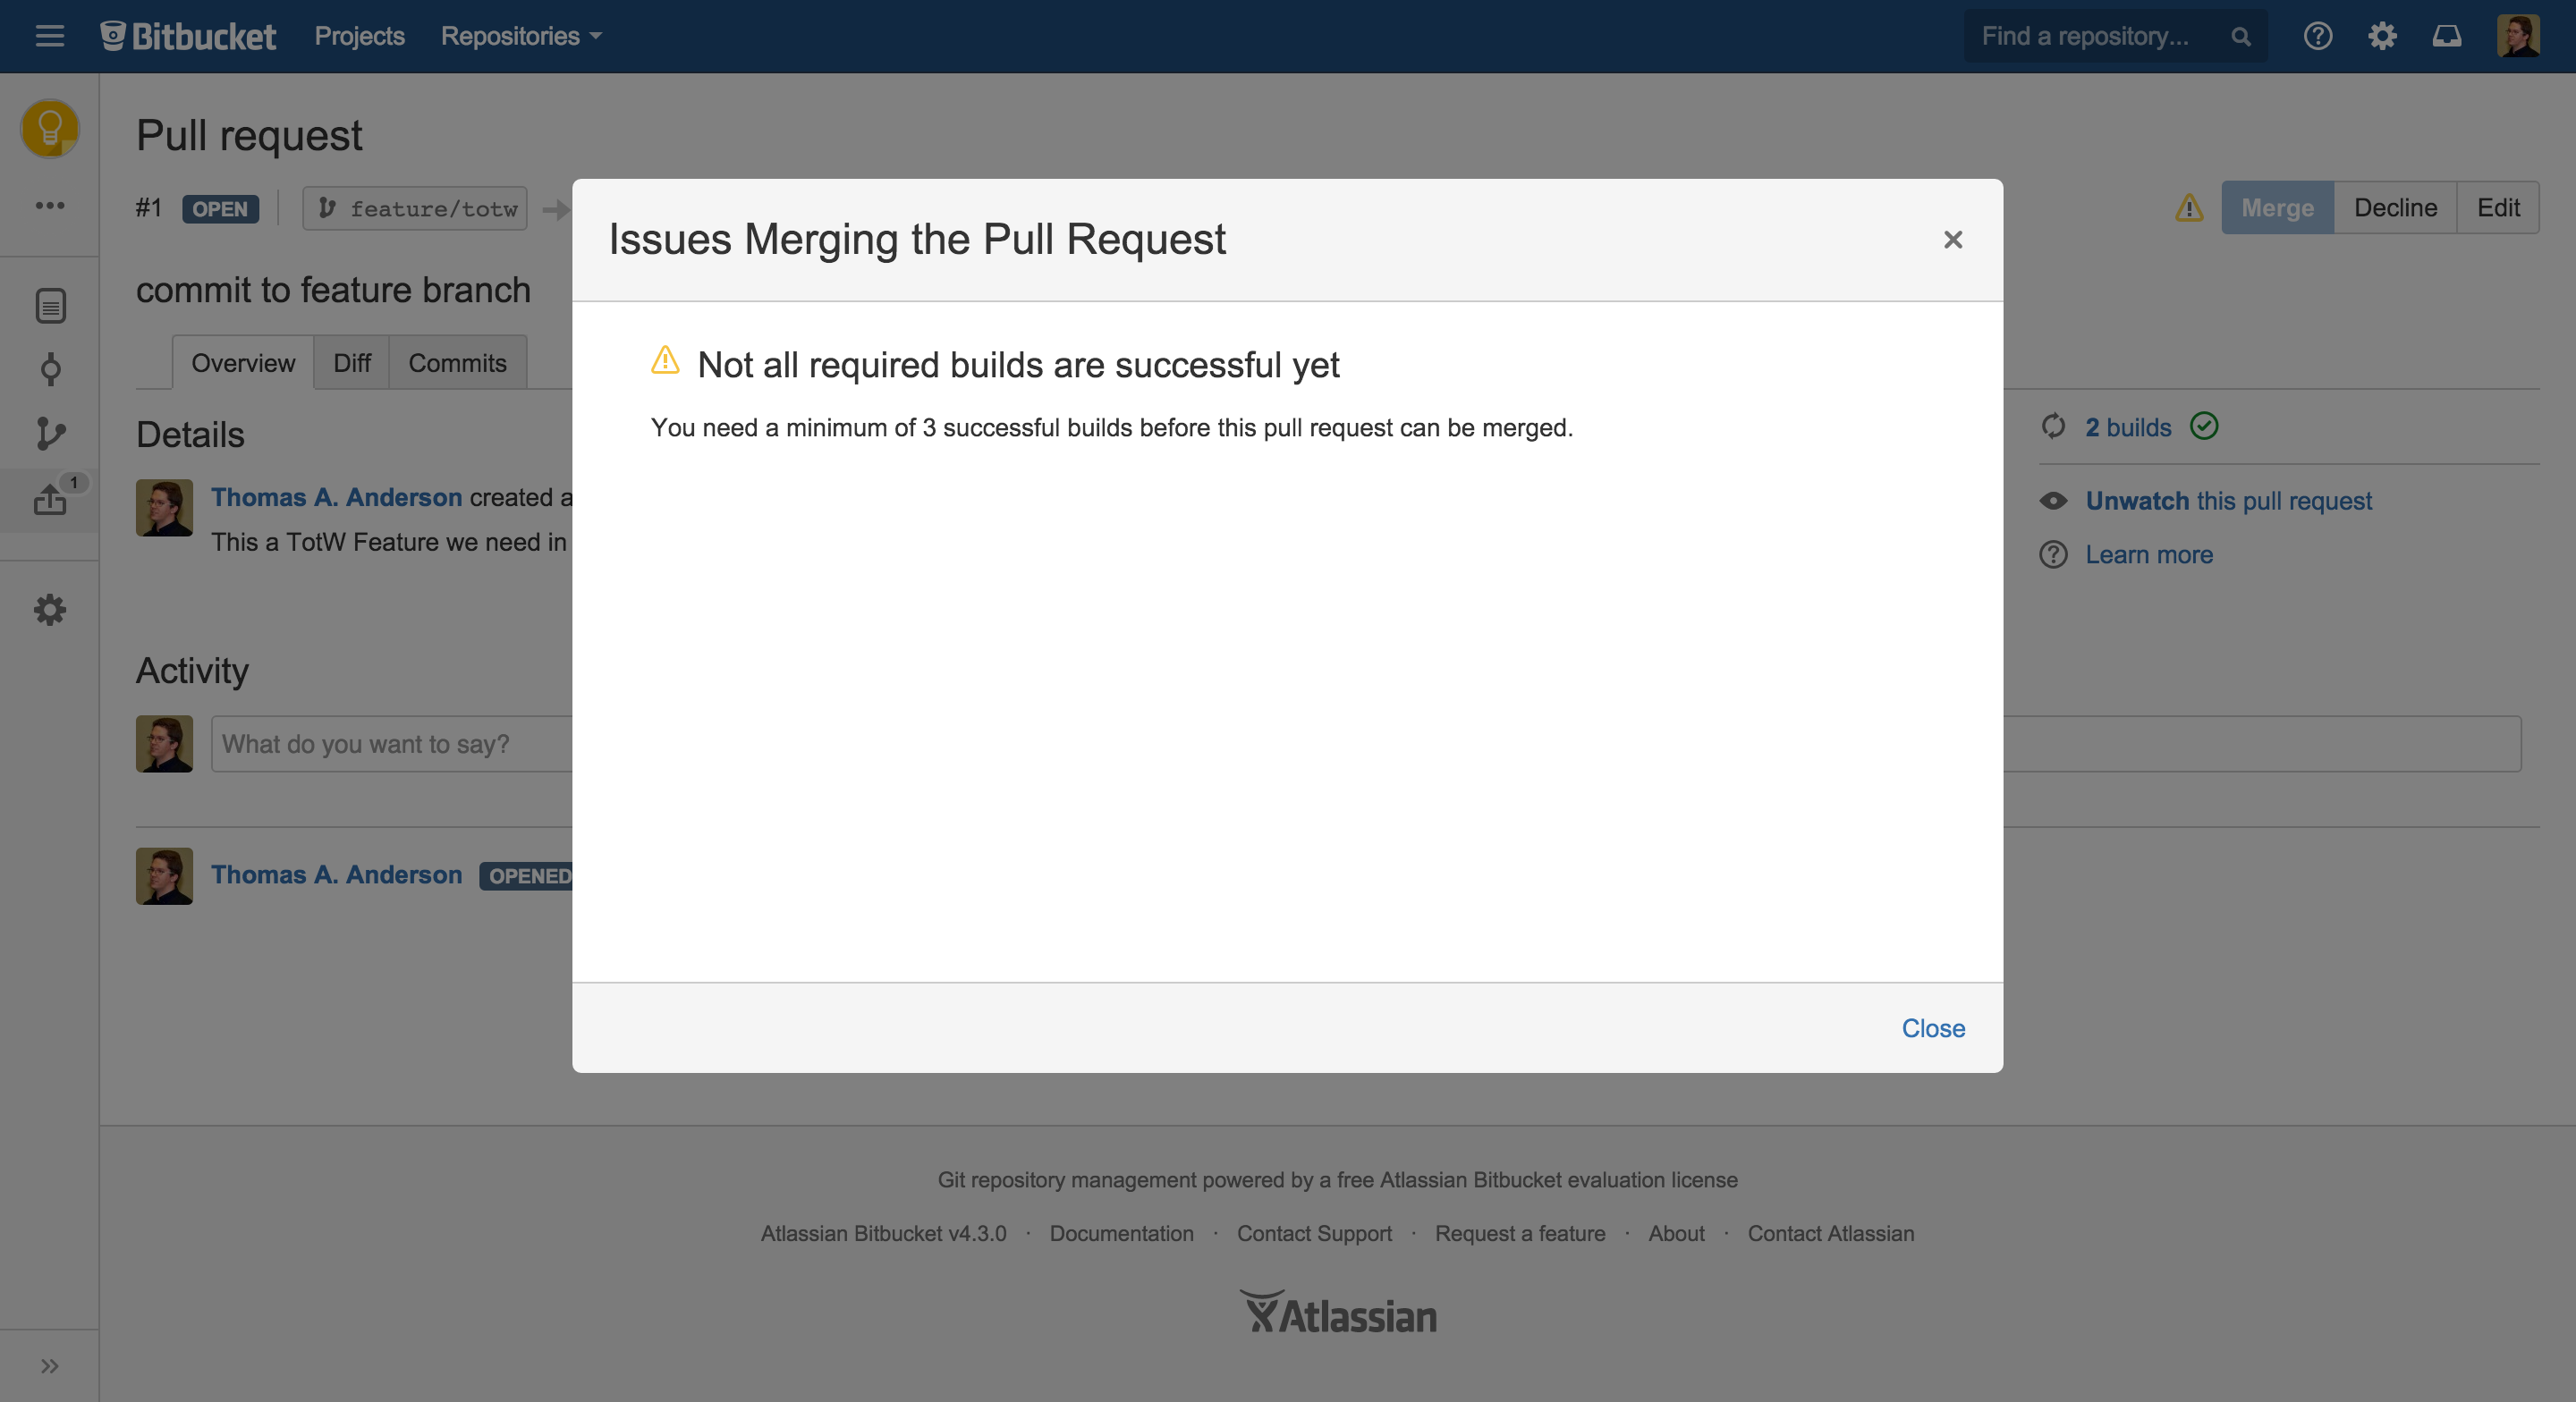
So this helps you again to be absolutely sure that anything you will merge into Master will not break your Master Build and will have no impact on your releases.
Share your own tips and tricks in the comments or on Twitter, be sure to mention me: @pvdevoor or @atlassiandev !