Jira activity
Display your projects in Jira Cloud
In this tutorial, you build a static Connect app that opens from the Jira Cloud navigation to display projects in a table. During this tutorial, you learn about:
- Configuring your development environment
- Adding an Activity link in the navigation header
- Building a static Activity page
- Adding data and verifying your app works
The app uses the Jira Cloud REST API to get information about the projects in your instance. You use the Node.js framework and Atlassian Connect Express (ACE) to create the app and interface with Jira Cloud.
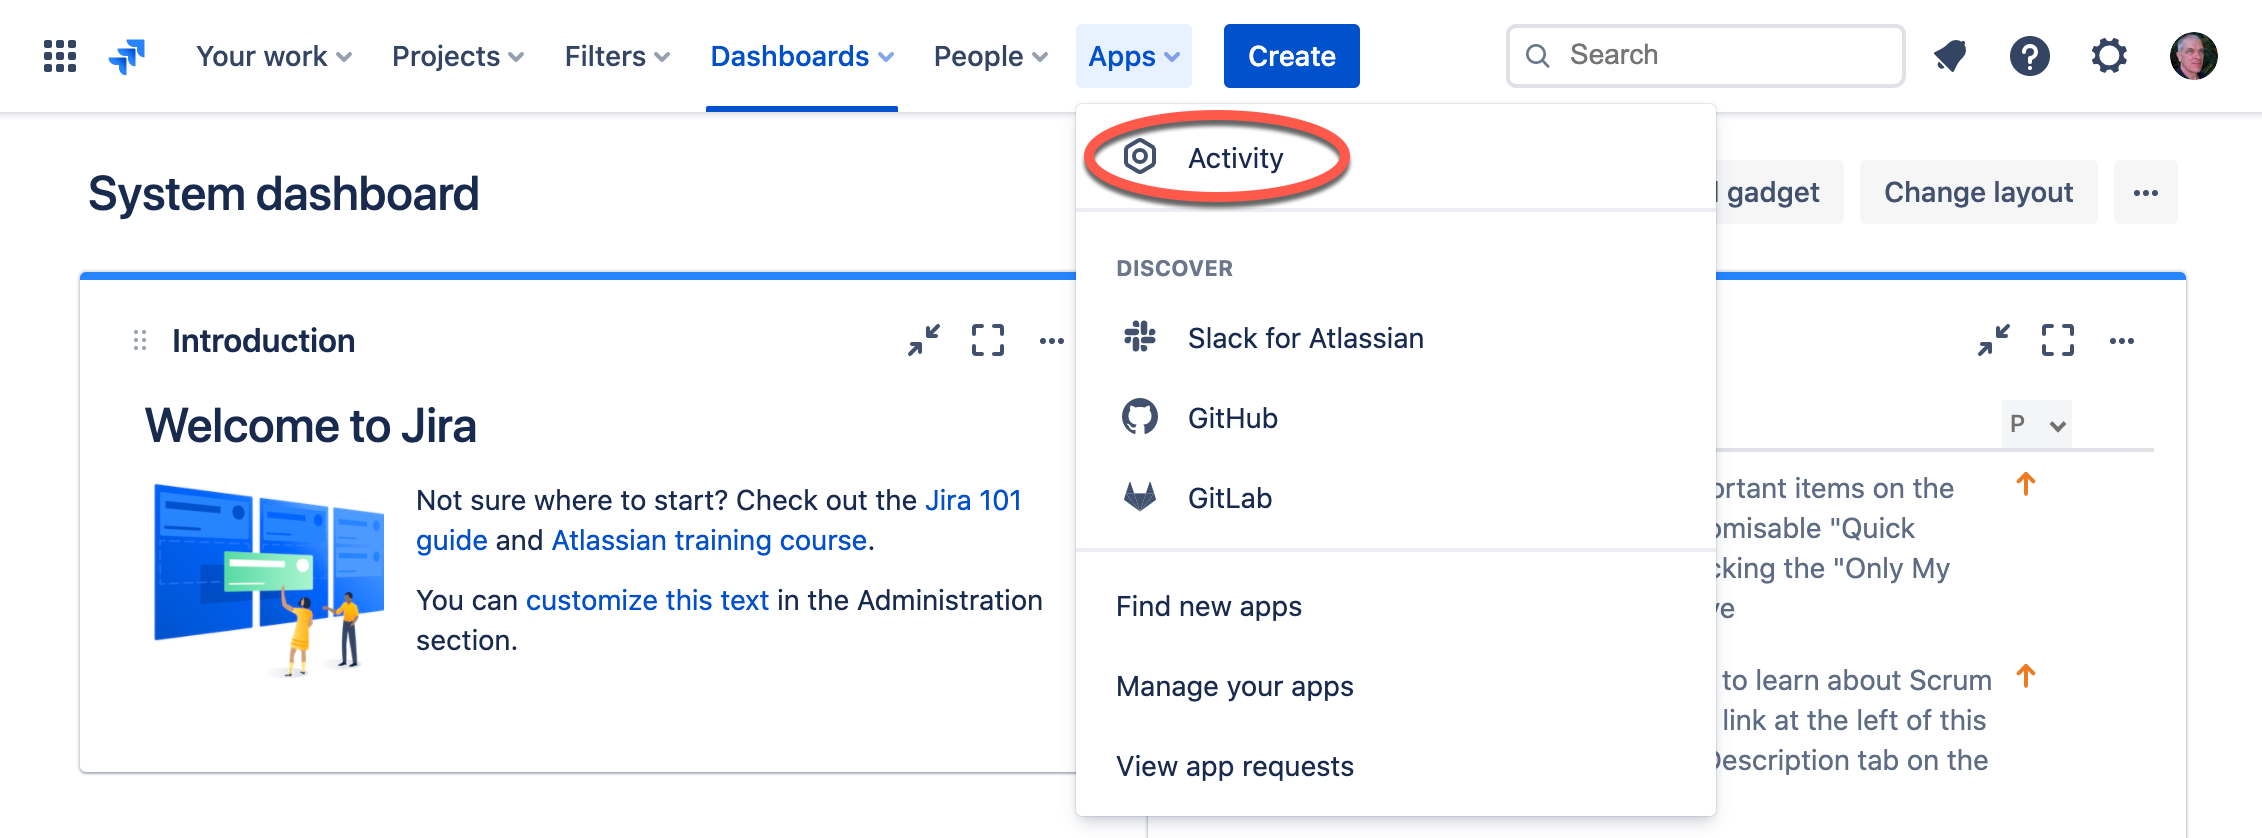
The finished app will look similar to this:

Configure your development environment
In this step, you install Node.js and the Atlassian Connect Express (ACE) toolkit, then create and configure a Connect app project.
ACE helps you create Connect apps using Node.js.
ACE also detects changes made to your atlassian-connect.json descriptor
file, so you don't need to restart your app continually as you develop.
Importantly, ACE also handles JSON web token (JWT)
to sign and authenticate requests between your app and Jira Cloud.
-
Install Node.js 10.0.0 or later. If you use Homebrew, use this command:
1 2
brew install nodeIf you use Windows or don't use Homebrew, you should download and install Node.js. You might need to enter
sudoto install as administrator. -
Install ACE using the npm install command.
1 2
npm install -g atlas-connect -
Create an ACE project called
jira-activity.1 2
atlas-connect new -t jira jira-activity -
Change to the
jira-activitydirectory.1 2
cd jira-activity/ -
Install the Node.js dependencies for your
jira-activityproject.1 2
npm install -
ACE integrates with Sequelize to store the host client information, such as client key and host public key. When no adapter is specified, it defaults to Sequelize's fallback memory storage. The memory storage uses SQLite3. To install SQLite3, run:
1 2
npm install --save sqlite3 -
You will need to sign up for an ngrok account and store the authtoken shown on your dashboard (We will add this token to ACE later)
Create a cloud development site
The Cloud Developer Bundle provides a free Atlassian cloud development site for building and testing apps. To create your site:
- Go to go.atlassian.com/cloud-dev and sign up. It may take several minutes to provision your site.
- Once your site is ready, sign in, and complete the setup wizard.
Your cloud development site has Confluence and all the Jira products installed. Note that Atlassian cloud development sites have limits on the number of users.
Enable development mode in your site
With development mode you can install app descriptors in your development site from any public URL. This means you don't need to list an app in the Atlassian Marketplace before installing it.
- In the top navigation bar, click Apps then Manage your apps. If Apps isn't visible,
click More first.

- Under User-installed apps, click Settings.

- Select Enable development mode, and then click Apply.

After the page refreshes, you'll see the Upload app link. This link enables you to install apps while you're developing them.
Install your app and add an Activity link
You now have the tools you need and a template app in the jira-activity directory. This template
includes all the essential Connect app components, such as the
atlassian-connect.json descriptor and app.js files. It also includes files
to help with the development process, such as credentials.json.sample.
Update atlassian-connect.json
In this step, you prune some of the stub code and install your app in Jira Cloud.
-
Open the
atlassian-connect.jsondescriptor file in your favorite editor or IDE. -
Replace the
key,name,description, andvendornameandurlwith these fields:1 2
{ "key": "jira-activity", "name": "Jira Project Activity", "description": "A Connect app that displays Jira projects in a table", "vendor": { "name": "Atlassian Developers", "url": "https://developer.atlassian.com/" },This describes your app for a Jira Cloud instance.
-
Replace the content of
moduleswith thisgeneralPagesmodule:1 2
"generalPages": [ { "key": "activity", "location": "system.top.navigation.bar", "name": { "value": "Activity" }, "url": "/activity", "conditions": [{ "condition": "user_is_logged_in" }] } ]This adds an Activity link in the Jira Cloud navigation (
system.top.navigation.bar) and sets a URL for the app to use under/activity. It also provides a condition so that only logged in users see the Activity link. At this point, your descriptor file should look like this:1 2
{ "key": "jira-activity", "name": "Jira Project Activity", "description": "A Connect app that displays Jira projects in a table", "vendor": { "name": "Atlassian Developers", "url": "https://developer.atlassian.com/" }, "baseUrl": "{{localBaseUrl}}", "links": { "self": "{{localBaseUrl}}/atlassian-connect.json", "homepage": "{{localBaseUrl}}/atlassian-connect.json" }, "authentication": { "type": "jwt" }, "lifecycle": { "installed": "/installed" }, "scopes": [ "READ" ], "modules": { "generalPages": [ { "key": "activity", "location": "system.top.navigation.bar", "name": { "value": "Activity" }, "url": "/activity", "conditions": [{ "condition": "user_is_logged_in" }] } ] } } -
Save and close the
atlassian-connect.jsonfile.
Create credentials.json
ACE uses a credentials.json file to make the development journey easier. This file stores the host
information and username and password for the admin account of your Jira Cloud development environment.
This information is used to install and remove your app from Jira Cloud when you start and stop your app
locally. You should not upload this file to production.
-
In the root of the folder, find the
credentials.json.samplefile. Rename this file tocredentials.json. -
Open
credentials.jsonin your IDE or editor and update thehosts,username, andpasswordvalues. For username, use your email address. For password, use an API token. To create an API token, go to https://id.atlassian.com, open your profile, then Account settings. In the Security option, click Create and manage API tokens. Click Create API token and follow the process to create a token. Copy the token and paste it into the password value.1 2
{ "hosts": { "https://your-instance.atlassian.net": { "product": "jira", "username": "your-email@address.com", "password": "your-api-token" } }, "ngrok": { "authtoken": "your-ngrok-token" } } -
Save and close the
credentials.jsonfile.
Run the app
-
Open a new terminal window.
-
From the root of
jira-activity, start a Node.js server:1 2
npm startThis starts up your app on a server locally. ngrok now makes the app publicly visible to Jira Cloud, and the app installs into your developer instance.
-
In your browser, refresh Jira to verify that the app is installed. You see Activity under Apps in the navigation:
 This link doesn't go anywhere yet. You'll fix this in later steps.
 -
Back in your editor, open
routes/index.js, where you add the/activityroute to your app. -
After the
/hello-worldstub code, add:1 2
app.get('/activity', addon.authenticate(), function(req, res) { res.render('activity', { title: "Jira activity" }); });Your
routes/index.jsfile should resemble this:1 2
export default function routes(app, addon) { // Redirect root path to /atlassian-connect.json, // which will be served by atlassian-connect-express. app.get('/', (req, res) => { res.redirect('/atlassian-connect.json'); }); // This is an example route used by "generalPages" module (see atlassian-connect.json). // Verify that the incoming request is authenticated with Atlassian Connect. app.get('/hello-world', addon.authenticate(), (req, res) => { // Rendering a template is easy; the render method takes two params: // name of template and a json object to pass the context in. res.render('hello-world', { title: 'Atlassian Connect' //issueId: req.query['issueId'] }); }); // Add additional route handlers here... app.get('/activity', addon.authenticate(), function(req, res) { res.render('activity', { title: "Jira activity" }); }); }This route titles your Activity page "Jira activity", and ensures that your app is authenticated.
-
Close and save
routes/index.js.
Build the static Activity page
You've added a link in the Jira Cloud navigation. Now define how your page looks. In this step, you style the page using Atlaskit.
For production environments, we recommend bundling CSS and JS files with your site, rather than relying on a third-party CDN.
-
Open
views/layout.hbs. -
Replace the entire file with this:
1 2
<!doctype html> <html> <head> <meta charset="utf-8"> <meta name="ap-local-base-url" content="{{localBaseUrl}}"> <title>{{title}}</title> <link rel="stylesheet" href="https://unpkg.com/@atlaskit/css-reset@3.0.5/dist/bundle.css" /> <link rel="stylesheet" href="https://unpkg.com/@atlaskit/reduced-ui-pack@10.5.4/dist/bundle.css" /> <script src="https://connect-cdn.atl-paas.net/all.js" type="text/javascript" data-options="sizeToParent: true;"></script> </head> <body> <div style="padding: 20px;"> {{{body}}} </div> <script src="/js/jira-activity.js"></script> </body> </html>This loads the Atlaskit Reduced UI pack and CSS reset that styles the app to look like Jira Cloud.
-
Create a new file called
views/activity.hbs. This file is a template you use to render the/activityURL. -
Add this content:
1 2
{{!< layout}} <h1>{{title}}</h1> <table id="projects"> <thead> <tr> <th>Logo</th> <th>Key</th> <th>Name</th> </tr> </thead> <tbody> <tr></tr> </tbody> </table> -
Save and close all files.
-
Restart the Node.js app. Shut down the app with CTRL+C and re-run the
npm startcommand. -
You'll see an empty page with the "Jira activity" title:
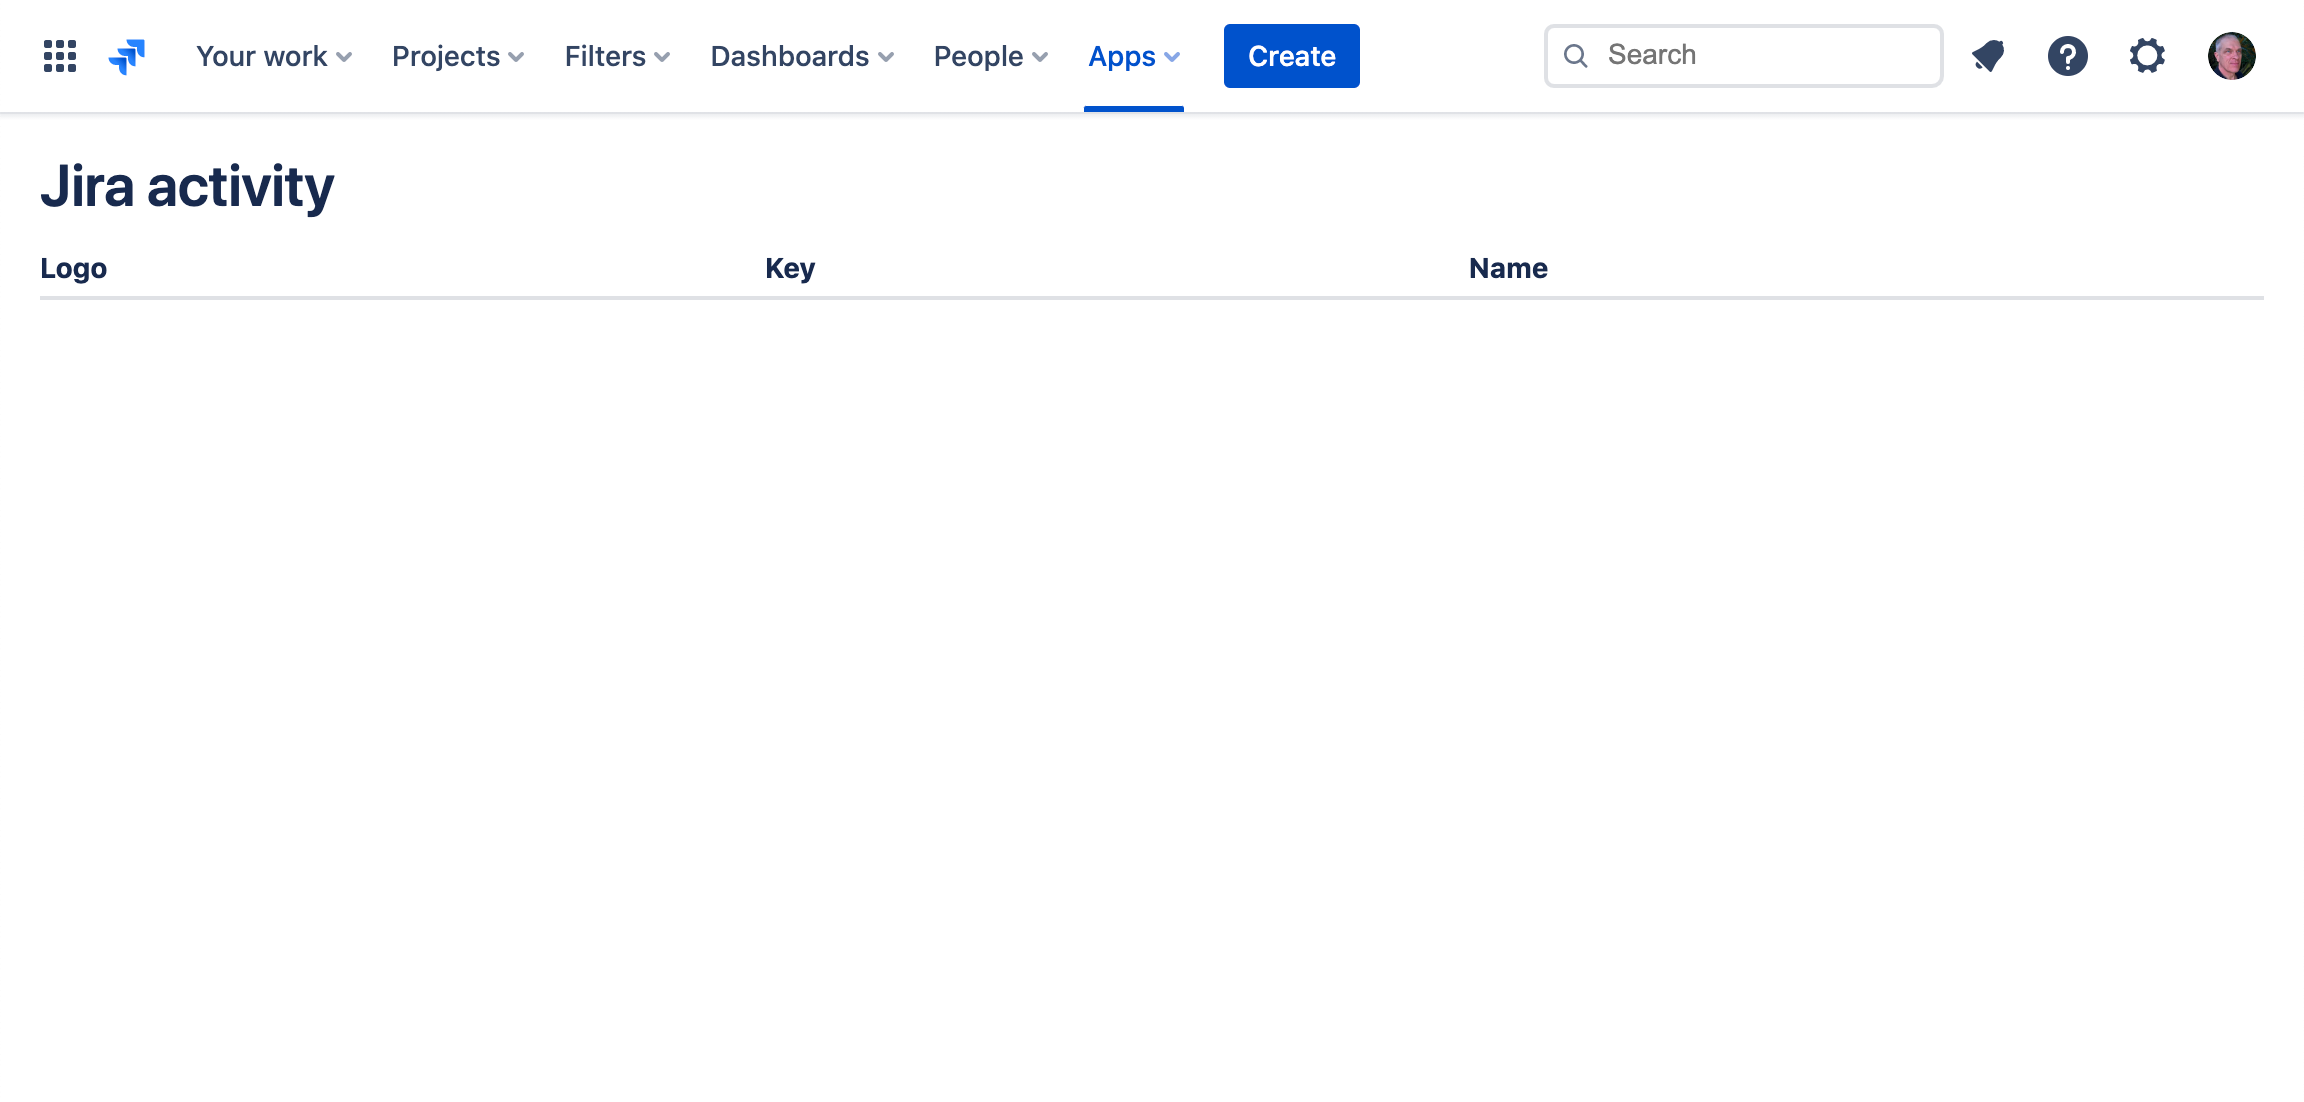 .
.
Add some data, and verify your app works
-
Create a file called
public/js/jira-activity.js. -
Add this content:
1 2
AP.request('/rest/api/3/project/search', { success: function(responseText){ var projectTable = document.getElementById("projects"); var data = JSON.parse(responseText); for (var x = 0; x < data.values.length; x++) { var value = data.values[x]; console.log(value); var newRow = projectTable.insertRow(-1); var newCellLogo = newRow.insertCell(0) var newCellKey = newRow.insertCell(1); var newCellProject = newRow.insertCell(2); newCellLogo.innerHTML = "<img src='" + value.avatarUrls["16x16"] + "' width='16'>"; newCellKey.innerHTML = "<code>" + value.key + "</code>"; newCellProject.innerHTML = "<a href='/browse/" + value.key + "'>" + value.name + "</a>"; }; projectTable.deleteRow(1); } });This code requests a list of your projects and generates an HTML table.
-
Save and close all files.
-
Click Activity in the navigation. You should have a list of projects that look like this:
Rate this page: