How to get started
Prerequisites
Before diving into Atlassian CLI, ensure you have installed ACLI on a supported operating system.
Here are all the ways to authenticate with Atlassian CLI:
| Authentication type | Command type |
|---|---|
| API token | Jira auth, Rovo Dev |
| API key | Admin auth |
| OAuth | Jira auth |
Authentication using API token
Basic auth requires API tokens. You generate an API token for your Atlassian account and use it to authenticate anywhere where you would have used a password. Manage API tokens for your Atlassian account
- Generate an API token from your Atlassian account
- Run either of the following commands to authenticate with Atlassian CLI:
Read token:
1
2$ echo <token> | acli jira auth login --site "mysite.atlassian.net" --email "user@atlassian.com" --token
1
2$ echo <token> | acli rovodev auth login --site "mysite.atlassian.net" --email "user@atlassian.com" --token
Read token from file:
1
2acli jira auth login --site "mysite.atlassian.net" --email "user@atlassian.com" --token < token.txt
- Run this command to open Rovo Dev in interactive mode:
1
2acli rovodev run
Authentication using API key
API keys allow you to manage your organization. All admin commands require an API key. Understand how to create an API key
Authentication using OAuth
Use OAuth to grant app access and create integrations with Atlassian cloud products. Understand OAuth and how it can be implemented
- Run the following command to authenticate with Atlassian CLI:
1
2acli jira auth login --web
Your web browser will launch, prompting you to choose a site for authentication.
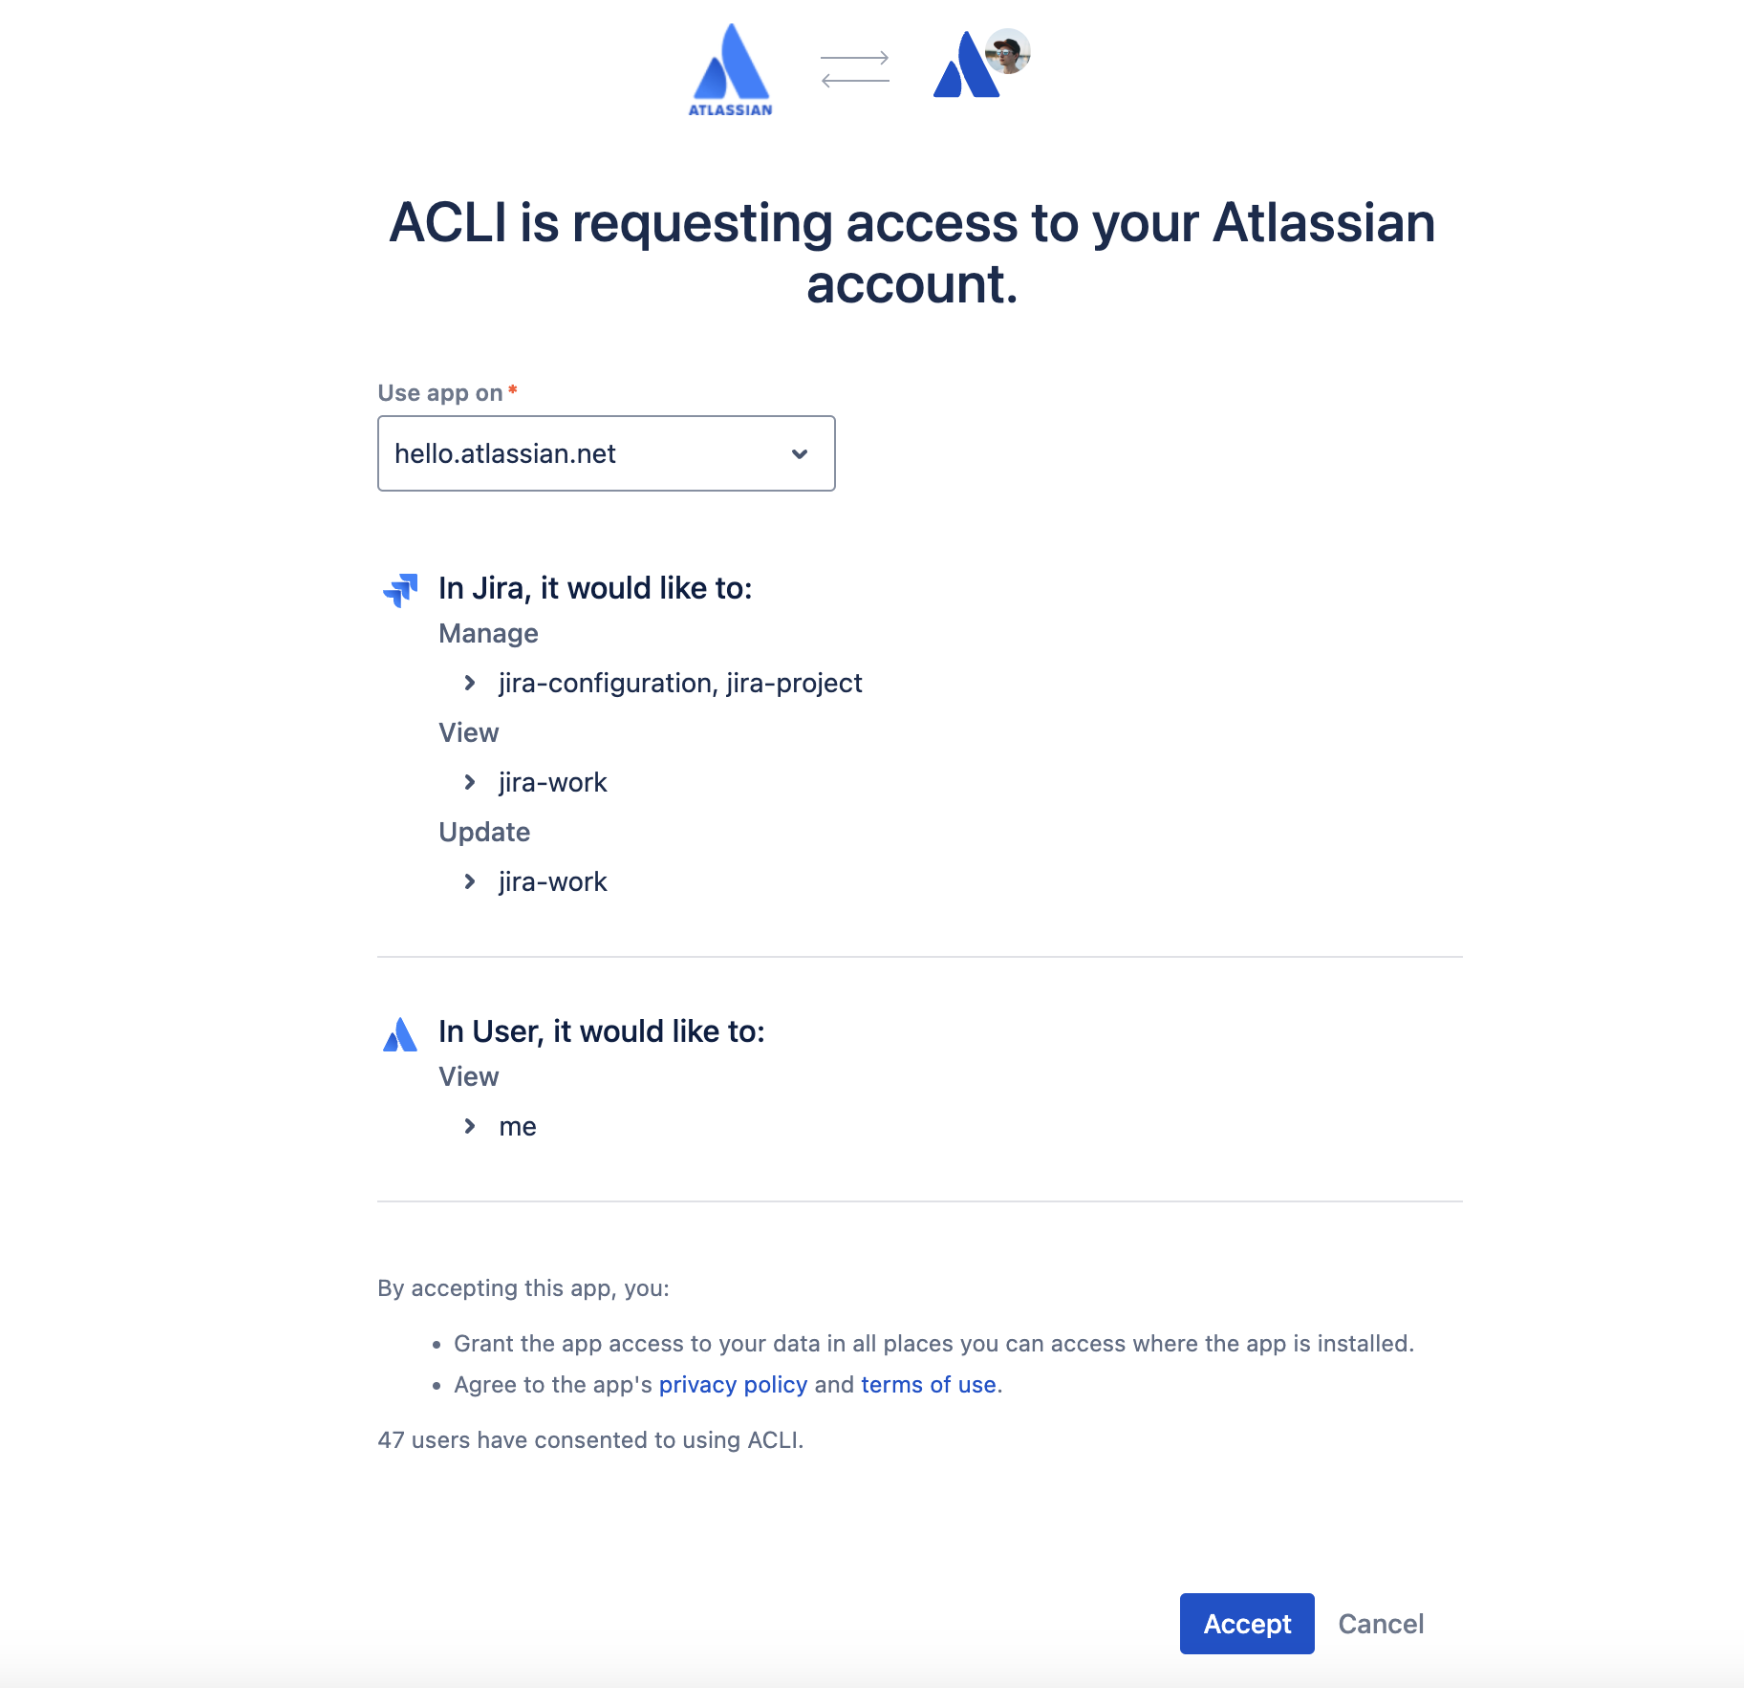
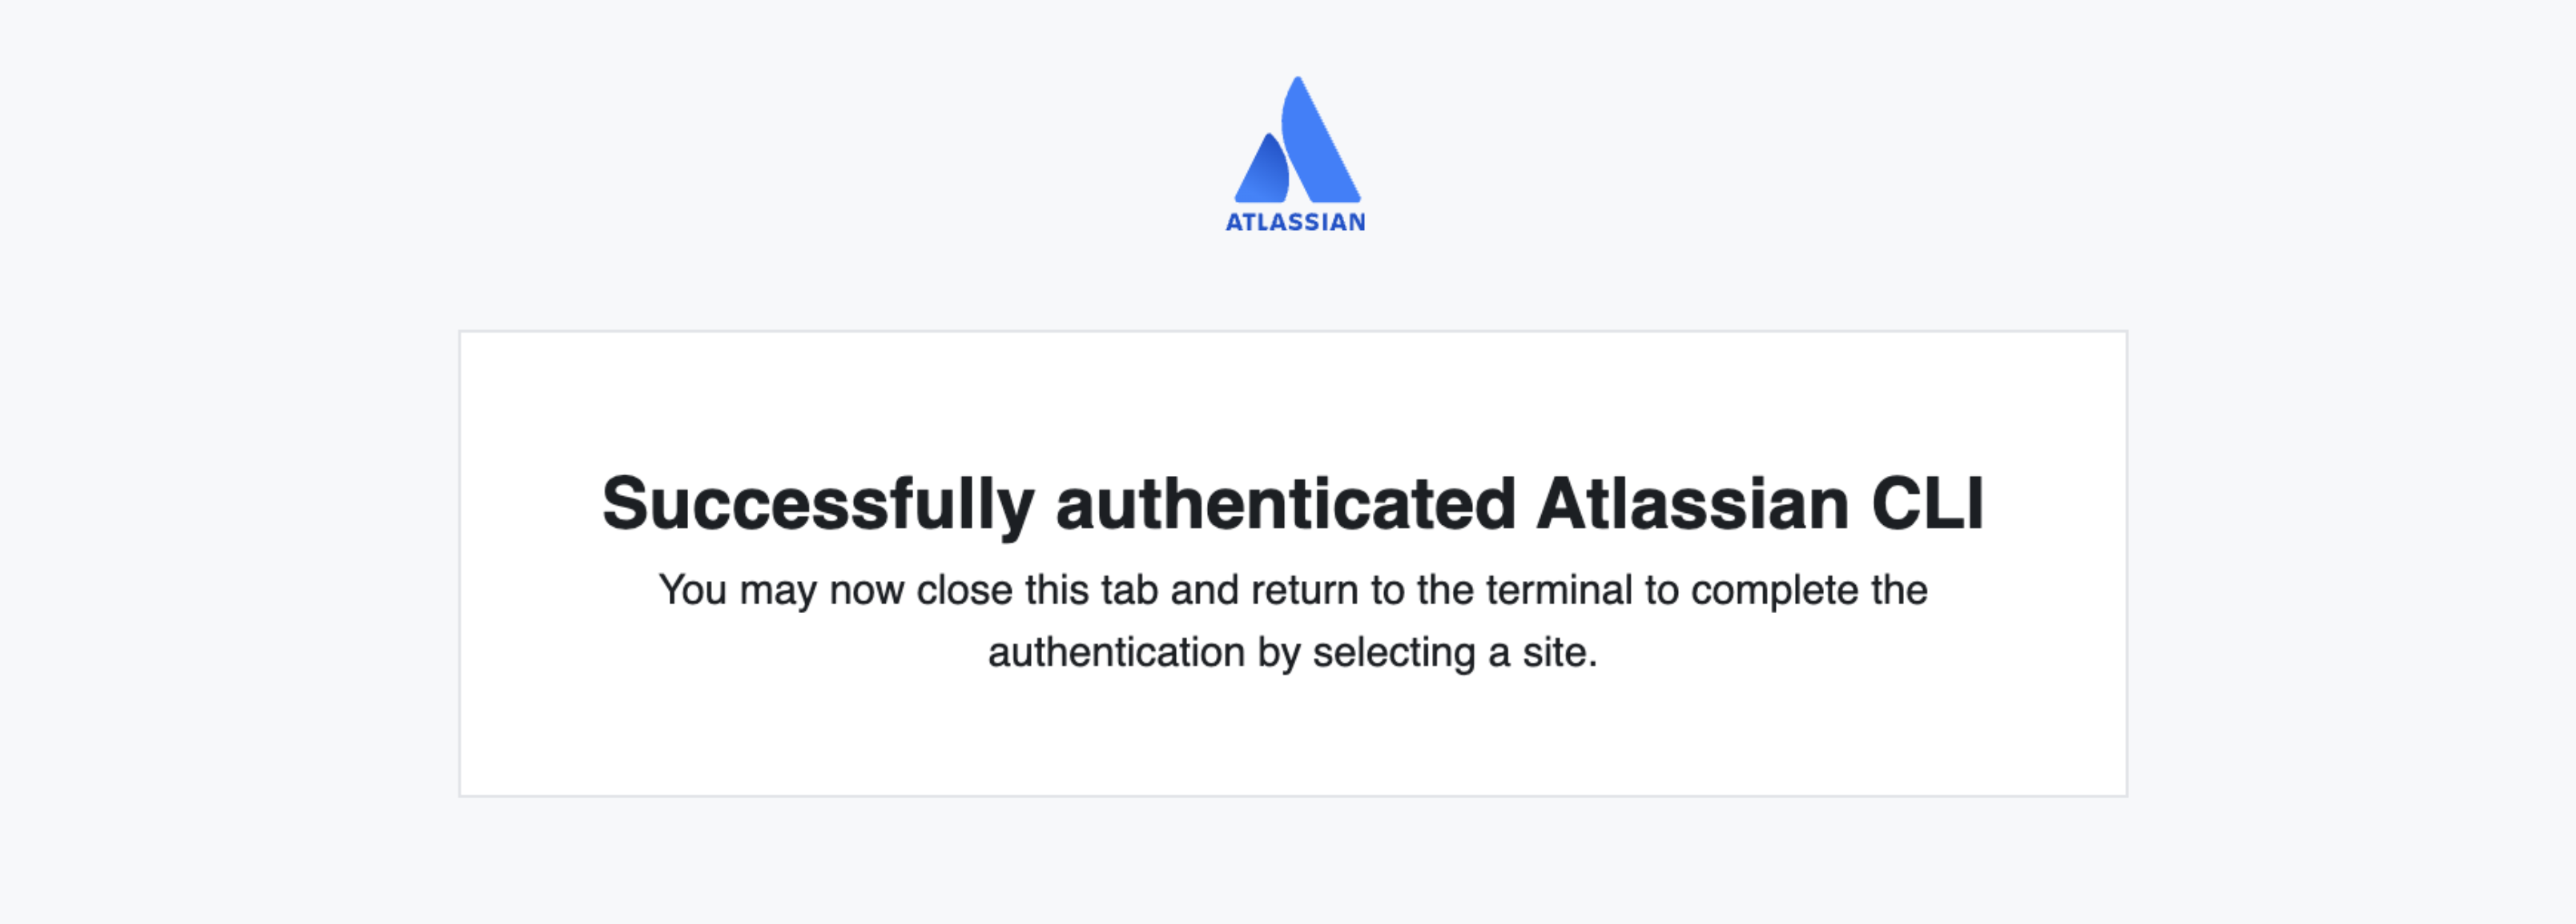
- Once you select
Accept, a success message will appear in the browser. You can then close the tab and go back to the terminal to finish the authentication by selecting a site.
You must select the same site in the terminal that you selected in the web browser.
Command structure
The CLI command may use the following structure:
-
<COMMAND>signifies an Atlassian product, such as Jira (jira), (rovodev) (admin). -
<SUBCOMMAND-1>indicates a feature or entity associated with the relevant product, such as a work item. -
<SUBCOMMAND-2>describes the action to be executed on the<SUBCOMMAND-1>, including options likecreate,update, ordelete. -
[FLAGS]represent optional parameters that dictate how the action will be carried out. If omitted, default values will be utilized.
The acli tool operates using a structured command-line syntax that requires a specific sequence for execution.
- To use
acli, start by invoking the command followed by the primary command<COMMAND>. You can include optional nested subcommands if needed. - Optional flags or arguments are indicated by enclosing them in square brackets, for example,
[FLAGS].
1
2$ acli <COMMAND> [<SUBCOMMAND> ...] {MANDATORY FLAGS} [OPTIONAL FLAGS]
Understand how to utilize the Rovodev CLI for advanced session management, effortlessly switch between different language models, and save rules at both the global and repository levels for future use.
Some Useful commands
Create a work item
$ acli jira workitem create
1
2# Create work item by supplying a summary, project name and work item type
$ acli jira workitem create --summary "New Task" --project "TEAM" --type "Task"

# Create work item from file and supplying all work item details
$ acli jira workitem create --from-file "workitem.txt" --project "PROJ" --type "Bug" --assignee "user@atlassian.com" --label "bug,cli"

# Generate a JSON file that could be used for workitem creation via --from-json flag
$ acli jira workitem create --generate-json

# Create work item from a JSON file
$ acli jira workitem create --from-json "workitem.json"
Edit a work item
$ acli jira workitem edit
1
2# Edit work item with work item keys
$ acli jira workitem edit --key "KEY-1,KEY-2" --summary "New Summary"

# Edit work item with JQL query
$ acli jira workitem edit --jql "project = TEAM" --assignee "user@atlassian.com"

# Edit work item with Filter ID
$ acli jira workitem edit --filter 10001 --description "Updated description" --yes

# Generate a JSON file that could be used for workitem edit via --from-json flag
$ acli jira workitem edit --generate-json

# Edit work item from a JSON file
$ acli jira workitem edit --from-json "workitem.json"
Transition a work item
$ acli jira workitem transition
1
2# Transition work item with work item keys
$ acli jira workitem transition --key "KEY-1,KEY-2" --status "Done"

# Transition work item with JQL query
$ acli jira workitem transition --jql "project = TEAM" --status "In Progress"

# Transition work item with filter ID
$ acli jira workitem transition --filter 10001 --status "To Do" --yes
Activate a user
$ acli admin user activate
1
2# Activate a user with email or account ID
$ acli user activate --email john@example.com,anna@example.com
$ acli user activate --id abcd,123
$ acli user activate --from-file listofmails.txt
Rate this page: