Managing command chaining and output redirection
When you use Atlassian CLI, you’ll notice that most commands generate text output. Knowing how to manage and reuse this output is essential for getting the most value from the CLI. In this guide, you’ll learn how to connect commands, save output to a file, use it as input for other commands, and filter results to find exactly what you need. These techniques will help you work more efficiently and make your command-line workflows even more effective.
How to chain commands
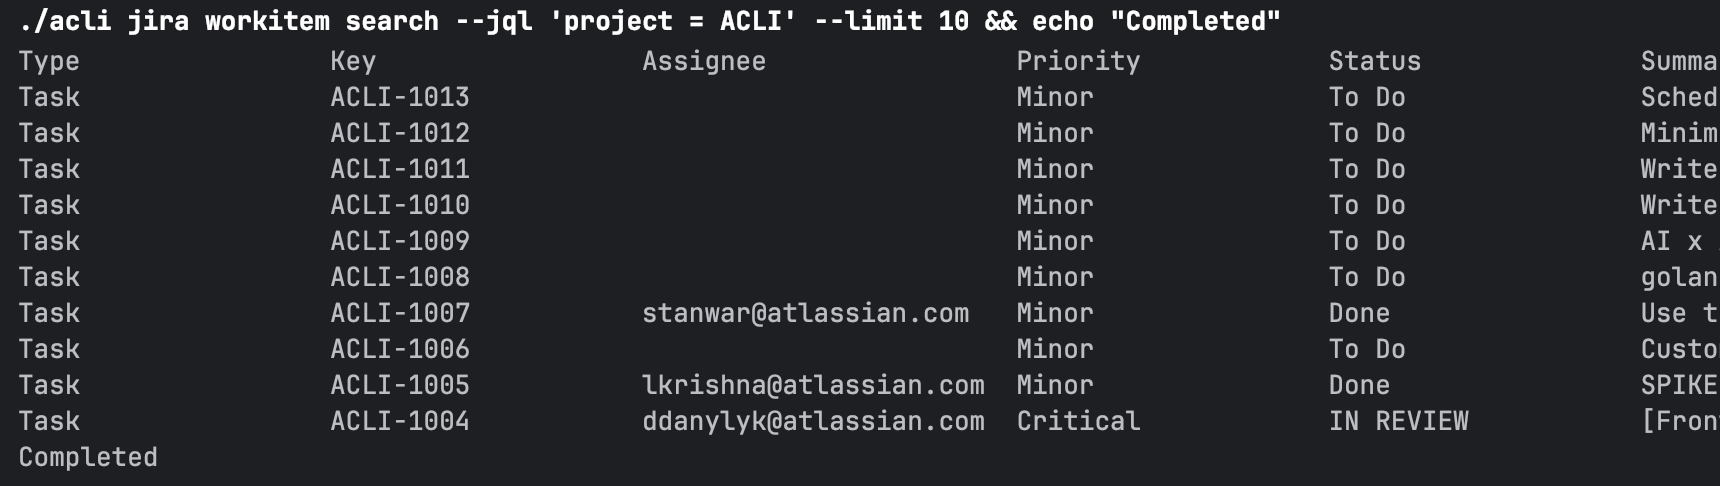
Chaining commands in CLI allows for the execution of multiple commands in a single line, often with conditions determining whether subsequent commands run. You can chain commands in the Atlassian CLI using the && operator.
For example, if you want to search for Jira work items and then echo "Completed" if the command is successful, you can use the following command:
1
2./acli jira workitem search --jql 'project = TEST' --limit 10 && echo "Completed"
How to redirect output to a file
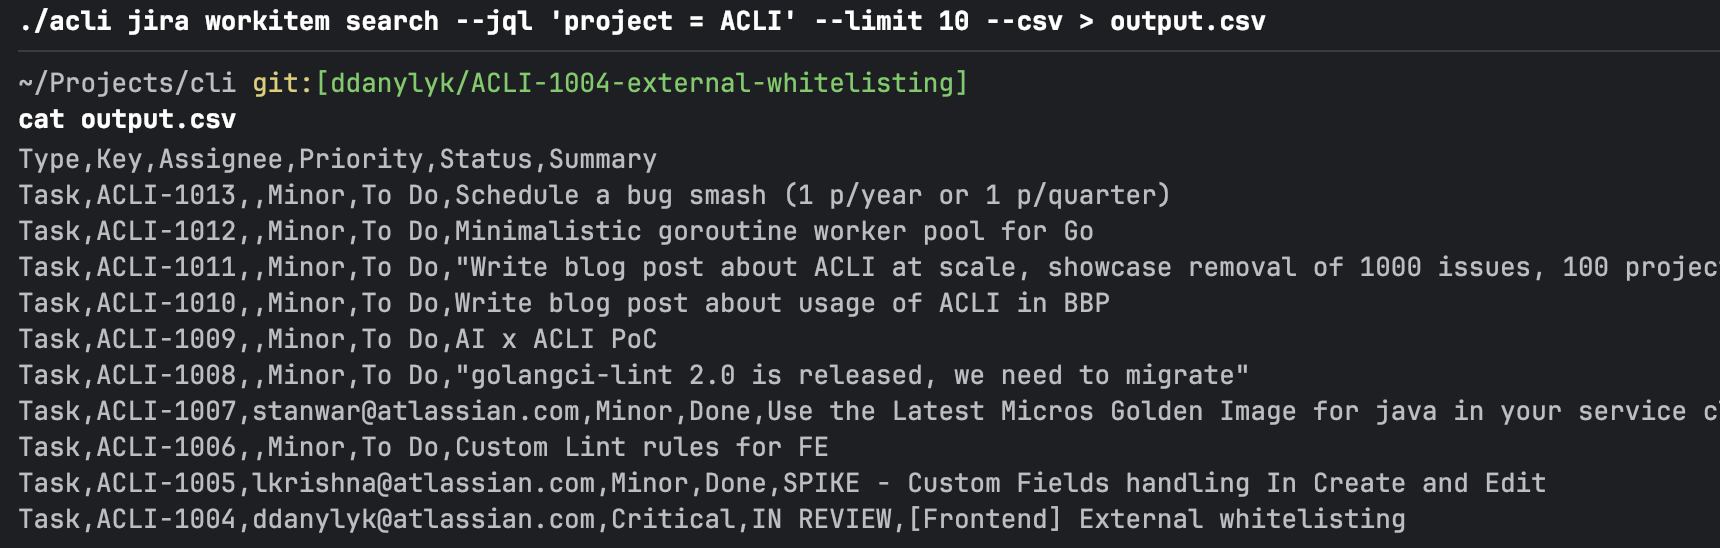
You can redirect the output of an Atlassian CLI command to a file using the > operator.
For example, if you want to search for Jira work items and save the output to a file called output.csv, you can use the following command:
1
2./acli jira workitem search --jql 'project = TEST' --limit 10 --csv > output.csv
Piping output to another command
You can pipe the output of an Atlassian CLI command to another command using the | operator.
For example, if you want to search for Jira work items and then filter the output to show only work items with "To Do" status, you can use the following command:
1
2./acli jira workitem search --jql 'project = ACLI' --limit 10 | grep "To Do"

Extracting specific data from the output
If you want to extract specific data from the output of an Atlassian CLI command, you can use a tool like jq to parse the JSON output. To output Atlassian CLI command in JSON format, you can use the --json flag.
For example, to extract the summary of Jira work items, you can use the following command:
1
2./acli jira workitem view ACLI-100 --json | jq '.fields.summary'

Rate this page: