How to adopt Forge from Connect
This guide will take you through the steps of adopting Forge for your Connect app, and replacing your installed app on your cloud development site. The incremental adoption of Forge is only available for Confluence and Jira Connect apps that are already listed on Marketplace. Unfortunately, this adoption pathway is not available for Bitbucket Connect apps.
For a walk-through of the required steps, check out this video:
Part 1: Install prerequisites and prepare your app
Follow Getting started for step-by-step instructions to set up your Forge development environment and development site.
Once you've completed this, you should now have:
-
Installed the Forge CLI.
-
Logged in with your API token.
-
Accessed your cloud developer site to test on (this can be the same as your Connect testing environment).
Install your Connect app into your cloud developer site, so that you can test it as you adopt Forge.

Part 2: Convert your descriptor to a manifest
Now that you've got Forge CLI and your Connect app running, you're ready to prepare your Forge manifest.
Hold up, what's a Forge manifest?
In Connect, you're used to working with a descriptor file (atlassian-connect.json) that describes your app.
In Forge, that equivalent file is declared as YAML and is called a Forge manifest (manifest.yml). It sits at the base of your app directory.
Although the file type is different, the declarations are very similar. So we've built a tool to automatically convert your existing descriptor to a manifest.
- You'll need to have two variables before you run our tool:
-
type: eitherjiraorconfluence, depending on what product your app is for -
url: the URL of your production Connect descriptor - for example,https://website.com/path/to/descriptor.json
- To convert your descriptor, in your Connect app directory, run:
1
2npx @atlassian/connect-to-forge@latest --type <jira|confluence> --url https://website.com/path/to/descriptor.json
You should see some output similar to this:
1
2Conversion begun for 'Existing Connect App':

- Moved all lifecycle events into connectModules.confluence:lifecycle.
- Moved 5 modules into connectModules in the Manifest
- Converted 3 connect scopes into correct format in manifest.

Forge manifest generated and saved to manifest.yml
This will create your Forge manifest: a manifest.yml file in the current directory, equivalent to your Connect descriptor. The Forge app ID can be found in manifest.yml as app.id.
At this stage, we would suggest creating a new branch of your Connect application in your local development environment and committing your newly created manifest into your repository.
Part 3: Register and deploy your app to your Forge development site
Now that we have your Forge manifest, we're ready to register and deploy your app.
- Run
forge register. The prompts will ask you to choose a Developer Space and then name your app. We recommend you choose the Developer space that matches to the Connect app's marketplace vendor name and app name as your existing Connect app.
If you don't see the appropriate Developer Space, then you may not have the permission to create new Forge apps in the space.
If you get a command not found error here, you may have missed installing Forge in Part 1.
- To deploy your app, run the
forge deploycommand and follow the prompts.
Deploying to different environments
Your Forge app now has three environments by default: development, staging, and production. It is recommended to use a different Connect key for each, so that they can coexist on the same site if required.
See Handling app keys for more information.
Before deploying to production environment
Make sure you have set the correct app.connect.key in your Forge manifest because it can NOT be mutated (added, removed or changed) in any further production deployments.
If your app requests that customers modify the app account's Jira or Confluence permissions, you may need to request persistence of your app account to Forge. This must be performed before your first deployment to the production environment.
Part 4: Install your app to your development site
You're now ready to replace your existing Connect app installation in your cloud development site. Before proceeding, ensure your cloud development site has an existing Connect installation with the same key.
- Run
forge installand follow the prompts to target your development site. The sync process will note the matching keys and replace your Connect app with the Forge app.
Report any installation errors!
The process triggered by installing the Forge version over the Connect version is the same one that will later be triggered by admins upgrading to the Forge version of your app, so if forge reports an unexpected error while installing onto your site with an existing Connect version, be sure to raise an ECOHELP bug report, including a copy of your manifest.
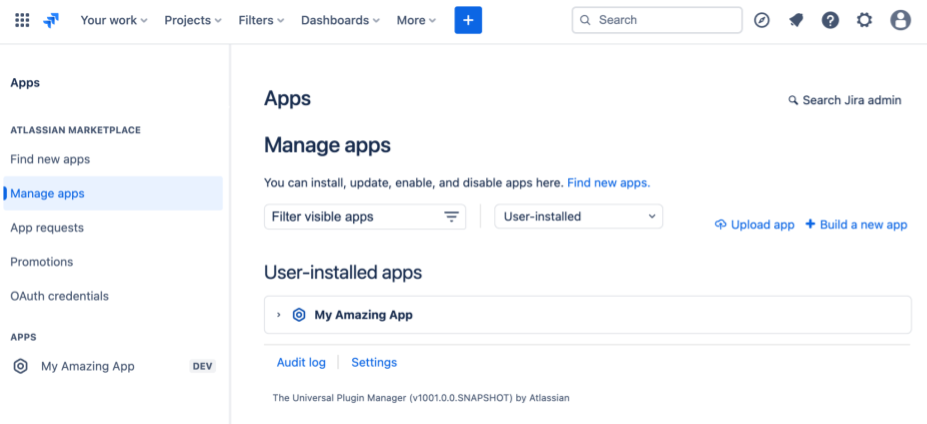
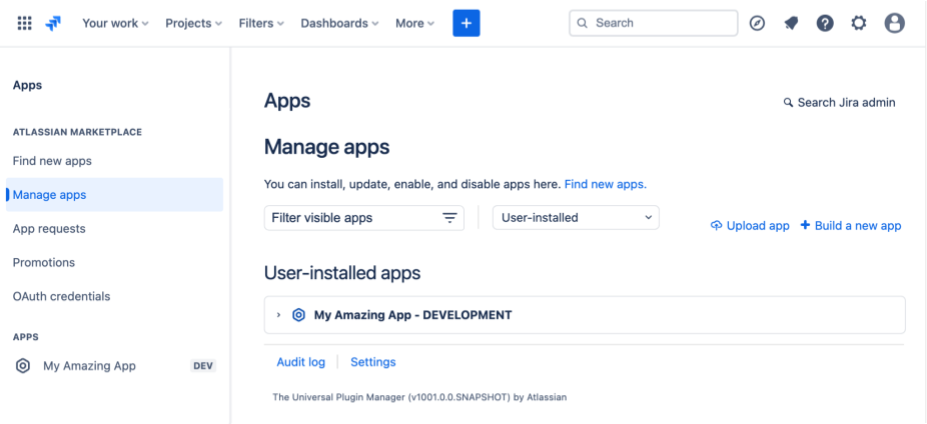
- You can now visit your test site to inspect and test your app. Within Apps > Manage apps, you'll be able to see your Forge app installed.

Part 5: Review and agree to the Forge terms and DPA
The Forge Data Processing Addendum (Forge DPA) is incorporated in the Forge Terms, which all Forge developers must comply with to use the Forge platform.
Next steps
Your Connect app now has Forge capabilities. From here, we'd recommend you:
-
Update your setup to our suggested directory structure
-
Re-use your translation files for Forge modules
-
Understand the best way to develop with Connect and Forge together
Stuck? Something not clear?
We'd love any feedback you have on this process through the Adopting Forge from Connect category on the Atlassian Developer Community.
Rate this page: