Build your first app
Welcome to your first hands-on challenge. This tutorial will guide you through creating your first Forge app using UI Kit, Atlassian’s framework for building app interfaces that look and feel native.
The tutorial will cover the following Forge concepts:
- Modules:
confluence-space-pageorjira-project-page - UI Kit: Text, Heading, Lozenge
- Fetch API:
requestConfluenceorrequestJira - Forge Bridge:
invoke,view
The 'Hello World' App
The Hello World App is designed to show you the basics of building a Forge app. You can choose to build your first app for Jira or Confluence—the tutorial structure is the same, but the product-specific modules differ. Select the product that best aligns with your goals or interests.
About the tutorial
Approximate time needed: 15-30 minutes
Suggested Skills: Basic understanding of Javascript, React is recommended.
This tutorial has instructions for creating either a Jira app and a Confluence app. Look out for the tabs in each section for the correct instructions for your project.
First, you'll use the Forge CLI to create a new app based on one of the many available templates, you will then customise the app and add a new module. You will also learn how to build and deploy the app, and install it onto your confluence developer test site.
Next, you'll customise your app further by accessing application context data via both the front and back end. You will also learn how to automatically deploy the app, and troubleshoot the app using console logging.
Finally, you'll personalise your app by replacing 'world' with the name of the current user, which you will get from the Confluence or Jira API. You'll also learn how to use the Forge CLI to automatically detect and fix permissions errors.
Along the way, you'll find extra tips, links and resources that will allow you to learn more about what was covered in each section, and become familiar with how resources are laid out in the Forge documentation.
Before you begin
Before you start creating your app, ensure you've prepared by completing the steps outlined in Preparing for your development environment.
If you have time, you may also want to review Essential Knowlege which will explain where to find all the essential forge knowledge, and more importantly where to go to ask for help if you get stuck.
If you get stuck along the way, you can review the source code at bitbucket.com: Forge quest solutions.
Create your app
Create an app based on the Confluence Space Page template.
- Navigate to the directory where you want to create the app. A new subdirectory with the app's name will be created there.
- Create your app by running:
1 2
forge create - Enter a name for your app (up to 50 characters). For example my-first-quest.
- When prompted to Select a category, choose UI kit.
- Select
Confluenceas the product using the arrow keys and press the enter key. - Select the confluence-space-page template.
- Change to the app subdirectory to see the app files:
1 2
cd my-first-confluence-quest
The forge create command is part of the Forge CLI. The CLI provides a range of functionality for managing and working with your forge app. You can find the Forge CLI documentation at https://developer.atlassian.com/platform/forge/cli-reference/
About the Forge UI Kit app templates
The app you created above used either the Confluence Space Page or Jira Project Page UI Kit template.
The Forge UI Kit templates use Node.js and typically have the following structure:
1
2.
├── README.md
├── manifest.yml
├── package-lock.json
├── package.json
└── src
  └── frontend // front-end code goes in this folder
    └── index.jsx
  └── resolvers // back-end code goes in this folder
    └── index.js
  └── index.js // this exports the resolver functions to the top level directory
Lets have a look at these files and directories a little more closely:
src/frontend/index.jsx: contains the application the user interacts with directlymanifest.yml: contains the description of your app, including the name and ID of the app, the app permissions, and the modules the app uses. To learn more about the manifest.yml file, see Forge manifest documentation.package.json: contains the app’s Node.js metadata. See the Node documentation for more information.package-lock.json: Records the version of the app’s dependencies.README.md: contains information about the app. We recommend updating this as you change the behavior of the app.src/resolvers/index.js: contains the applications backend functions, the functions are then defined inindex.jsand can be invoked from the frontend using the UI bridge method. For more information, see Custom UI Resolver docs.index.js: Where you write thesrc/resolvers/index.jsfunction definitions. For more information, see Custom UI Resolver docs.
Explore the manifest.yml
This app displays content in place of a Confluence page within a Confluence space. The app appears as a link in the space navigation menu, and the title of each module is used as the title of the link, with the app rendering inside the content area of Confluence.
To learn more about the confluence space page module, you can consult the Forge reference docs at https://developer.atlassian.com/platform/forge/manifest-reference/modules/confluence-space-page/
- In the app’s top-level directory, open the
manifest.ymlfile. - Find the
titleentry under theconfluence:spacePagemodule. - Change the value of
titleto<your name>'s first quest. For example, Charlie's first quest.
Your manifest.yml file should look like the following, with your values for the title and app ID:
1
2modules:
  confluence:spacePage:
    - key: my-first-quest-hello-world-space-page
      resource: main
      resolver:
        function: resolver
      render: native
      title: Charlie's first Confluence quest
      route: hello-world
  function:
    - key: resolver
      handler: index.handler
resources:
  - key: main
    path: src/frontend/index.jsx
app:
  runtime:
    name: nodejs22.x
  id: '<your app id>'
You may notice that the module in the manifest includes a render: native property. This is how you declare that a module is a UI Kit app.
You must include the render: native property for any other UI Kit modules you may wish to add.
Deploy and install your app
To use your app, it must be installed onto an Atlassian site. The forge deploy command builds, compiles, and deploys your code; it'll also report any compilation errors. The forge install command then installs the deployed app onto an Atlassian site with the required API access.
- Navigate to the app's top-level directory and deploy your app by running:
1 2
forge deploy - Install your app by running:
1 2
forge install - Select
confluenceusing the arrow keys and press the enter key. - Enter the URL for your Atlassian development site. For example example.atlassian.net. You can view a list of your active sites at Atlassian administration
Once the install complete message appears, your app is installed and ready to use on the site specified. You can delete your app from the site by running the forge uninstall command.
About updating your app installation after changes
Once your app is installed, it will automatically pick up all minor app deployments so you don't need to run forge install every time you make a change. Minor deployments are changes that don't modify the app permissions in the manifest.yml file.
To deploy minor changes to your developer site, or bitbucket workspace run the forge deploy command.
The Forge CLI will also detect if a change has been made to your app to modify the apps permissions, and will direct you to update your app installation using the forge install --upgrade command.
Running the forge install command only installs your app onto the selected product. To install onto multiple products, repeat these steps again, selecting another product each time. Note that the Atlassian Marketplace does not support cross-product apps yet.
You must run forge deploy before running forge install in any of the Forge environments.
View your app
Now that your app is installed, it's time to see it in action in your Confluence site.
- Open your confluence development site (eg, example.atlassian.net/wiki) and click on the Spaces menu to view a list of spaces.
- Click on any space in the list to navigate to that space.
- At the bottom of the Space navigation menu on the left, click on the link for your app under the APPS heading.
- Your app will load in the main content window.
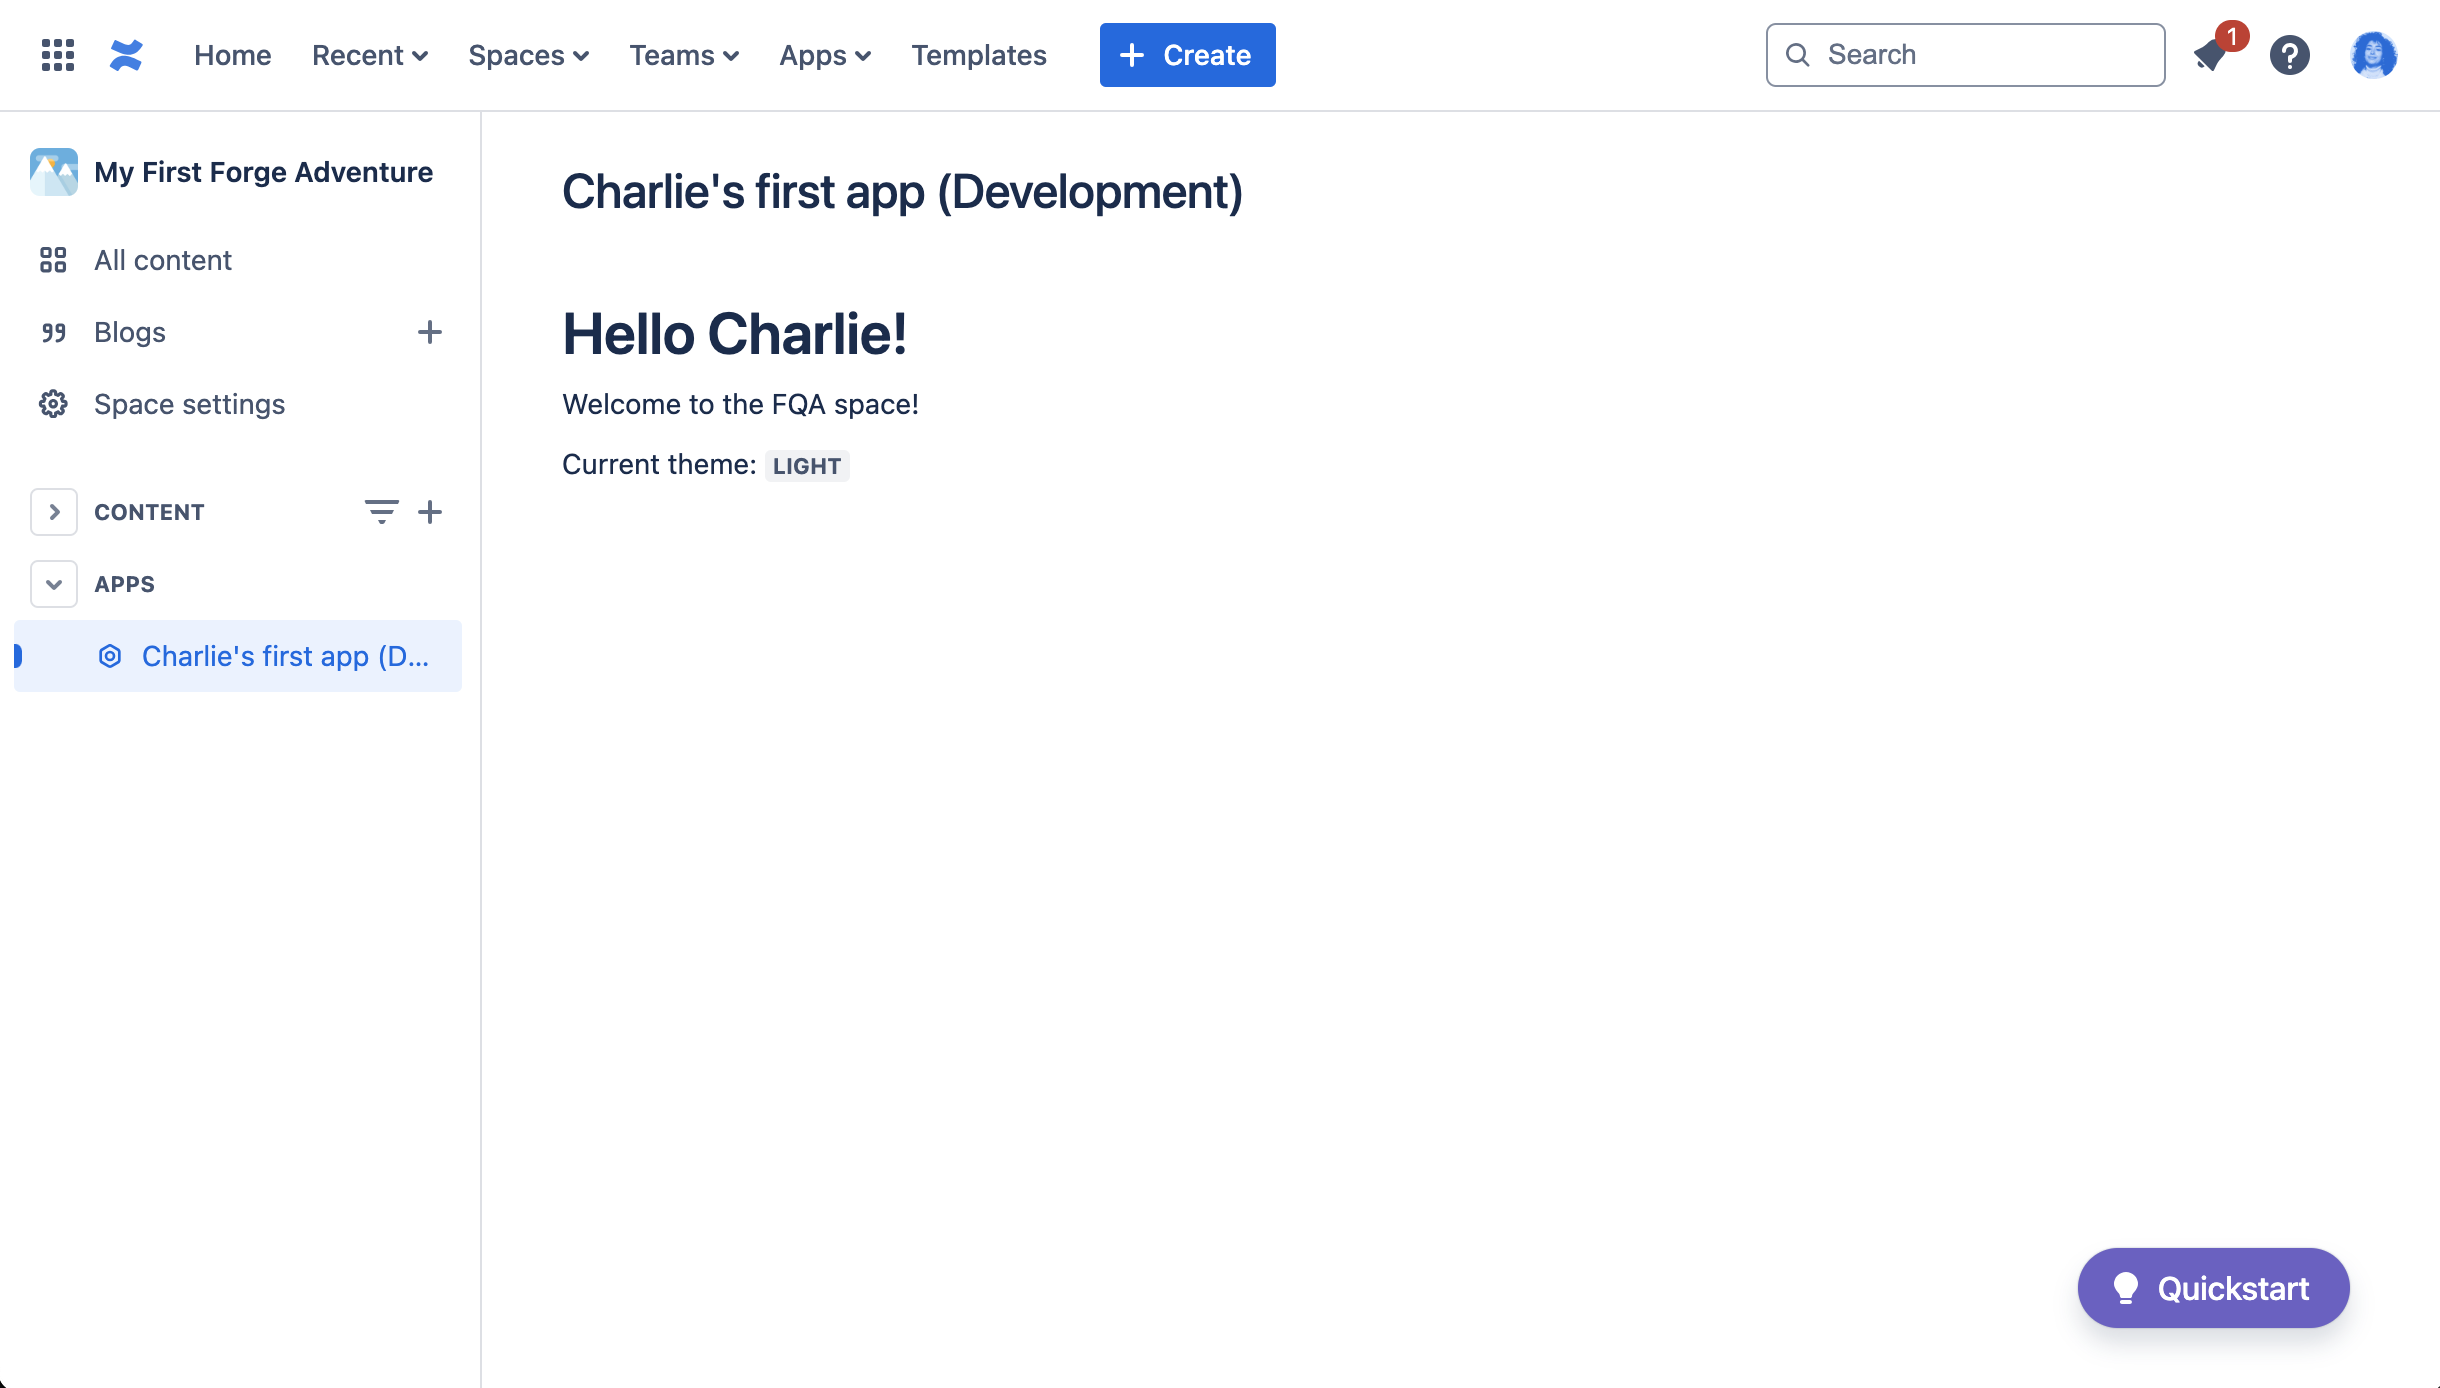
When you navigate to your app, you'll see that it displays the message Hello World! followed by another line of text which says Loading... and then changes to read Hello World! as well. The first Hello World! and the Loading... text are defined within the src/frontend/index.jsx file - this file is calling a resolver function in the back end of the app, where the second Hello World! message is defined.
Change how your app looks
In this section, you'll make some changes to the src/frontend/index.jsx to change the appearance of your app by using an additional UI Kit component.
-
Navigate to the
src/frontenddirectory. -
Open the
index.jsxfile. The default content of the file is shown below:1 2
import React, { useEffect, useState } from 'react'; import ForgeReconciler, { Text } from '@forge/react'; import { invoke } from '@forge/bridge'; const App = () => { const [data, setData] = useState(null); useEffect(() => { invoke('getText', { example: 'my-invoke-variable' }).then(setData); }, []); return ( <> <Text>Hello world!</Text> <Text>{data ? data : 'Loading...'}</Text> </> ); }; ForgeReconciler.render( <React.StrictMode> <App /> </React.StrictMode> ); -
Modify the import statement at the top of
index.jsxto import the heading component,1 2
import ForgeReconciler, { Heading, Text } from '@forge/react'; -
Modify the App return statement to use the
<Heading>tags instead of the<Text>tags, so thatHello world!displays as a extra large sized heading,1 2
<Heading size="xlarge">Hello world!</Heading>To learn more about the Heading component, you can consult the Forge UI Kit reference docs at https://developer.atlassian.com/platform/forge/ui-kit/components/heading/
-
Save the changes you made to
index.jsx. -
Navigate back to the app's top-level directory, and deploy your changes by running:
1 2
forge deploy -
Once the deployment is complete, refresh your app's space page in confluence to see the changes.
Next step
In the next part of this quest you will customise your app further by accessing application context data via both the front and back end. You will also learn how to automatically deploy your app, and troubleshoot it using console logging.
Rate this page: