Working with a Multi-bodied Macro
A multi-bodied macro allows you to create and store multiple bodies associated with the macro. Each body can contain any other Confluence elements. When a user adds a multi-bodied macro to a page, it's rendered with a single body, considered the active body. The app’s logic can manipulate the bodies of the macro, allowing users to add or delete bodies, set any body as active and visible.

A multi-bodied macro provides a more intuitive and engaging user experience, as it allows users to configure the macro in the editor in the same manner as they would see it in the renderer. However, the functionality will be slightly different. In the editor, users are expected to insert or remove bodies, and alter the body content, compared to the renderer where users are only allowed to switch the active body.
In this tutorial, you will create a simple Tabs macro. Once you complete this tutorial, you will be able to:
- Add a
dynamicContentMacrosmodule featuring amulti-body-rich-textbody type. - Introduce a macro view that displays differently in the editor and renderer.
- Implement a logic in the macro enabling user interaction with the tabs.
Let's get started!
Before you begin
Ensure you have installed all the tools you need for Confluence Connect app development by Getting set up with Atlassian Connect Express (ACE):
- Get a cloud development site.
- Enable development mode in your site.
- Install ACE.
Before starting this tutorial, it is helpful to complete the previous tutorial: Creating a dynamic content macro.
Create a new app
Start by creating a fresh app to work with.
- From the command line, go into a directory where you'd like to work, and type:
1 2
atlas-connect new multi-bodied-macro-tutorial - Select Confluence in the menu.
- When the command finishes, go into the
multi-bodied-macro-tutorialdirectory and run the following command to install any dependencies for the app:npm install - Add the
credentials.jsonfile that gives your app permission to work with your Confluence Cloud development site. Copy the one you created during the Getting started tutorial. You can ignore or delete the existingcredentials.json.samplefile.
Add a macro
Add a dynamicContentMacros object inside the modules block of your app descriptor:
1
2"modules": {
    "dynamicContentMacros": [{
        "url": "/tabs?outputType={output.type}",
        "description": {
            "value": "Organize the content of the page with Tabs"
        },
        "bodyType": "multi-body-rich-text",
        "name": {
            "value": "Tabs Macro"
        },
        "key": "tabs-macro",
        "parameters": [{
            "identifier": "tabs",
            "type": "string",
            "hidden": true,
            "name": {
                "value": "Tabs meta data"
            },
            "description": {
                "value": "Stores information about tab titles"
            },
            "indexing": {
                "enabled": true
            }
        }]
    }]
}
Note the following fields:
url: In addition to the endpoint, the URL includes a context parameter to capture the output type, which will be used to determine if the macro is rendered in the editor ("preview") or renderer ("display").bodyType: This field is set tomulti-body-rich-text, which indicates the macro's ability to store multiple bodies.parameters: This field contain a single string parametertabsthat will be used later to store tab titles. Note, that this params is marked as hidden, to avoid apearance in config panel.
For a list of macro variables, see Dynamic content macro.
Add a view
Create a file with the name tabs.hbs in the views directory:
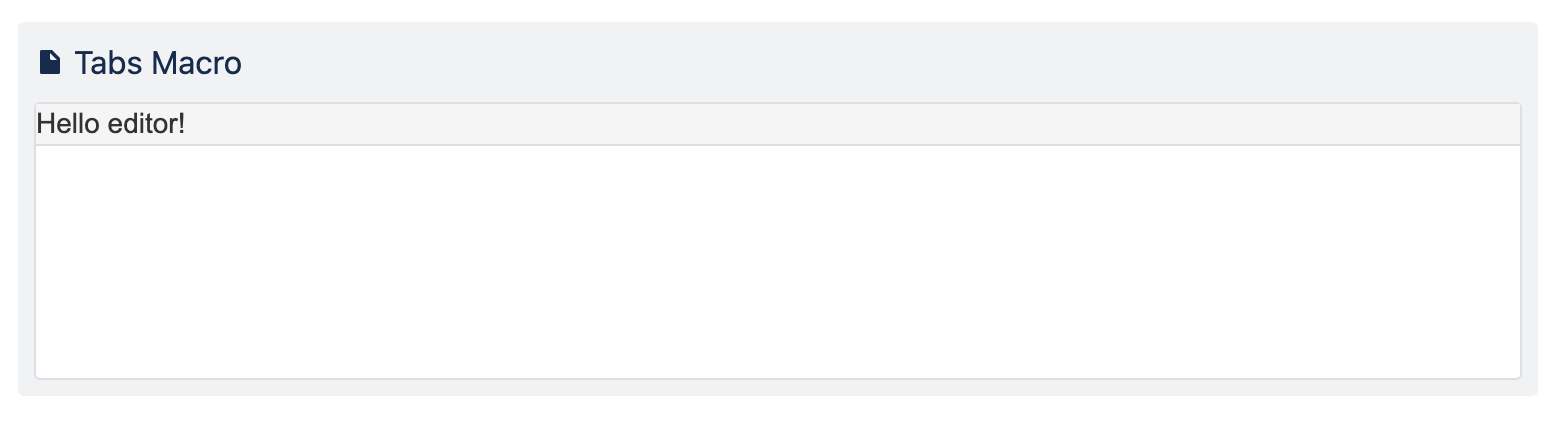
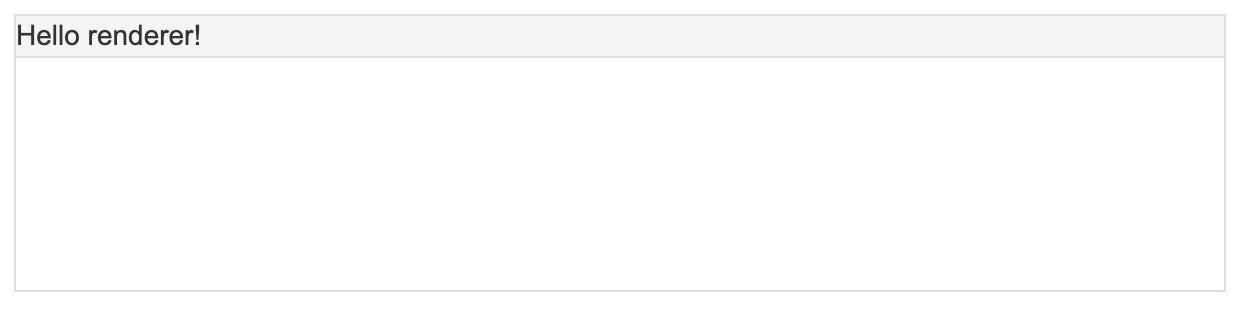
1
2{{!< layout}}
<div>
    {{#if isEditor}}
        Hello editor!
    {{else}}
        Hello renderer!
    {{/if}}
</div>
This view presents different greetings based on their location.
Add a route handler
In routes/index.js, add a new app.get() method under the
// Add additional route handlers here… comment:
1
2app.get("/tabs", addon.authenticate(), function (req, res) {
    // Get the view param passed in via the URL
    const outputType = req.query["outputType"];

    // Render the view, passing in the isEditor variable
    res.render("tabs", {
        isEditor: outputType === "preview",
    });
});
See the result
Now it's time to see the macro rendered on the Confluence editor and renderer:
- In the command line, type
npm startto start the app. - Edit a page in your Confluence Cloud developer site.
- Type
/tabsand click Tabs Macro. - Put some text in the box.
- Publish the page.
You should see something similar to this
in editor
in renderer
Add a logic to add and toggle bodies to the macro
Now let's replace the content of the tabs.hbs with the next code:
1
2{{!< layout}}
<script>
    // Define isEditor variable with value from template
    const isEditor = {{isEditor}};

    // Function to generate default tab title based on index
    const getDefaultTabTitle = (index) => `Tab ${index + 1}`

    // Main initialization function
    const init = async () => {
        // Fetch parameters and body count using macro module
        const params = await AP.macro.getParameters();
        const bodyCount = await AP.macro.getBodyCount();

        // Generate array of tab titles based on parameters or default titles
        const tabTitles = params["tabs"] ?
            JSON.parse(params["tabs"]) :
            Array(this.bodyCount).fill("").map((_, i) => getDefaultTabTitle(i));

        // If in editor, create editable tabs and initialize plus button
        // Else, just create non-editable tabs
        if (isEditor) {
            tabTitles.forEach((title, index) => {
                addEditableTab(tabTitles, index, title);
            });
            initPlusButton(tabTitles);
        } else {
            tabTitles.forEach((title, index) => {
                addTab(index, title);
            });
        }
    };

    // Function to add non-editable tab
    const addTab = async (index, title) => {
        // Get tab list element from DOM
        const tabListEl = document.querySelector("#tab-list");
        // Create new button element for tab
        const tab = document.createElement("button");
        tab.append(title);

        // Add click event listener to show body of the tab
        tab.addEventListener("click", async (event) => {
            await AP.macro.showBody({ body: index, frame: 0 });
        });
        // Append tab to tab list
        tabListEl.append(tab);
    }

    // Function to add editable tab
    const addEditableTab = async (tabTitles, index, defaultTitle) => {
        // Get tab list element from DOM
        const tabListEl = document.querySelector("#tab-list");
        // Create new input element for tab
        const tab = document.createElement("input");
        tab.value = defaultTitle;

        // Add click event listener to show body of tab
        tab.addEventListener("click", async (event) => {
            await AP.macro.showBody({ body: index, frame: 0 });
        });

        // Add change event listener to update macro params
        tab.addEventListener("change", async (event) => {
            tabTitles[index] = event.target.value;
            await AP.macro.updateParameters({ tabs: JSON.stringify(tabTitles) });
        });

        // Append tab to tab list
        tabListEl.append(tab);
    }

    // Function to initialize plus button
    const initPlusButton = (tabTitles) => {
        // Get button element from DOM
        const addButtonEl = document.querySelector("#add-new-body");
        // Add click event listener to add new tab
        addButtonEl.addEventListener("click", async () => {
            // Calculate the index for the new tab
            const newIndex = tabTitles.length;
            // Generate a default title for the new tab and add it to the tabTitles array
            tabTitles.push(getDefaultTabTitle(newIndex));
            // Add and show a new body to the macro
            await AP.macro.addBody();
            await AP.macro.showBody({ body: newIndex, frame: 0 });
             // Update macro params with a new tabTitles array
            await AP.macro.updateParameters({ tabs: JSON.stringify(tabTitles) });
            // Add the new tab element to the tab list
            addEditableTab(tabTitles, newIndex, getDefaultTabTitle(newIndex));
        });
    }

    // Add event listener to call init function as soon as HTML document is fully loaded
    document.addEventListener("DOMContentLoaded", async () => await init());
</script>

<div>
    <!-- If in editor mode, show editor with add button -->
    <!-- Else, just show tabs without add button -->
    {{#if isEditor}}
        <div id="tabs-editor">
            <span id="tab-list"></span>
            <button id="add-new-body"> + </button>
        </div>
    {{else}}
        <div id="tabs-editor">
            <span id="tab-list"></span>
        </div>
    {{/if}}
</div>
and refresh the page.
With this code, you will be able to:
- Configure tabs in the editor:
- Add a title to the tab
- Add content to the tab that is stored in the body associated with the tab
- Store all tab titles with macro parameters
- Display all tabs in the renderer:
- Switch tabs and display the body with tab content
You can notice that a new Macro Javascript module is used to manipulate the bodies of the macro. This module allows creating or removing bodies, making a certain body active and visible to users. It also allows storing and retrieving macro parameters that can be used to save any data, such as tab titles.


Conclusion
By following this tutorial, you have successfully created a multi-bodied macro, understood how to use the new Macro Javascript module, and learned how to render different views in the editor and renderer.
Multi-bodied macros provide a powerful tool for app developers to create more interactive and dynamic macros in Confluence Cloud. Whether you're creating a new app or enhancing an existing one, consider how multi-bodied macros could improve user's experience.
You are also welcome to explore our other tutorials.
Rate this page: