Building Confluence from source code
| Status | LEGACY. This tutorial applies to Confluence versions that have reached end of life. |
This guide describes building a confluence.war distribution or an IDE project from the Confluence source code. Plugin developers who wish to use source code as an aid in building plugins should refer to the plugin documentation. This process should be simple and quick, so please let us know if you get stuck.
Building a WAR distribution
-
Download Confluence source code.
Source code access is available for commercial license holders. If you do not have access to the source code download site, log in to my.atlassian.com as your billing contact or contact our sales department.
Please be aware that while Confluence's source code is available to licensed customers, this does not apply to the Confluence Office Connector .
-
Install restricted third party (
.jar) libraries to your local Maven repository.Confluence is built using Maven. Maven is bundled with the source distribution and therefore does not need to be installed separately. When you build Confluence, Maven will download dependencies and store them in a local repository. One of these dependencies requires manual installation for legal distribution reasons.
Sun will not allow Maven to redistribute its binaries. You must install all Sun binaries manually by downloading them from Sun's website and running the
mvn installcommand. Maven has provided documentation for both 3rd party jars in general and Sun jars in particular.Libraries Maven groupId and artifactId version Download URL mail javax.mail:mail 1.3.2 JavaMail API Release 1.3.2 oracle-jdbc15 com.oracle:oracle-jdbc15 11.2.0.1.0 oracle-jdbc15-11.2.0.1.0.jar or Oracle Database 11g Release 2 JDBC Drivers
-
For mail:
Unzip themail.jarfile from the javamail-1_x_x.zip file. From the root of your extracted source code directory, run the following command, where Path/To/mail.jar is the absolute path to the extracted mail.jar file:1 2
./mvn333.sh install:install-file -DgroupId=javax.mail -DartifactId=mail -Dversion=1.x.x -Dpackaging=jar -Dfile=Path/To/mail.jar -s "settings.xml" -Dmaven.repo.local="`pwd`/localrepo"Note: the filename of
mvn333.shmay differ depending on your version of Maven. -
For oracle-jdbc15:
From the root of your extracted source code directory, run the following command, where Path/To/oracle-jdbc15.jar is the absolute path to the oracle-jdbc15 file:1 2
./mvn333.sh install:install-file -DgroupId=com.oracle -DartifactId=oracle-jdbc15 -Dversion=11.2.0.1.0 -Dpackaging=jar -Dfile=Path/To/oracle-jdbc15.jar -s "settings.xml" -Dmaven.repo.local="`pwd`/localrepo"
-
Option 1: Building the Confluence Project or Individual Libraries using IDEA
This is the simplest option. From IDEA, go to File >> Open Project. Browse to the pom.xml file of the individual project. If you are wanting to compile the Confluence project (as opposed to one of the libraries, say Atlassian User), use the pom.xml file from the confluence-project file.
Using the pom.xml at the root of the distribution to load the Confluence project and all its dependencies usually results in classloading errors. If you want to debug a dependency and the confluence core together, you'll have to integrate the projects.
Option 2: Building the Confluence Project or Individual Libraries Using Maven
Each Confluence Library is bundled with its own Maven pom file. To build one of the sub-projects, you need not build the entire source. To use the bundled maven distribution:
-
Copy build.sh or build.bat to the appropriate sub-directory.
-
Change M2_HOME to point to the parent directory, as so:
build.sh:1 2
export M2_HOME="$PWD/../maven"build.bat:
1 2
set M2_HOME=..\maven -
Run your build script.
If the build is run successfully you should have a confluence.war file created in confluence-project/confluence-core/confluence-webapp/target
Building an Intellij Idea or an Eclipse project
-
To build a project for an IDE, you can use the instructions above, but modify the build.sh or build.bat mvn command. Replace:
1 2
exec mvn clean package -Dmaven.test.skip $* with:1 2
exec mvn idea:idea or exec mvn eclipse:eclipseA great way to open an IDEA module is to import the pom file from within IDEA. You can do it from
File >> Open Project >> {browse to the pom file to import. You'll want to open the confluence-project pom or other module.
This should leave a project file in the root of your source directory. It should have all the confluence modules.
-
Download Intellij IDEA.
-
Install Tomcat and get it running.
-
In your Confluence source tree, edit
confluence-project/conf-webapp/src/main/resources/confluence-init.properties. Set your home directory. -
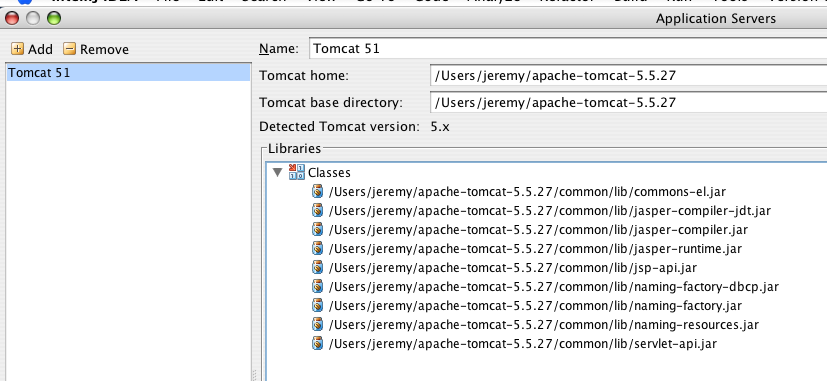
From
Preferences > Application Serversadd Tomcat
-
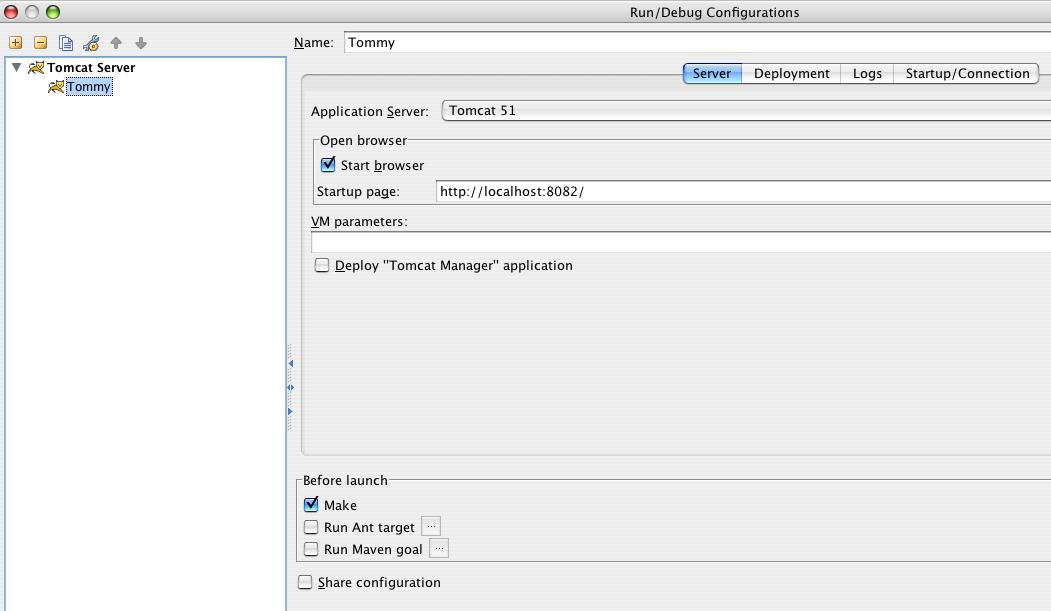
From
Run > Edit Configurations, add a Tomcat Configuration. Select to deploy the confluence-webapp module to the appserver:
-
Click Configure and configure how to deploy. Choose to Create web module exploded directory and exclude from module content:
-
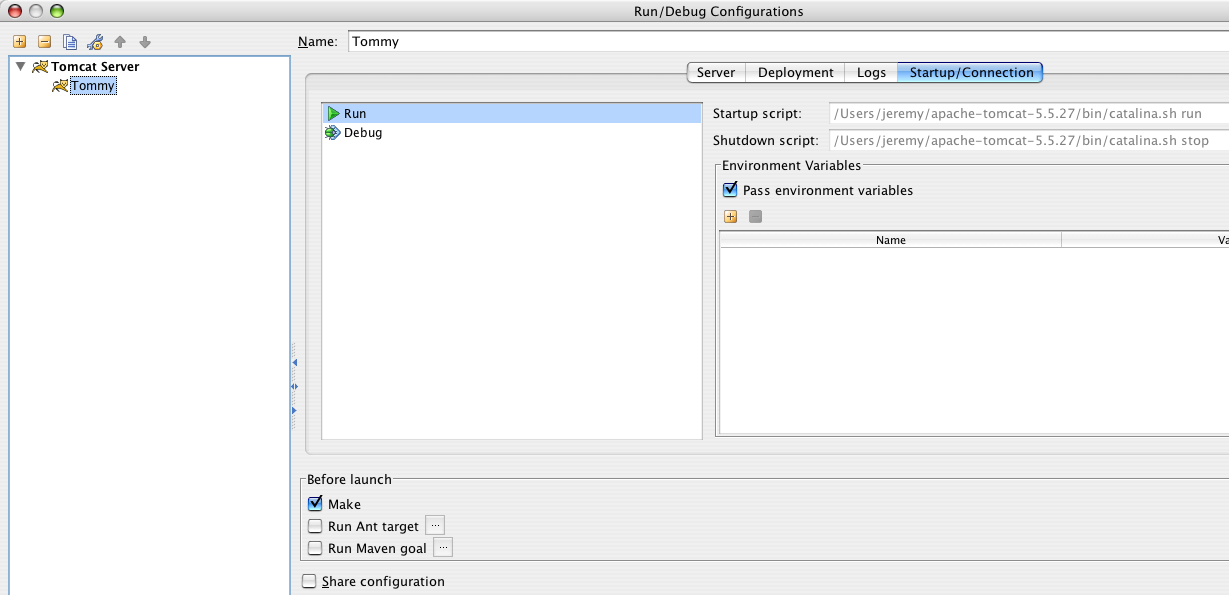
From the server tab, you might set some memory settings like:
1 2
-XX:MaxPermSize=256M -Xmx512m -
Run the application. Have fun!
Creating a Single Patch File
If you'd like to create a patch:
- If you haven't done so, select Build >> Make Project.
- Select Build >> Compile '<class name>.java'
This will leave a compiled class file in the <confluence-source distribution>/confluence-project/confluence/target/classes/<path-to-class> where the path to class is the package of the class you've compiled.
Creating a Server for Eclipse
In Eclipse creating a server defines creating a pointer to an existing installation of an application server.
To create a server:
Window->Show View->Servers
Right Click and select New->Server
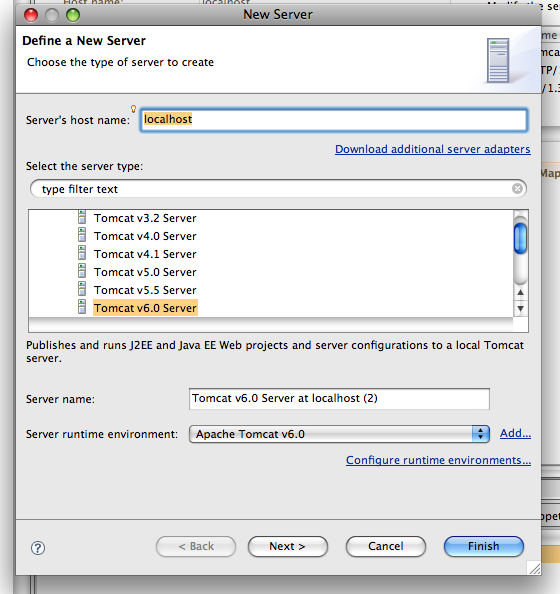
In the menu bar click File->New->Other and expand the server folder and select the version of the serer you have installed on your system.
Click Next and the New Server wizard opens. This wizard defines a new server, that contains information required to point to a specific runtime environment for local or remote testing, or for publishing to an application server. By default, this field is pre-filled with the default address: localhost
Supported Servers in Eclipse:
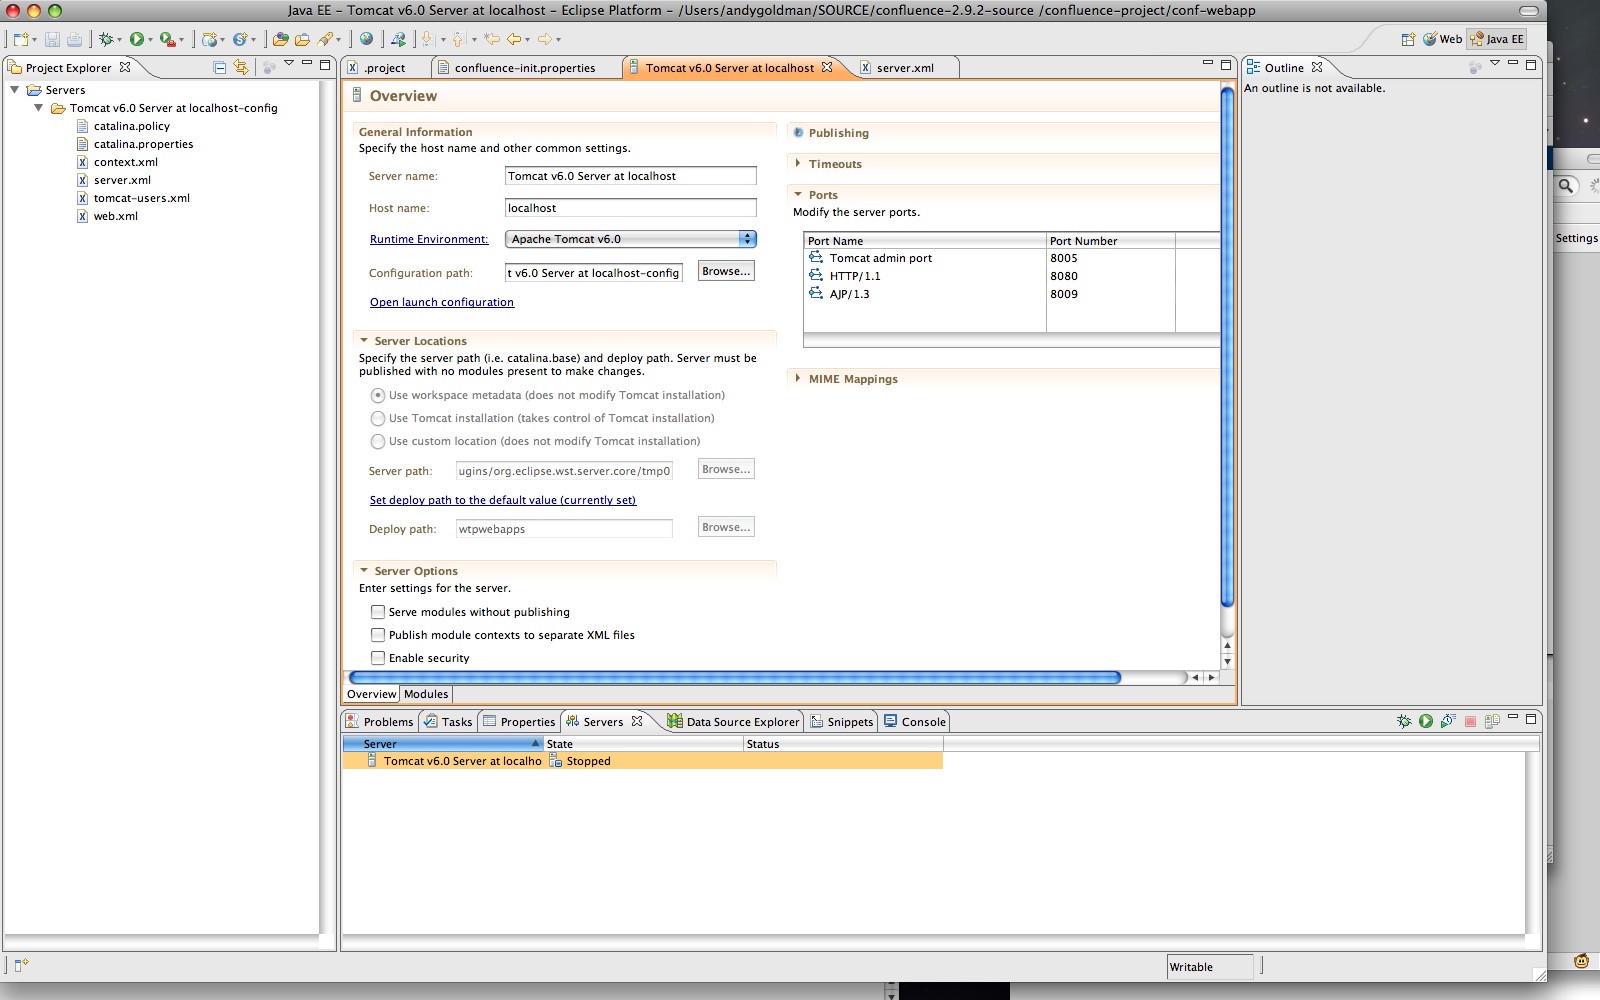
-
Eclipse view after adding Tomcat
Troubleshooting and Technical Support
If you get a class not found error, you may need to replace a jar file in your maven repository. Try Atlassian Answers.
Atlassian encourages our community to make use of our source code. Please be aware that upgrades may require additional modifications.
Source code modifications are not supported by Atlassian Support.
Rate this page: