Creating a page
This guide assumes you're using the Bitbucket CSE template, and followed the instructions from the Getting started section.
In this section you will learn how to:
- Create a page inside a product using page extensions.
- Modify the styles of your page using decorators.
- Provide data from the backend using data providers.
Page extension
All the extensions created until now have been extending existing pages inside a product, either by adding a button to a page, or a small section with your custom HTML content. But there are cases where your feature may require to have its page under a unique URL:
- You might want to create a page to configure your plugin.
- Or perhaps you would like to have a page that serves as a dashboard for your feature.
CSE page extension provides all the functionality you need to create a custom route inside a product, and the tools to control who can access and how it looks.
For page extensions to work, you first need to add atlassian-clientside-extensions-bootstrapper to your plugin.
Follow this guide to learn how
to do so.
If you're using the Bitbucket CSE template, this dependency is already configured for you.
CSE page bootstrapper makes use of existing technologies available in all products like Servlet, conditions, data
providers, and webfragments; so you can create pages with it for any existing web-section.
Creating a home page for your plugin
Start by creating a new JavaScript file and defining a page extension:
- Create
/src/my-app/extensions/page-extension.jsfile.
Now, define a page extension that shows a link in the main nav and, when visited, shows a message on the screen:
1
2// #/src/my-app/extensions/page-extension.js

import { PageExtension } from '@atlassian/clientside-extensions';

/**
 * @clientside-extension
 * @extension-point header.global.primary
 * @label page-extension.label
 * @page-url /page-extension
 * @page-title page-extension.title
 */
export default PageExtension.factory((container) => {
    container.innerHTML = `
        <!-- using AUI page-panel CSS to make it look nice -->
        <div class="aui-page-panel">
            <div class="aui-page-panel-inner">
                <section class="aui-page-panel-content">
                    <h2>My extension</h2>
                    <p>Look ma! a web page with just JavaScript!</p>
                </section>
            </div>
        </div>
    `;
});
Page extensions support the same i18n mechanism as other extensions for the link and title of the page.
Add a couple of translations to src/main/resources/i18n/myapp.properties for the text of the link and
the title of the page:
1
2#/src/main/resources/i18n/myapp.properties

page-extension.label=Page extension
page-extension.title=Page created with CSE
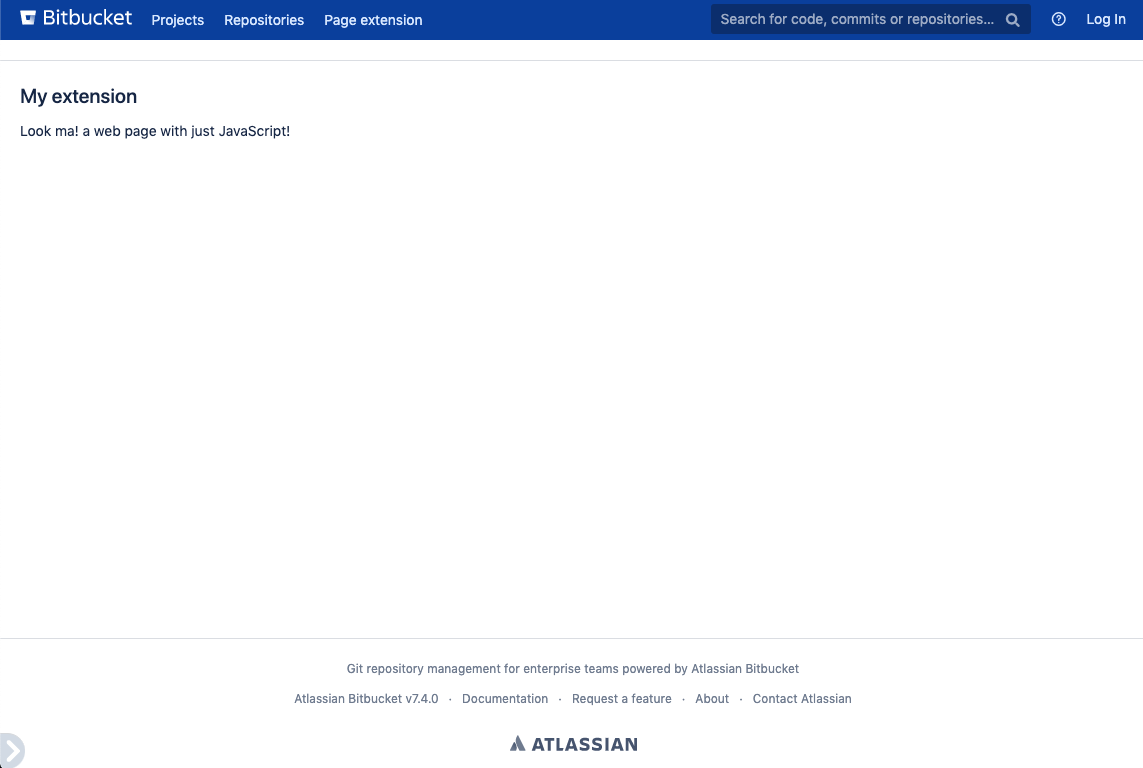
Rebuild your plugin with atlas-package -DskipTests, refresh the page and you should see a link on the top navigation with the text "Page extension".
When clicking the link, it should redirect you to a blank page with your message on it:
Page annotations
As you may have noticed, page extensions make heavy usage of CSE annotations. This is because that all this information is needed on build time when generating all the underlying pieces for your page to work.
These are the minimum required annotations for creating a page, and what each of them does for your page:
@extension-point: defines the location where the link to your page will be rendered. You can use any existingweb-sectionof any product, or new CSE extension points that supportpageextension type.@label: will be the text shown as the text of the link to your page. Can be either string or an i18n key.@page-url: a string representing the URL you want to use for your page. Bear in mind this URL will be prefixed with/plugins/servlet, so if you use/my-pagethe full URL will be/plugins/servlet/my-page@page-title: a text that will be used as the HTML title of your page. Can be either string or an i18n key.
If you miss any of them while developing, webpack will show an error in the console when building your extension.
Make sure to check the page extension reference to explore all the things you can do with pages.
Use a different decorator for your page
Page decorators are a well known feature that allows your plugin to generate new web pages with consistent decoration by the host application across Atlassian products.
CSE pages support setting a decorator as well. You can try it out by using a decorator like atl.admin.
In /src/my-app/extensions/page-extension.js:
- Apply
atl.admindecorator to your page
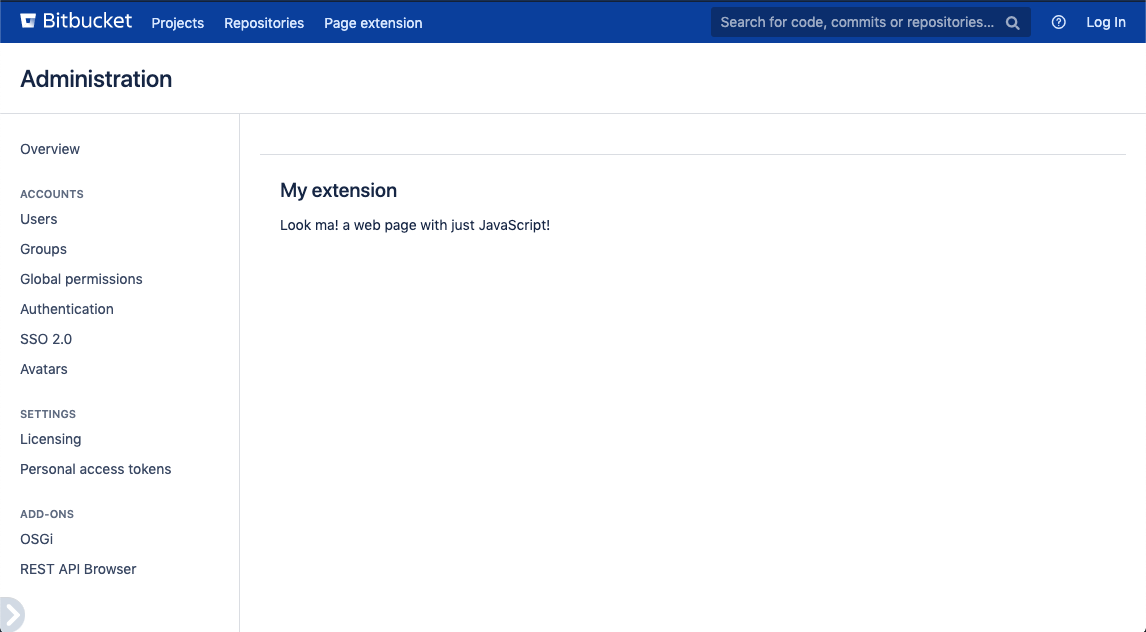
1
2// #/src/my-app/extensions/page-extension.js

import { PageExtension } from '@atlassian/clientside-extensions';

/**
 * @clientside-extension
 * @extension-point header.global.primary
 * @label page-extension.label
 * @page-url /page-extension
 * @page-title page-extension.title
 *
 * @page-decorator atl.admin
 */
export default PageExtension.factory((container) => {
    container.innerHTML = `
        <h2>My extension</h2>
        <p>Look ma! a web page with just JavaScript!</p>
    `;
});
Rebuild your plugin with atlas-package -DskipTests, refresh your browser and now you should see your page with the admin styles:
Page factory
CSE provides a page extension factory to make it easier to create pages, especially when using TypeScript. This factory is a bit different than the others though.
You may have noticed that the callback it receives doesn't return any attributes (like e.g.: buttons or panels). That's because pages don't need an API to interact with products since they control the whole page.
The callback only receives a container created by the CSE page bootstrapper where you can render your content, and a second parameter with data you can provide using data providers (more on this later).
1
2// #/src/my-app/extensions/page-extension.js

import { PageExtension } from '@atlassian/clientside-extensions';

/**
 * @clientside-extension
 * ...other annotations...
 */
export default PageExtension.factory((container) => {
    // do whatever you want with the container :)
});
Create pages with any framework!
You can make use of any framework you like to create the content of the page and use the container as mounting point for your page.
With React, it would look like this:
1
2// #/src/my-app/extensions/page-extension.js

import React from 'react';
import { render } from 'react-dom';
import { PageExtension } from '@atlassian/clientside-extensions';

const MyPage = () => (
    <div>
        <h2>My extension with react</h2>
        <p>CSE pages are so cool!!</p>
    </div>
);

/**
 * @clientside-extension
 * @extension-point header.global.primary
 * @label page-extension.label
 * @page-url /page-extension
 * @page-title page-extension.title
 */
export default PageExtension.factory((container) => {
    render(<MyPage />, container);
});
Data providers
If you need to share some data from your backend to your frontend, you can make use of data providers.
CSE pages provide a convenient annotation so that you can specify the class of your data provider, and the webpack plugin will take care of adding the necessary bits so that your provider executes it. Later, CSE page bootstrapper will receive the data and share it with your page as the second parameter of your callback.
Providing the user information from the backend to your page
Now, you will create a simple data provider that will send an object with some user data from the backend to your page.
Create a Java class and write the following provider:
- Create a Java file on
/src/main/java/com/atlassian/myapp/DataProvider.java - Write a data provider:
1
2package com.atlassian.myapp;

import com.google.gson.Gson;
import com.atlassian.json.marshal.Jsonable;
import com.atlassian.plugin.clientsideextensions.ExtensionDataProvider;

import java.io.IOException;
import java.io.PrintWriter;
import java.io.Writer;
import java.util.HashMap;
import java.util.Map;

public class DataProvider implements ExtensionDataProvider {
    @Override
    public Jsonable get() { // this is the method that will be executed to get the data before serving your page
        return new Jsonable() {
            @Override
            public void write(Writer writer) throws IOException {
                Gson gson = new Gson();
                gson.toJson(sampleData(), Map.class, new PrintWriter(writer));
            }
        };
    }

    public Map<String, Object> sampleData() {
        final Map<String, Object> sampleData = new HashMap<>();
        sampleData.put("name", "John");
        sampleData.put("surname", "Doe");
        sampleData.put("isAdmin", true);

        return sampleData;
    }
}
The data provider must be a Java class that implements ExtensionDataProvider and has a get() method
that returns a jsonable object.
With the data provider in place, now you should be able to claim the data on your page extension.
- Specify the data provider class for your extension.
- Receive and use the data as the second parameter of your factory callback.
1
2import { PageExtension } from '@atlassian/clientside-extensions';

/**
 * @clientside-extension
 * @extension-point header.global.primary
 * @label page-extension.label
 * @page-url /page-extension
 * @page-title page-extension.title
 * @page-decorator atl.admin
 *
 * @page-data-provider com.atlassian.myapp.DataProvider
 */
export default PageExtension.factory((container, data) => {
    container.innerHTML = `
        <h2>My extension</h2>
        <p>Look ma! a web page with just JavaScript!</p>


        <h3>Welcome to my extension ${data.name} ${data.surname}</h3>
        ${data.admin ? "<p>looks like you're an admin</p>" : ''}
    `;
});
Rebuild your plugin with atlas-package -DskipTests and refresh your page, and now you should see the details of "John Doe" on the page.
Rebuild your plugin using mvn package. This is needed because the plugin needs to be recompiled to include the new
Java class.
Recap
You're now ready to create pages with CSE page extensions! You've learned about:
- How page extensions work
- What are the required annotations to create a page with CSE page extensions
- Use decorators and data providers.
Make sure to check the page extension reference to explore all the things you can do with pages.
Rate this page: