Dashboard widget (EAP)
Forge's EAP offers experimental features to selected users for testing and feedback purposes. These features are unsupported and not recommended for use in production environments. They are also subject to change without notice. For more details, see Forge EAP, Preview, and GA.
To participate, you can sign up for the EAP here.
Note: You must also opt-in to the open beta of Dashboards in Atlassian Home. See the guide on how to opt-in.
Dashboard widget module (EAP)
The dashboard widget module allows you to create interactive widgets that can be added to the dashboards in Atlassian Home. These widgets can:
- Display custom data and visualizations
- Provide user interaction capabilities
- Communicate with background scripts
- Be configured by users through edit modes

Example of a dashboard widget displaying custom content
Setup Instructions
You can create a dashboard widget app with the following steps:
- Run
forge createand follow the prompts, selecting the templates under Dashboards (EAP). - Run
forge deployto deploy the app. - Run
forge installand follow the prompts to install the app to Jira context (even though it is only available in Atlassian Home). - Once the app is installed, navigate to your Atlassian site and go to the Dashboards section in Atlassian Home.
- Click "Add widget" and find your widget in the Marketplace widget list.
- Add your widget to the dashboard to see it in action.
Widget list
When users install your widget to their site, they'll see your widget in the widget list:
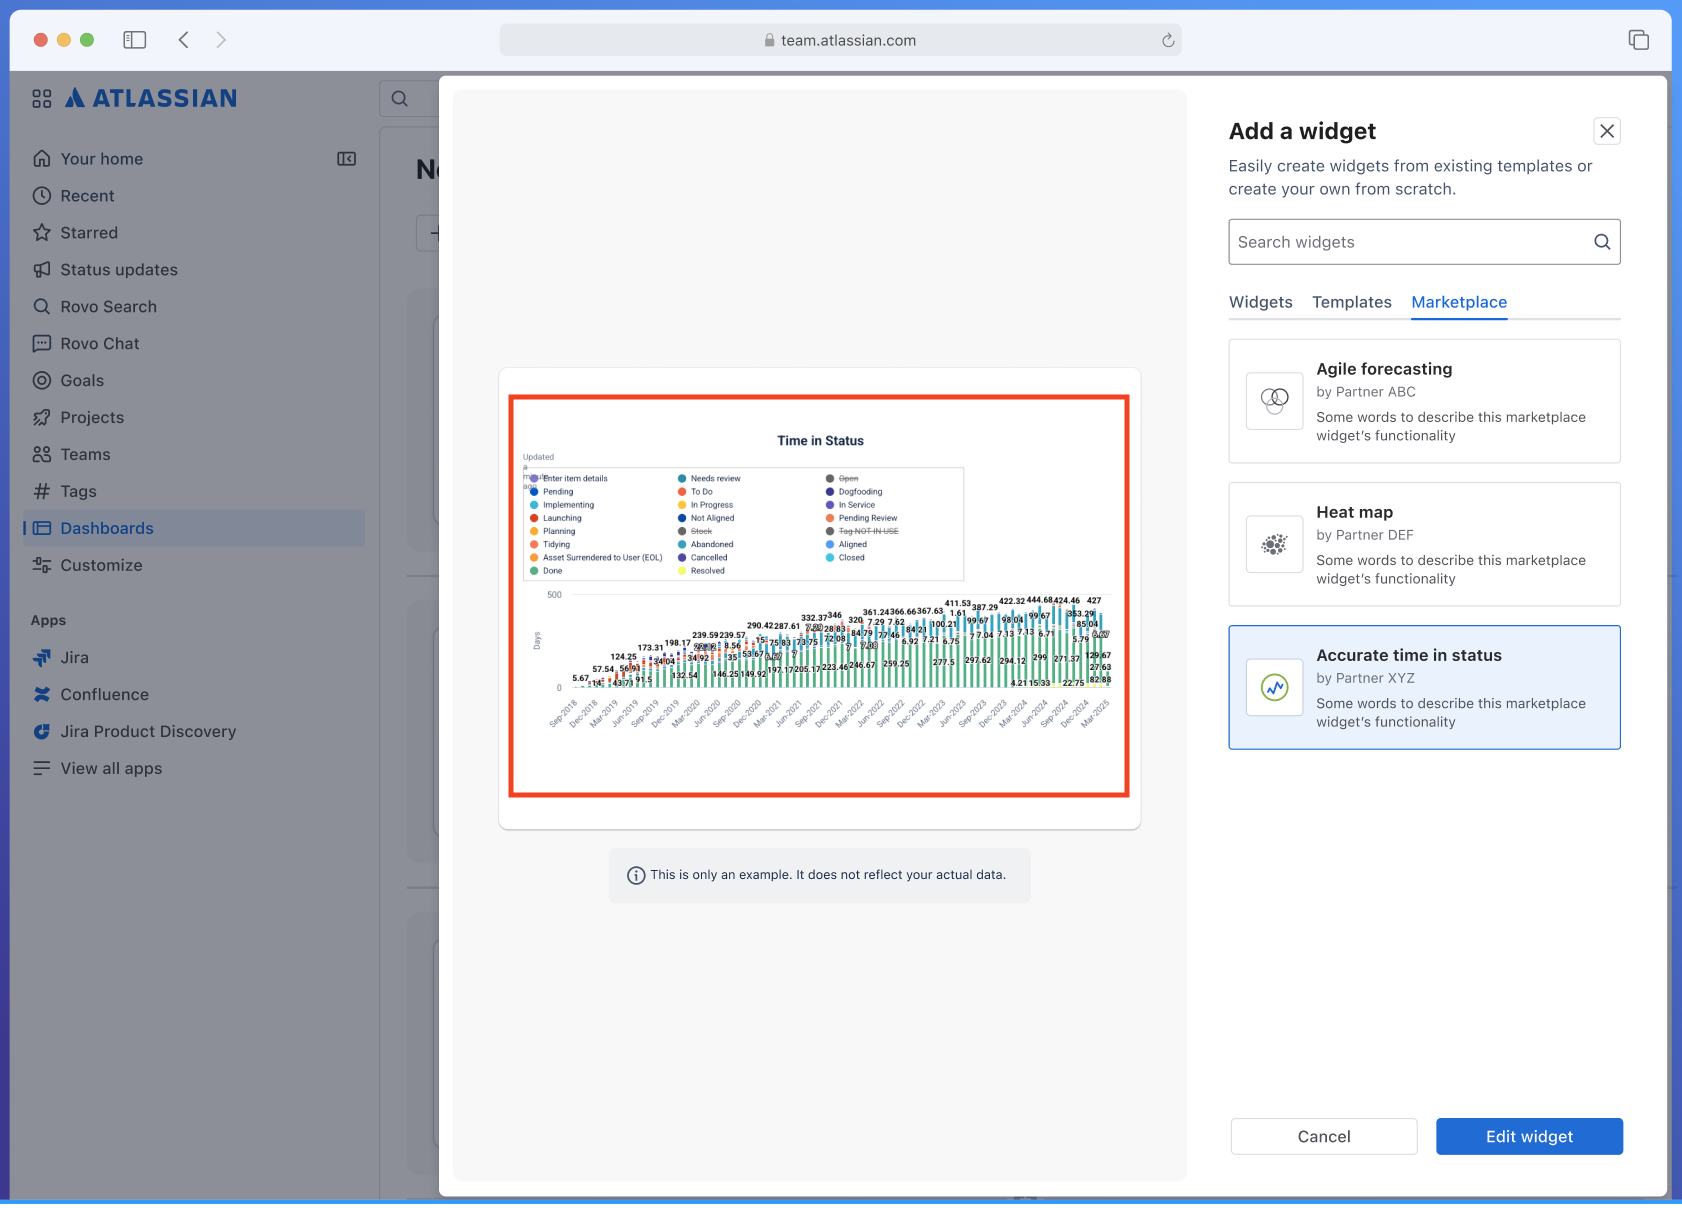
Widget selection interface showing available dashboard widgets on the right, and on the left showing the preview of the selected dashboard widget
Widget configuration
Users can configure your widget through the edit interface:
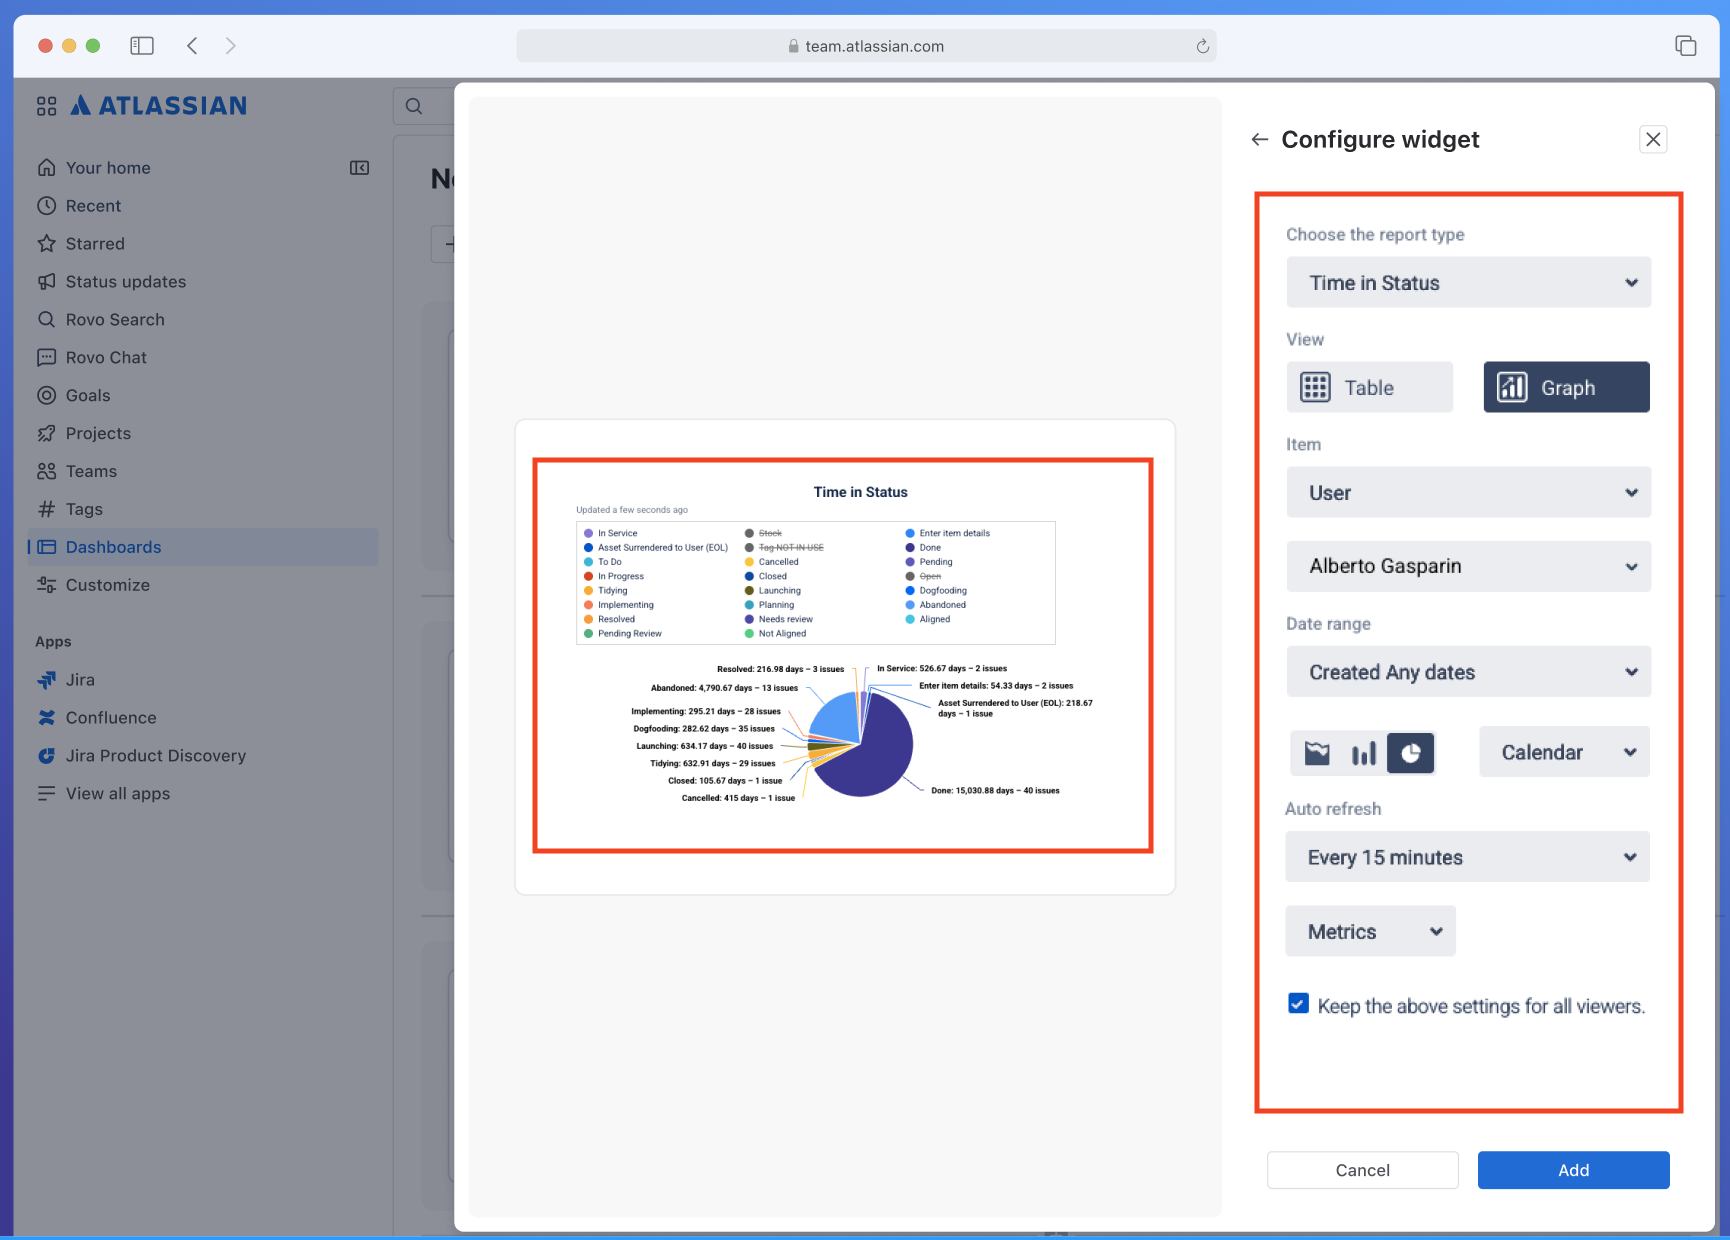
Widget configuration interface allowing users to customize widgets
Manifest configuration
modules.dashboards:widget
Custom UI example
1
2modules:
  dashboards:widget:
    - key: hello-world-widget
      title: Hello World Widget
      description: A sample dashboard widget
      thumbnail: https://example.com/icon.svg
      resource: widgetResource
      edit:
        resource: widgetEditResource

resources:
  - key: widgetResource
    path: static/widget/build
  - key: widgetEditResource
    path: static/widget-edit/build
UI Kit example
1
2modules:
  dashboards:widget:
    - key: hello-world-widget-ui-kit
      title: Hello World Widget (UI Kit)
      description: A sample dashboard widget using UI Kit
      thumbnail: https://example.com/icon.svg
      resource: widgetResource
      render: native
      resolver:
        function: widgetResolver
      edit:
        resource: widgetEditResource
        render: native
        resolver:
          function: widgetEditResolver

resources:
  - key: widgetResource
    path: static/widget/build
  - key: widgetEditResource
    path: static/widget-edit/build

functions:
  - key: widgetResolver
    handler: widgetResolver.handler
  - key: widgetEditResolver
    handler: widgetEditResolver.handler
Properties
| Property | Type | Required | Description |
|---|---|---|---|
key | string | Yes | A key for the module, which other modules can refer to. Must be unique within the manifest. |
title | string | Yes | The title of the widget as displayed to users. |
description | string | Yes | A description of what the widget does. |
thumbnail | string | Yes | The absolute URL of the icon displayed next to the widget's name and description. |
resource | string | Yes | The key of a static resources entry that provides the widget view. |
edit | object | No | Configuration for the widget's edit mode. |
edit Object Properties
| Property | Type | Required | Description |
|---|---|---|---|
resource | string | Yes | The key of a static resources entry that provides the widget edit experience. |
API Documentation
For detailed API documentation, see:
- Dashboard bridge APIs - APIs for widget configuration and lifecycle management
- useWidgetConfig - React hook for widget configuration
- useWidgetContext - React hook for widget context
Examples
Use the Dashboard bridge APIs and dashboard hooks for widget development.
Widget view
1
2import React, { useEffect, useState } from "react";
import { useWidgetConfig, useWidgetContext } from "@forge/hooks/dashboards";
import { widget } from "@forge/dashboards-bridge";

// Set preview configuration
widget.setPreviewConfig({
  title: "Sample Title",
});

export const DashboardWidget = () => {
  const { config } = useWidgetConfig();
  const { layout } = useWidgetContext();

  return (
    <div>
      <div>{config?.title || "Default Title"}</div>
      <div>
        Size: {layout?.width}x{layout?.height}
      </div>
    </div>
  );
};

export default DashboardWidget;
Widget configuration
1
2import React from "react";
import { useWidgetConfig } from "@forge/hooks/dashboards";
import { widgetEdit } from "@forge/dashboards-bridge";

// Set up save handlers
widgetEdit.onSave(async (config, { widgetId }) => {
  console.log("Widget saved!", config, widgetId);
});

widgetEdit.onProductSave(async (config) => {
  console.log("Widget config before saving in-product!", config);
  return null; // return config to opt-in to in-product save
});

const WidgetEditMode = () => {
  const { config, updateConfig } = useWidgetConfig();

  return (
    <input
      type="text"
      placeholder="Widget Title"
      value={config?.title}
      onChange={(e) => {
        updateConfig({
          title: e.target.value,
        });
      }}
    />
  );
};

export default WidgetEditMode;
Rate this page: