Last updated Dec 16, 2019

You should only require authentication when it is required by the user. Here are some samples of ways that Power-Ups can trigger an authentication workflow:

  1. For our Dropbox Power-Up, “Show Details from Dropbox…” has been added to the attachment-thumbnail by detecting that the link to Dropbox has not been initialized for this member. Once the Power-Up has been initialized and authenticated, we show a true thumbnail.

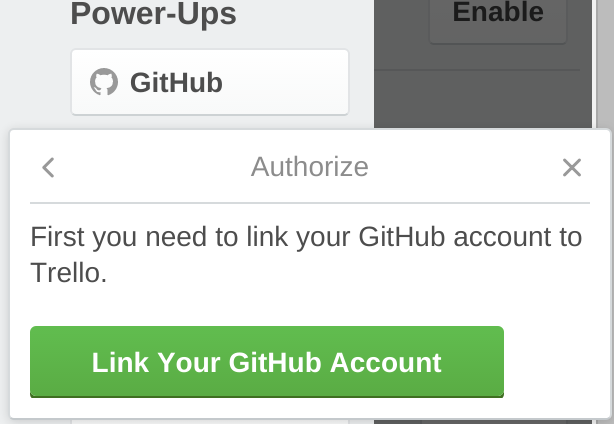
  1. For our Github Power-Up, the attachment-sections iframe managed by the Power-Up includes a prompt to authenticate to see additional information.

  1. We also trigger authentication after a user attempts to perform an action that requires it, such as when attaching a GitHub Issue to a card.

When developing a Power-Up that requires authentication, try to offer as much functionality in a non-authenticated state as possible, and add non-intrusive links to authenticate the user to provide more functionality.

Using t.authorize

To achieve Authentication, you will often need to use the t.authorize method. Here’s a code sample of how you might handle the OAuth workflow from within a Power-Up popover iframe.

Client-side we need to wire up what should happen when the authenticate button or link is clicked, which is handled by the following code.

The name and author parameters are only required if the app key you’re using is not tied to a Power-Up. You can verify this by visiting the app key page and viewing your personal key. If you are using your personal key in your Power-Up, that is considered a legacy app key, and you will need to pass these two parameters to the t.authorize method. Otherwise, Trello has no way of knowing it is tied to your Power-Up.

If your app key is NOT tied to your Power-Up, the provided name and author parameters will be shown to the member when they try to authorize your app. Otherwise, the Power-Up name and author (configured when the Power-Up was created) will be shown.

1
2
var Promise = TrelloPowerUp.Promise;
var t = TrelloPowerUp.iframe();

var oauthUrl =
  "https://trello.com/1/authorize?expiration=never" +
  "&name=[APPNAME]&author=[APPAUTHOR]&scope=read&key=[APIKEY]&callback_method=fragment" +
  "&return_url=[RETURNURL]";

var authorizeOpts = {
  height: 680,
  width: 580,
};

var authBtn = document.getElementById("authorize");
authBtn.addEventListener("click", function () {
  t.authorize(oauthUrl, authorizeOpts)
    .then(function (token) {
      return t
        .set("organization", "private", "token", token)
        .catch(t.NotHandled, function () {
          // fall back to storing at board level
          return t.set("board", "private", "token", token);
        });
    })
    .then(function () {
      // now that the token is stored, we can close this popup
      // you might alternatively choose to open a new popup
      return t.closePopup();
    });
});

The authorize handler opens a new window. Once the auth flow is complete in that window, you should land on a page you control (generally your return_url). That page needs to contain a small amount of javascript to send the resulting token back to the Power-Up.

Here is an example of how that would be achieved for the Trello OAuth flow from above:

1
2
let authorize;

try {
  if (window.opener && typeof window.opener.authorize === "function") {
    authorize = window.opener.authorize;
  }
} catch (e) {
  // Security settings are preventing this, fall back to local storage.
}

if (authorize) {
  authorize(token);
} else {
  localStorage.setItem("token", token);
}

setTimeout(function () {
  window.close();
}, 1000);

For more information on t.authorize, see its documentation.

And checkout our this Power-Up example Glitch project to see a practical example of how to use t.authorize.

Rate this page: