Run your plugin in the container
In this section, you learn about the relationship between an Atlassian application(s) and your plugin. You'll also learn about the environment your plugin runs in. You should have already created a plugin skeleton, imported your project into Eclipse, and made some class and atlassian-plugin.xml modifications.
Your plugin, the container, and Atlassian applications
Atlassian uses Tomcat as a container. Tomcat runs and maintains an Atlassian application and its plugins. Atlassian modified Tomcat with enhancements to ensure your plugin and our applications run smoothly together. The following diagram depicts an application and a plugin running inside of Tomcat.

Apache Felix is an OSGi implementation which, together with the Spring Dynamic Module Facility, helps your plugin share resources with the Atlassian application. For example, these facilities eliminate redundant dependencies by allowing your plugin to use those already provided by the Atlassian application.
Operating within each Atlassian application is the Universal Plugin Manager (UPM). The UPM manages plugins installed in the Atlassian application. In this section of the tutorial, you'll run your plugin skeleton from JIRA. You'll build on the plugin skeleton to begin creating a fully-functional plugin.
Step 1. Modify your pom.xml file
A Maven pom.xml file is essential to your project. Maven uses the pom.xml file to determine how to build your project from the target staging area. Here, you'll customize the <organization> section to make the add-on yours, and later you'll view these changes reflected in the UPM.
-
Open the
pom.xml. -
Locate the
<organization>tags. -
Replace the content in the
<name>tags with a company name of your choice. -
Replace the content in the
<url>tags with a different URL.Here's an example:
1 2
<organization> <name>Awesomeness Inc</name> <url>http://www.awesomebreedsmoarawesome.com/</url> </organization> -
Save and close the file.
-
If you made your changes in Eclipse, update your project with the changes.
1 2
$ atlas-mvn eclipse:eclipse -
Click File > Refresh in Eclipse.
Step 2. Build your plugin in JIRA
When you generated the plugin skeleton, you specified a RefApp plugin with your command atlas-create-refapp-plugin. As mentioned, if your plugin works in RefApp, it'll work in any Atlassian application. Now you'll try out you plugin in a more feature-rich environment: JIRA. Here you'll verify that your pom.xml changes are reflected in the UPM and that you can still access the servlet.
-
Shut down Refapp if it's still running by typing
CTRL+Din your terminal. -
Clear the target from your project root.
1 2
$ atlas-clean -
Start JIRA 6.1.
1 2
$ atlas-run --product jira --version 6.1 -
Locate the URL to access JIRA locally.
Your terminal outputs[INFO]messages to display the URL.
JIRA usually runs on port 2990, with a URL like **localhost:2990/jira **1 2
[INFO] [talledLocalContainer] INFO: Server startup in 100371 ms [INFO] [talledLocalContainer] Tomcat 7.x started on port [2990] [INFO] jira started successfully in 144s at http://localhost:2990/jira [INFO] Type Ctrl-D to shutdown gracefully [INFO] Type Ctrl-C to exit -
Copy the URL and access it from your browser.
We recommend Google Chrome or Mozilla Firefox for this tutorial. -
Login with username and password
admin/admin. If the login screen isn't visible, click Login from the upper right-hand corner. -
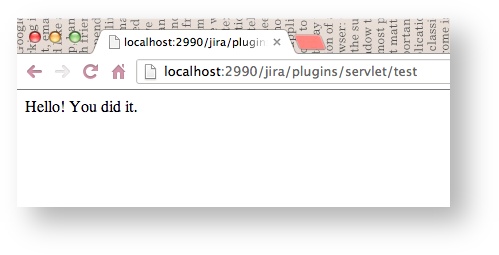
Navigate to localhost:2990/jira/plugins/servlet/test access the servlet.
The page should be identical to the one you viewed while in RefApp.
-
Click Back in your browser to return to the dashboard.
Now you'll begin to navigate to the UPM. -
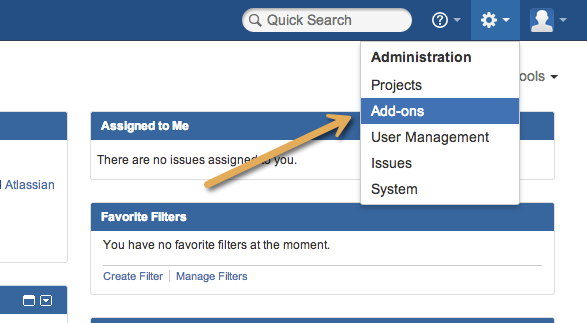
Click the cog icon > Administration.
-
Under Atlassian Marketplace, click Manage add-ons.
-
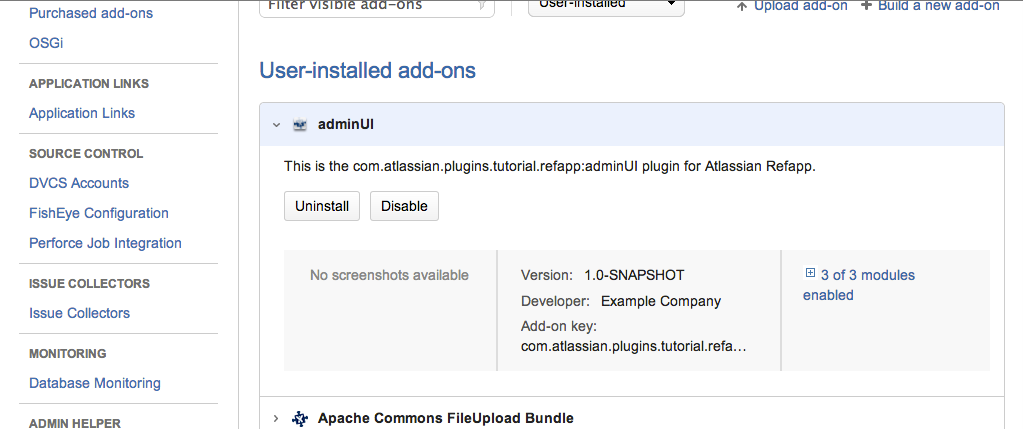
Locate your adminUI plugin.
You'll see the UPM displayed in JIRA. Your plugin may be under User-Installed Plugins. -
Confirm the changes you made to the
<company>section in thepom.xmlare displayed.
Step 3. Open the developer toolbar
Atlassian includes several developer tools in its applications so you can develop and test add-ons. This section introduces you to these tools.
-
In your running instance of JIRA expand the arrow on the bottom of the page.
This arrow should be visible on any page as long as you're logged in.
-
Confirm the toolbar expands in the lower portion of your screen.

If you don't see the toolbar, try using Google Chrome or Mozilla Firefox to access your local JIRA instance.
Now you can learn what resources you have available, and why you might use them in your add-on development.
-
Type SAL (short for Shared Access Layer) into the search field.
The search field is located on the right side of the developer tool bar. Instant results appear the search box.
The SAL is an API for aiding cross-application plugin development. When developing for multiple Atlassian applications, SAL handles services like job scheduling or internationalization lookups. -
Explore documentation and APIs for the SAL.
You'll return to interact with SAL in future steps. -
Click admin > Developer Toolbox.
This offers a more comprehensive menu than the shortcut toolbar. This page gives quick access to the REST API browser or OSGi resources. -
Click FastDev. Choose this option from the
 button in the lower toolbar, or Scan and Reload from the Developer Toolbox button. A keyboard shortcut is SHIFT+F5.
 -
Confirm no changes are found.
In future steps, you'll use this to reload your plugin after you change source code files. -
Click Highlight i18n.
i18n, short for "Internationalization and localization" lets you localize your plugin. This means you can import translated label strings without having to recompile your plugin. -
View the i18n strings in JIRA.
-
Click Unhighlight i18n.
Next steps
You've built the foundation and learned core concepts to develop your plugin in the Atlassian system, and become acquainted with the Developer Toolbox. Now you'll add component modules.
Rate this page: