Part 1: Build a Jira Service Management hello world app
This tutorial walks through creating a Forge app to display content on a Jira Service Management Queue page.
There are three parts to the tutorial:
- This page: describes creating, changing, and installing a simple hello world app. The focus is on learning the CLI commands needed to work with apps.
- Call a Jira Service Management API: describes how to make API calls to the Jira REST API.
- Change the frontend with UI Kit: describes how to use UI Kit components.
We recommend you work through all three parts to get a good understanding of how to develop apps with Forge.
Before you begin
Complete Getting started before working through this tutorial.
Forge apps can't be viewed by anonymous users. When testing a Forge app, you should be logged in to your Atlassian cloud developer site.
Set up a development site
You need an Atlassian site where you can install and test your app.
You can provision a Forge demo development site from the CLI. Demo sites include realistic seeded data and enterprise editions of Jira, Confluence, Jira Service Management, and Rovo.
To provision a demo site before installing an app, run:
1
2forge site provision
Alternatively, deploy your app and run forge install --demo-site. The CLI reuses your latest
active demo site, or offers to provision one if none exists.
Demo sites are active for 90 days by default. For more information, see Provision a demo development site.
Alternatively, create a traditional Atlassian cloud developer site:
- Go to http://go.atlassian.com/cloud-dev and create a site using the email address associated with your Atlassian account.
- Once your site is ready, log in and complete the setup wizard.
You can install your app to multiple Atlassian sites. However, app data won't be shared between separate Atlassian apps, sites, or Forge environments.
The following user limits apply to traditional cloud developer sites:
- Confluence: 5 users
- Jira Service Management: 1 agent
- Jira Software and Jira Work Management: 5 users
Create your app
Create an app based on the Jira Service Management queue page template.
When you create a new app, Forge will prompt you to set a default environment. In this
tutorial we use the development environment as our default.
Learn more about staging and production environments.
-
Navigate to the directory where you want to create the app. A new subdirectory with the app’s name will be created there.
-
Create your app by running:
1 2
forge create -
Enter a name for your app (up to 50 characters). For example, hello-world-app.
-
Select the UI Kit category.
-
Select Jira Service Management as the Atlassian app.
-
Select the jira-service-management-queue-page template.
-
Change to the app subdirectory to see the app files:
1 2
cd hello-world-app
jira-service-management-queue-page template
The app we’ll create will display content on all the queue pages of a Jira Service Management project.
The jira-service-management-queue-page template uses Node.js and has the following structure:
1
2
3
4
5
6
7
8
9
10
11
12hello-world-app
├── README.md
├── manifest.yml
├── package-lock.json
├── package.json
└── src
    ├── frontend
    │   └── index.jsx
    ├── index.js
    └── resolvers
        └── index.js
Let’s have a look at what these files are:
manifest.yml: Describes your app. This file contains the name and ID of the app, the app permissions, and the modules the app uses. To learn more about themanifest.ymlfile, see Forge manifest documentation.package.json: The app’s Node.js metadata. See the Node documentation for more information.package-lock.json: Records the version of the app’s dependencies.README.md: Information about the app. We recommend updating this as you change the behavior of the app.src/frontend/index.jsx: Where you write the application with which the user interacts directly.src/resolvers/index.js: Where you write backend functions (resolver functions) for your app. To learn more about resolvers, see the Custom UI Resolver documentation.
You can manage, distribute, and monitor your apps in the developer console.
Change the page title
This app displays content in a Jira Service Management queues section of your project using the jiraServiceManagement:queuePage module. Jira Service Management
shows the title of the jiraServiceManagement:queuePage as the page's heading, as well as in the list of apps in left navigation. Let's change the
title to include your name.
- In the app’s top-level directory, open the
manifest.ymlfile. - Find the
titleentry under thejiraServiceManagement:queuePagemodule. - Change the value of
titlefromhello-world-apptoForge app for <your name>. For example, Forge app for Mia.
Your manifest.yml file should look like the following, with your values for the
title and app ID:
1
2
3
4
5
6
7
8
9
10
11
12
13
14
15
16
17modules:
  jiraServiceManagement:queuePage:
    - key: hello-world-app-hello-world-queue-page
      resource: main
      resolver:
        function: resolver
      render: native
      title: hello-world-app
  function:
    - key: resolver
      handler: index.handler
resources:
  - key: main
    path: src/frontend/index.jsx
app:
  id: '<your app id>'
Install your app
To use your app, it must be installed onto an Atlassian site. The
forge deploy command builds, compiles, and deploys your code, and reports any compilation errors.
The forge install command then installs the deployed app onto an Atlassian site with the
required API access.
You must run the forge deploy command before forge install because an installation
links your deployed app to an Atlassian site.
-
Navigate to the app's top-level directory and deploy your app by running:
1 2
forge deploy -
Install your app using one of the following commands:
To install to your latest active Forge demo development site, or provision one if needed:
1 2
forge install --demo-siteDemo sites include realistic seeded data and are active for 90 days by default.
To select an existing Atlassian site:
1 2
forge install -
If prompted, select your Atlassian context using the arrow keys and press the enter key.
-
If prompted, enter the URL for your development site. For example, example.atlassian.net. View a list of your active sites at Atlassian administration.
Once the successful installation message appears, your app is installed and ready
to use on the specified site.
You can always delete your app from the site by running the forge uninstall command.
View your app
With your app installed, it’s time to see the app on your project's queues section.
- Create a new Jira Service Management Project. Learn more about Jira Service Management Queues.
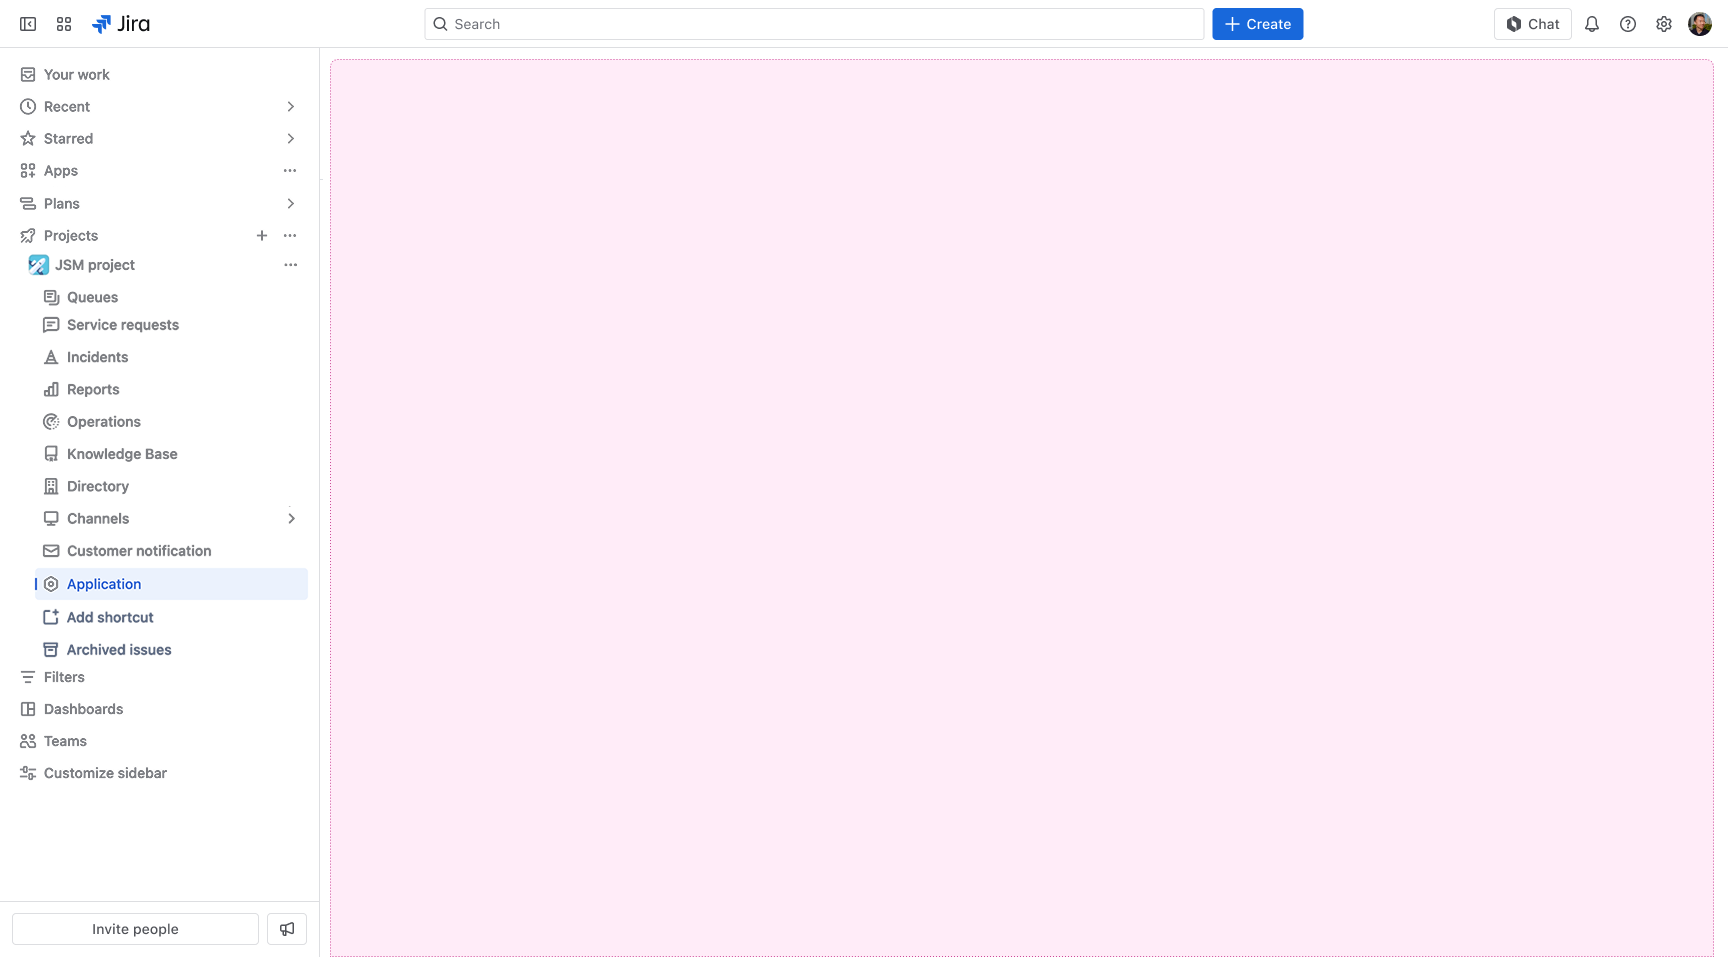
- In the left navigation of your project, open queues and select the app from the
Appssection. Your app should display like the example below.
- To view new changes in your app, run
forge deployagain, or runforge tunnel. This is explained fully in the next section.
While your app is deployed to either a development or staging environment, (development) or
(staging) will appear in your app title. This suffix is removed once you've
deployed your app to production.
Deploy app changes
Once your app is installed, it will automatically pick up all minor app deployments
so you don't need to run the forge install command again. Minor deployments are changes
that don't modify app permissions in the manifest.yml file. You can deploy the changes onto your
developer site or Bitbucket workspace by using one of two methods:
- Manually, by running the
forge deploycommand. - Automatically, by running the
forge tunnelcommand.
Once your app is installed, changes in the manifest are picked up automatically after running forge deploy.
However, due to the eventually-consistent nature of our system, you may need to wait up to 5 minutes
for changes in the manifest to be reflected in the Atlassian app.
Tunneling runs your app code locally on your machine via the Forge CLI and Cloudflare. It allows you to speed up development by avoiding the need to redeploy each code change, and by seeing each invocation as it executes. The Forge tunnel works similarly to hot reloading, so any changes you make to your app code can be viewed on your Atlassian site or Bitbucket workspace without losing the current app state. You don’t need to run any other commands; you only need to refresh the page.
Once you've completed testing your app changes using forge tunnel command, please remember to redeploy your app using the forge deploy command.
- You can start tunneling by running:
1
2forge tunnel
You should see output similar to:
1
2
3
4
5
6
7
8
9
10
11
12
13Tunnel redirects requests you make to your local machine. This occurs for any Atlassian site where your app is installed in the specific development environment. You will not see requests from other users.
Press Ctrl+C to cancel.


=== Running forge lint...
No issues found.

=== Bundling code...
✔ Functions bundled.
✔ Resources bundled.

Listening for requests...
You can now automatically deploy changes to your codebase and install packages, while tunneling. These changes appear on the Atlassian site or Bitbucket workspace where your app is installed.
- When you are ready to close the tunnel, press Control + C.
The forge tunnel command only forwards traffic when the user (in Jira, Confluence, Jira
Service Management, or Bitbucket) matches the Forge CLI user. For security reasons, you can’t see the traffic
of other users.
For important caveats on how forge tunnel works, see
Tunneling.
Next step
In the next tutorial, you'll learn how to make API calls to Jira Service Management using Forge. This tutorial
uses the forge tunnel, so make sure you are familiar with using this command.

Developing for Atlassian Government Cloud
This content is written with standard cloud development in mind. To learn about developing for Atlassian Government Cloud, go to our Atlassian Government Cloud developer portal.
Rate this page: