Build a Rovo Agent hello world app
When you use Rovo APIs, you must comply with the Atlassian Acceptable Use Policy, including the section titled “Artificial intelligence offerings and features.” For the protection of our customers, Atlassian performs safety screening on Agents at our sole discretion. If we identify any issues with your Agent, we may take protective actions, such as preventing the Agent from being deployed or suspending your use of Rovo APIs. Where possible we will notify you of the nature of the issue, and you must use reasonable commercial efforts to correct the issue before deploying your Agent again.
This tutorial walks through creating a Forge app that adds a new Agent to Rovo. You will also create an action, which allows that Agent to invoke custom logic with input from the user's chat.
At the end of this tutorial, you’ll have created a Forge app that creates an Agent that can take a user's prompt and log a simple hello world message inside a Forge function.
For a step-by-step guide on completing this tutorial, check out this video:
Before you begin
To add a new Agent to Rovo, you must have Rovo activated.
Complete Getting started before working through this tutorial.
Install @forge/cli version 10.3.0 or higher.
To install:
npm install --g @forge/cli@latest or
npm install --g @forge/cli@^10.3.0
Rovo Agent and Actions templates are available in Forge CLI 10.8.0 or higher
Create your app
-
Create your app by running:
1 2
forge create -
Enter a name for your app (up to 50 characters). For example hello-world-rovo-agent.
-
Select the Rovo Agent and action category.
-
Select the rovo-agent template.
-
Change to the app subdirectory to see the app files.
1 2
cd hello-world-rovo-agent
The rovo-agent template uses Node.js and has the following structure:
1
2├── manifest.yml
├── package.json
└── src
    └── index.js
manifest.yml
Your manifest.yml file should look like the following, with your values for the title and app ID:
For a detailed understanding of the manifest structure, refer to the Agent module.
1
2modules:
  rovo:agent:
    - key: hello-world-agent
      name: Hello world agent
      description: An Agent for testing Forge agent functionality
      prompt: >
        You are a simple Rovo Agent that helps Forge developers build their first
        Agent.

        You can create Forge logs by using the hello-world-logger action.

        If the user hasn't provided a message when they ask you to create a log ask them to provide one.
      conversationStarters:
        - Log a message to Forge logs
      actions:
        - hello-world-logger
  action:
    - key: hello-world-logger
      function: messageLogger
      actionVerb: TRIGGER
      description: >
        When a user asks to log a message, this action logs the message to the
        Forge logs.
      inputs:
        message:
          title: Message
          type: string
          required: true
          description: |
            "The message that the user has requested be logged to Forge logs"
  function:
    - key: messageLogger
      handler: index.messageLogger
app:
  runtime:
    name: nodejs24.x
  id: <your app id>
index.js
The index.js file exports the messageLogger function, which takes a payload object containing
a user-provided message and logs it to the console. This function is invoked by the hello-world-logger
action defined in the manifest to log messages as requested by the user.
1
2export function messageLogger(payload) {
  console.log(`Logging message: ${payload.message}`);
}
Install your app
To use your app, it must be installed onto an Atlassian site. The
forge deploy command builds, compiles, and deploys your code; it'll also report any compilation errors.
The forge install command then installs the deployed app onto an Atlassian site with the
required API access.
You must run the forge deploy command before forge install because an installation
links your deployed app to an Atlassian site.
-
Navigate to the app's top-level directory and deploy your app by running:
1 2
forge deploy -
Install your app by running:
1 2
forge install -
Select your Atlassian app using the arrow keys and press the enter key.
-
Enter the URL for your development site. For example, example.atlassian.net. View a list of your active sites at Atlassian administration.
Once the successful installation message appears, your app is installed and ready
to use on the specified site.
You can always delete your app from the site by running the forge uninstall command.
Running the forge install command only installs your app onto the selected organization.
To install onto multiple organizations, repeat these steps again, selecting another organization each time.
You must run forge deploy before running forge install in any of the Forge environments.
View your Rovo Agent
With your app installed, it is time to chat with your new Agent.
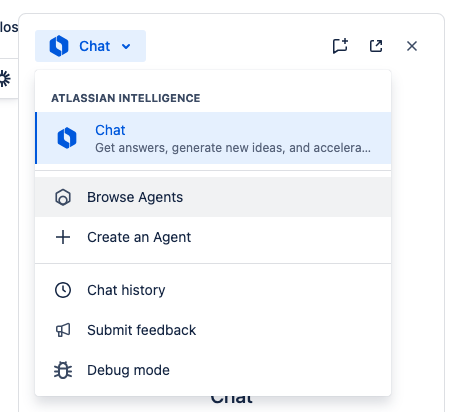
- Access Rovo chat by clicking Chat on the top menu within the Atlassian app where you have installed your Forge app.
- In the Chat side panel, click the Agent selector and go to Browse Agents.
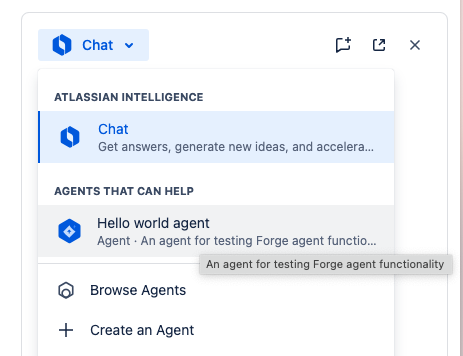
- Find the
Hello worldAgent and click Enable. - Now use the Agent selector to select the Hello world agent.
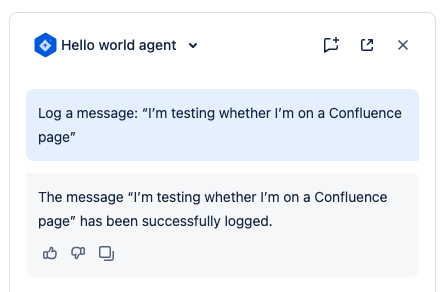
- Chat with the Agent and invoke your action. Ask the Agent to log a message for you
or use the conversation starter, Log a message to Forge logs.
Agent has now successfully logged a message to Forge logs via your Forge function.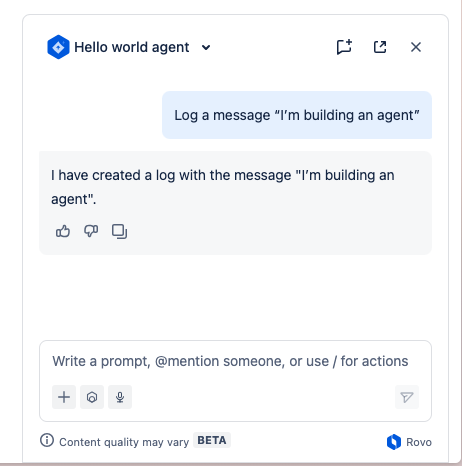
- Navigate to the app's top-level directory to check the logs by running:
1 2
forge logs
You should see a Forge log with your message:

Change the behavior of your agent
The main way to change the behavior of your Agent is by modifying the prompt in the manifest.yml file.
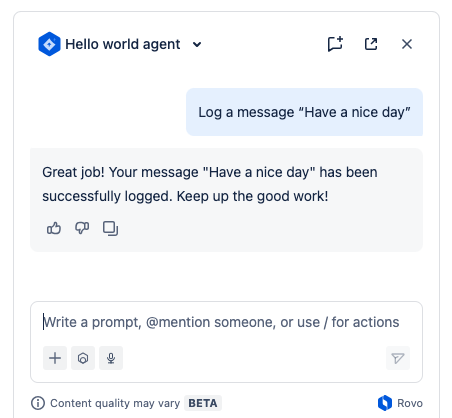
- Add an additional instruction to the end of your prompt:
After you successfully log a message, respond with a positive affirmation - Deploy your Forge app:
1 2
forge deploy - Test your Agent again. Notice the change in tone:
Change the behavior of your action
The behavior of the action is defined by the Forge function in the index.js file:
1
2export function messageLogger (payload) {
    console.log(`Message: ${payload.message}`);
    return `Successfully logged payload: ${payload.message}`
}
-
Add an additional
console.logline to inspect the payload object.1 2
console.log(`Payload: ${JSON.stringify(payload)}`); -
The payload returns an additional context object, which can contain identifiers relevant to the user’s current context. The following shows the structure of the
contextproperty on the payload:1 2
{ "context": { "confluence": { "url": "https://mysite.atlassian.com/wiki/spaces/~61df1116125b12007152148f/pages/10092545/Mypage", "resourceType": "page", "contentId": "10092545", "spaceKey": "~61df1116125b12007152148f", "spaceId": "33248" }, "cloudId": "13c6457e-69c5-4ad4-880a-dbdd77ef39f2", "moduleKey": "hello-world-logger" } }These can be useful for checking the identifiers passed in via action inputs, which the LLM = can sometimes get wrong.
-
Now we can log an extra message detailing whether the user is a Confluence page, blog post, or another resource type.
Update your
messageLoggerfunction as follows:1 2
export function messageLogger(payload) { console.log(`Message: ${payload.message}`); const message = `The user is on a Confluence ${payload.context?.confluence?.resourceType}`; console.log(message); return message; } -
Deploy your app:
1 2
forge deploy -
Test your Agent again:
-
Check the Forge logs to verify that the action was successfully executed:
1 2
forge logsYou should see Forge logs with your messages:

Developing for Atlassian Government Cloud
This content is written with standard cloud development in mind. To learn about developing for Atlassian Government Cloud, go to our Atlassian Government Cloud developer portal.
Rate this page: