Access REST APIs exposed by a Forge app (Preview)
This section describes a Forge preview feature. Preview features are deemed stable; however, they remain under active development and may be subject to shorter deprecation windows. Preview features are suitable for early adopters in production environments.
We release preview features so partners and developers can study, test, and integrate them prior to General Availability (GA). For more information, see Forge release phases: EAP, Preview, and GA.
Forge apps can expose REST APIs, allowing external systems to call the app’s logic over HTTP. This tutorial demonstrates how to enable APIs for a site and call them using 3LO (OAuth 2.0). For more information, see Forge app REST APIs.
If you’re looking to expose app REST APIs from your own app, see Expose Forge app REST APIs.
Before you begin
Before you start, make sure:
- The Forge app you want to call exposes app REST APIs.
- The app developer has published documentation that maps API endpoints to scopes.
- You have access to:
- Atlassian Administration with permission to manage Connected apps.
- The Developer Console to create a 3LO integration.
Step 1: Enable app REST APIs in Connected apps
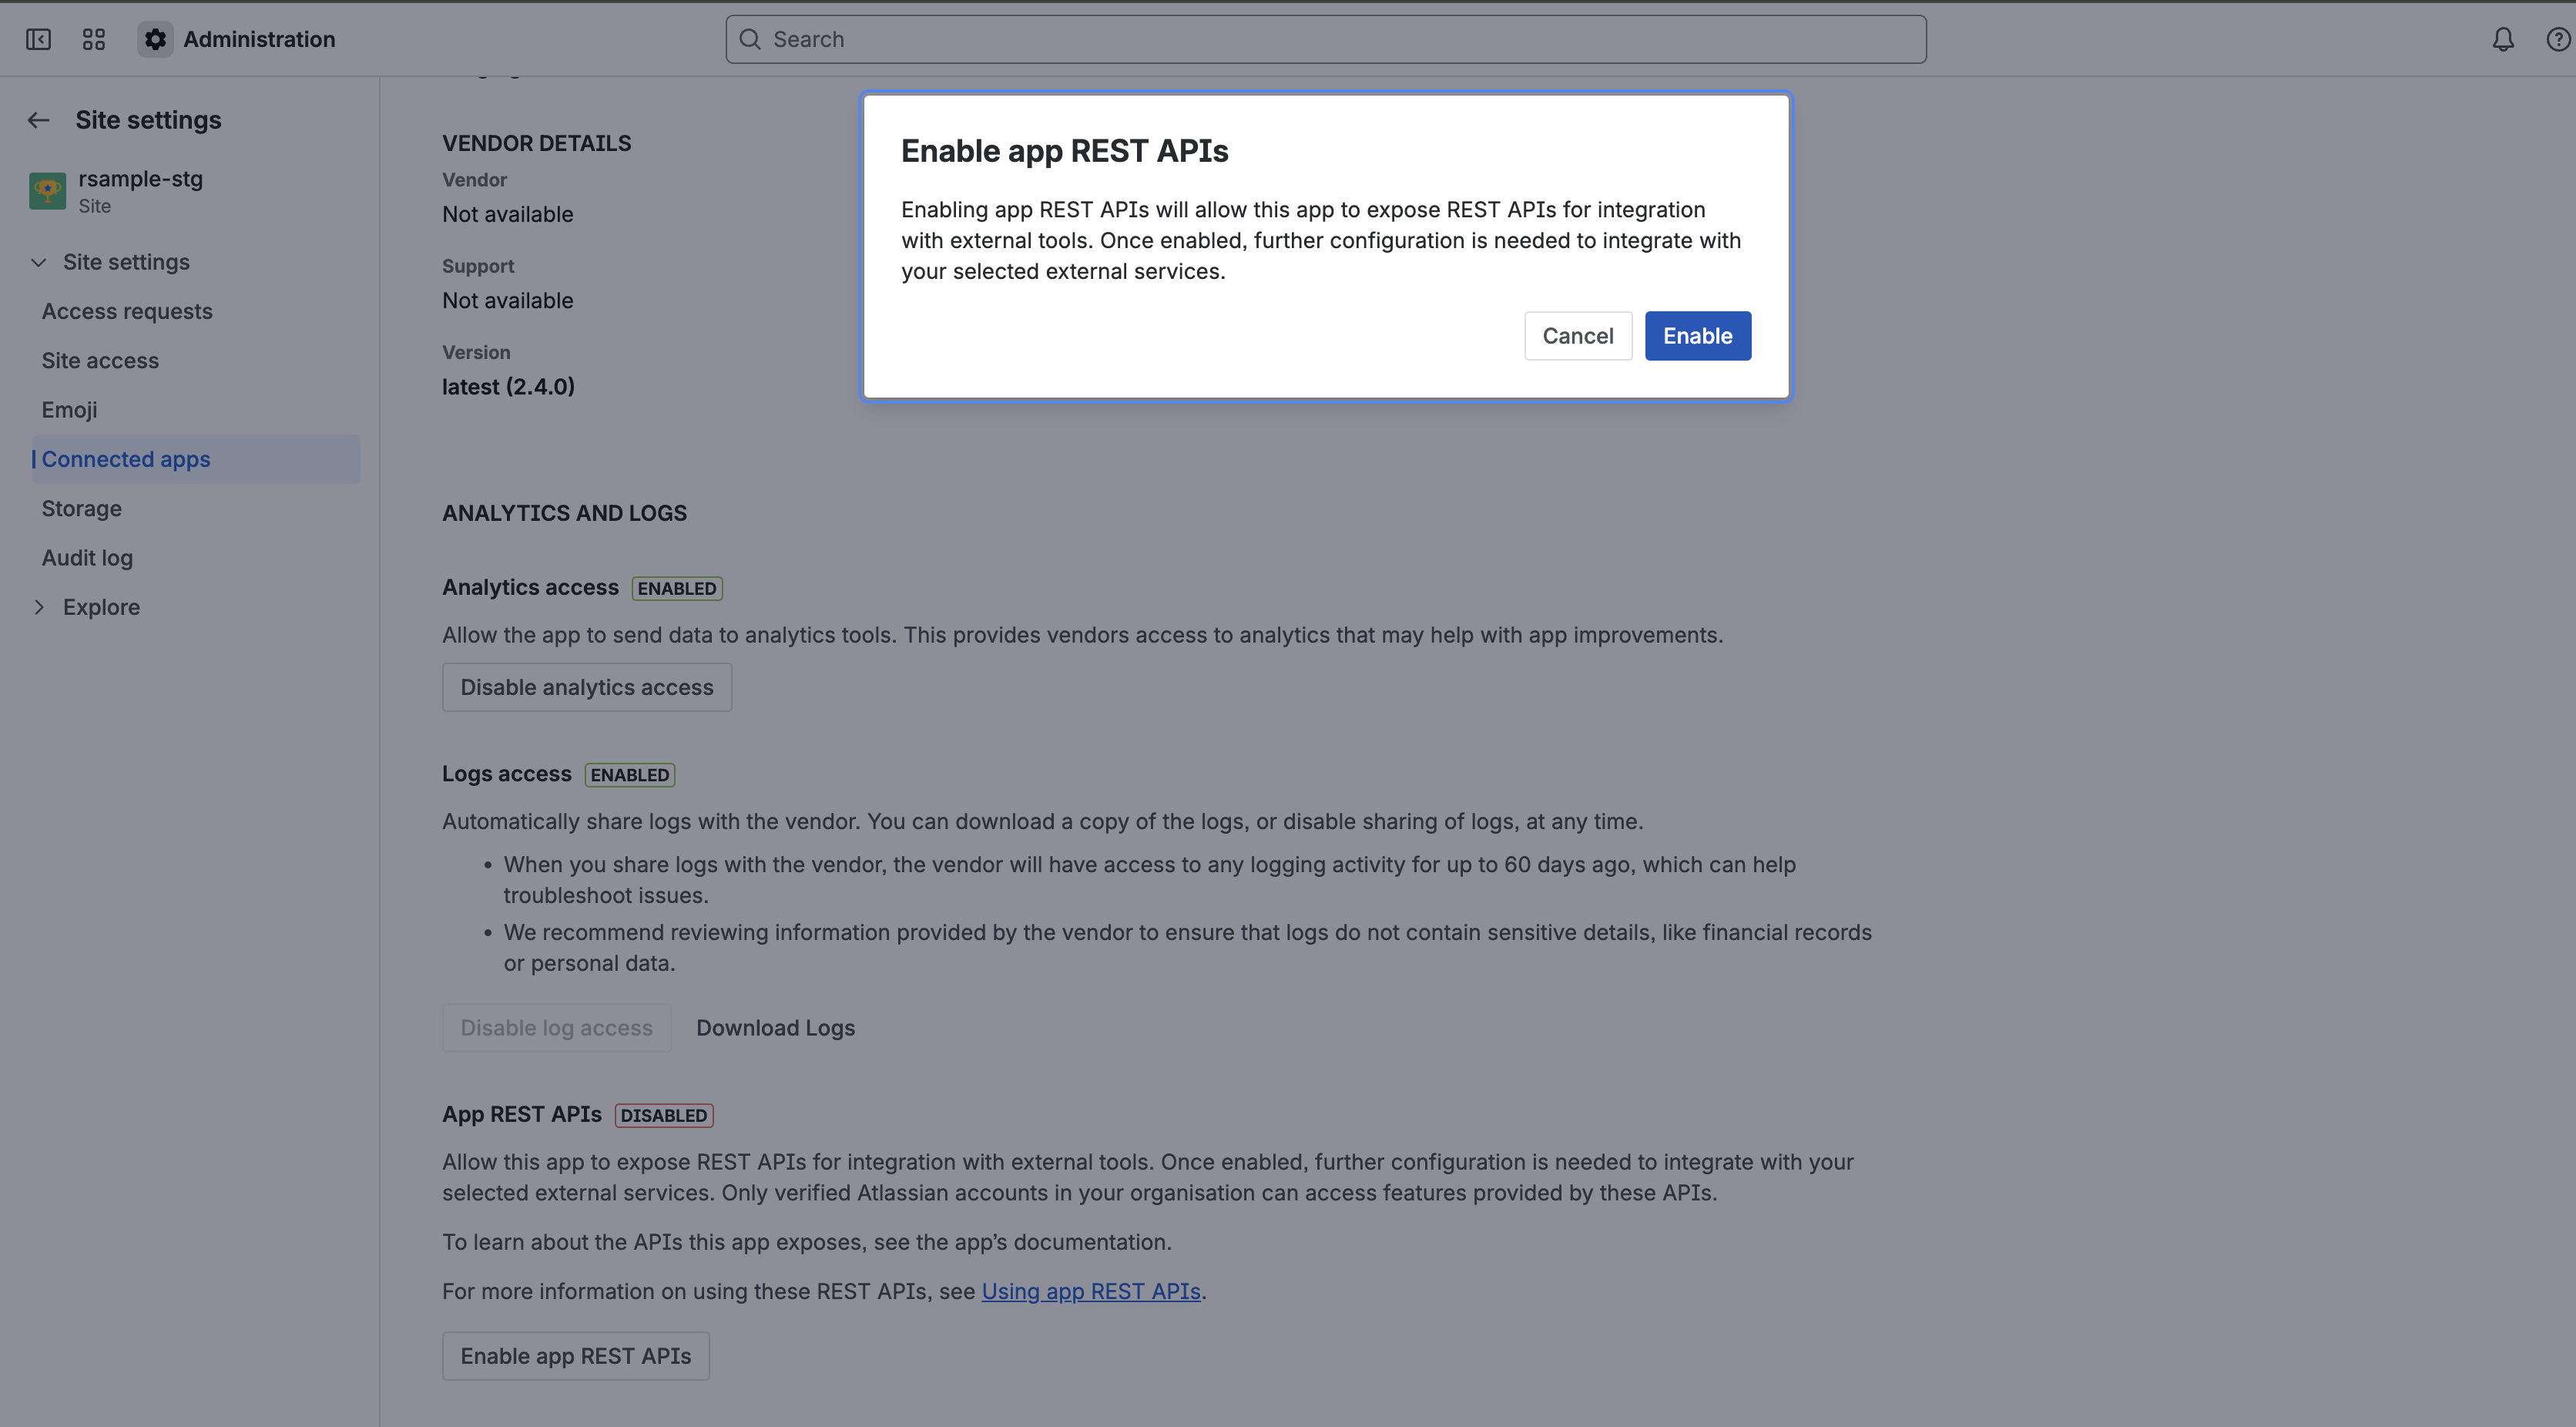
Forge app REST APIs are disabled by default for each site and must be explicitly enabled by a site or organization admin.
To enable app REST APIs for a site:
-
Go to Atlassian Administration and select your organization.
-
In the left-hand navigation, go to Apps, then Sites and select the site where the Forge app is installed.
-
In the left-hand navigation for that site, select Connected apps.
-
Find the Forge app that exposes REST APIs and click View app details.
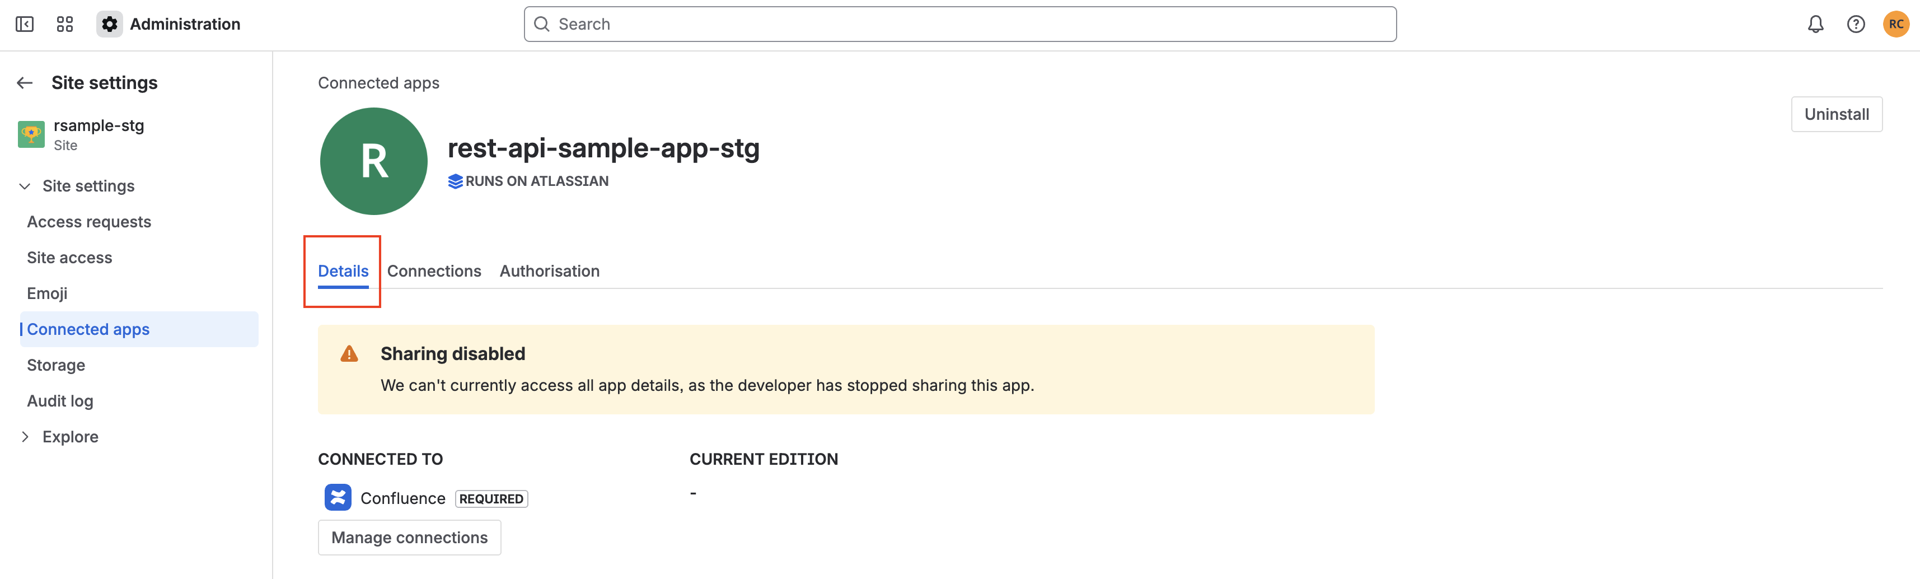
-
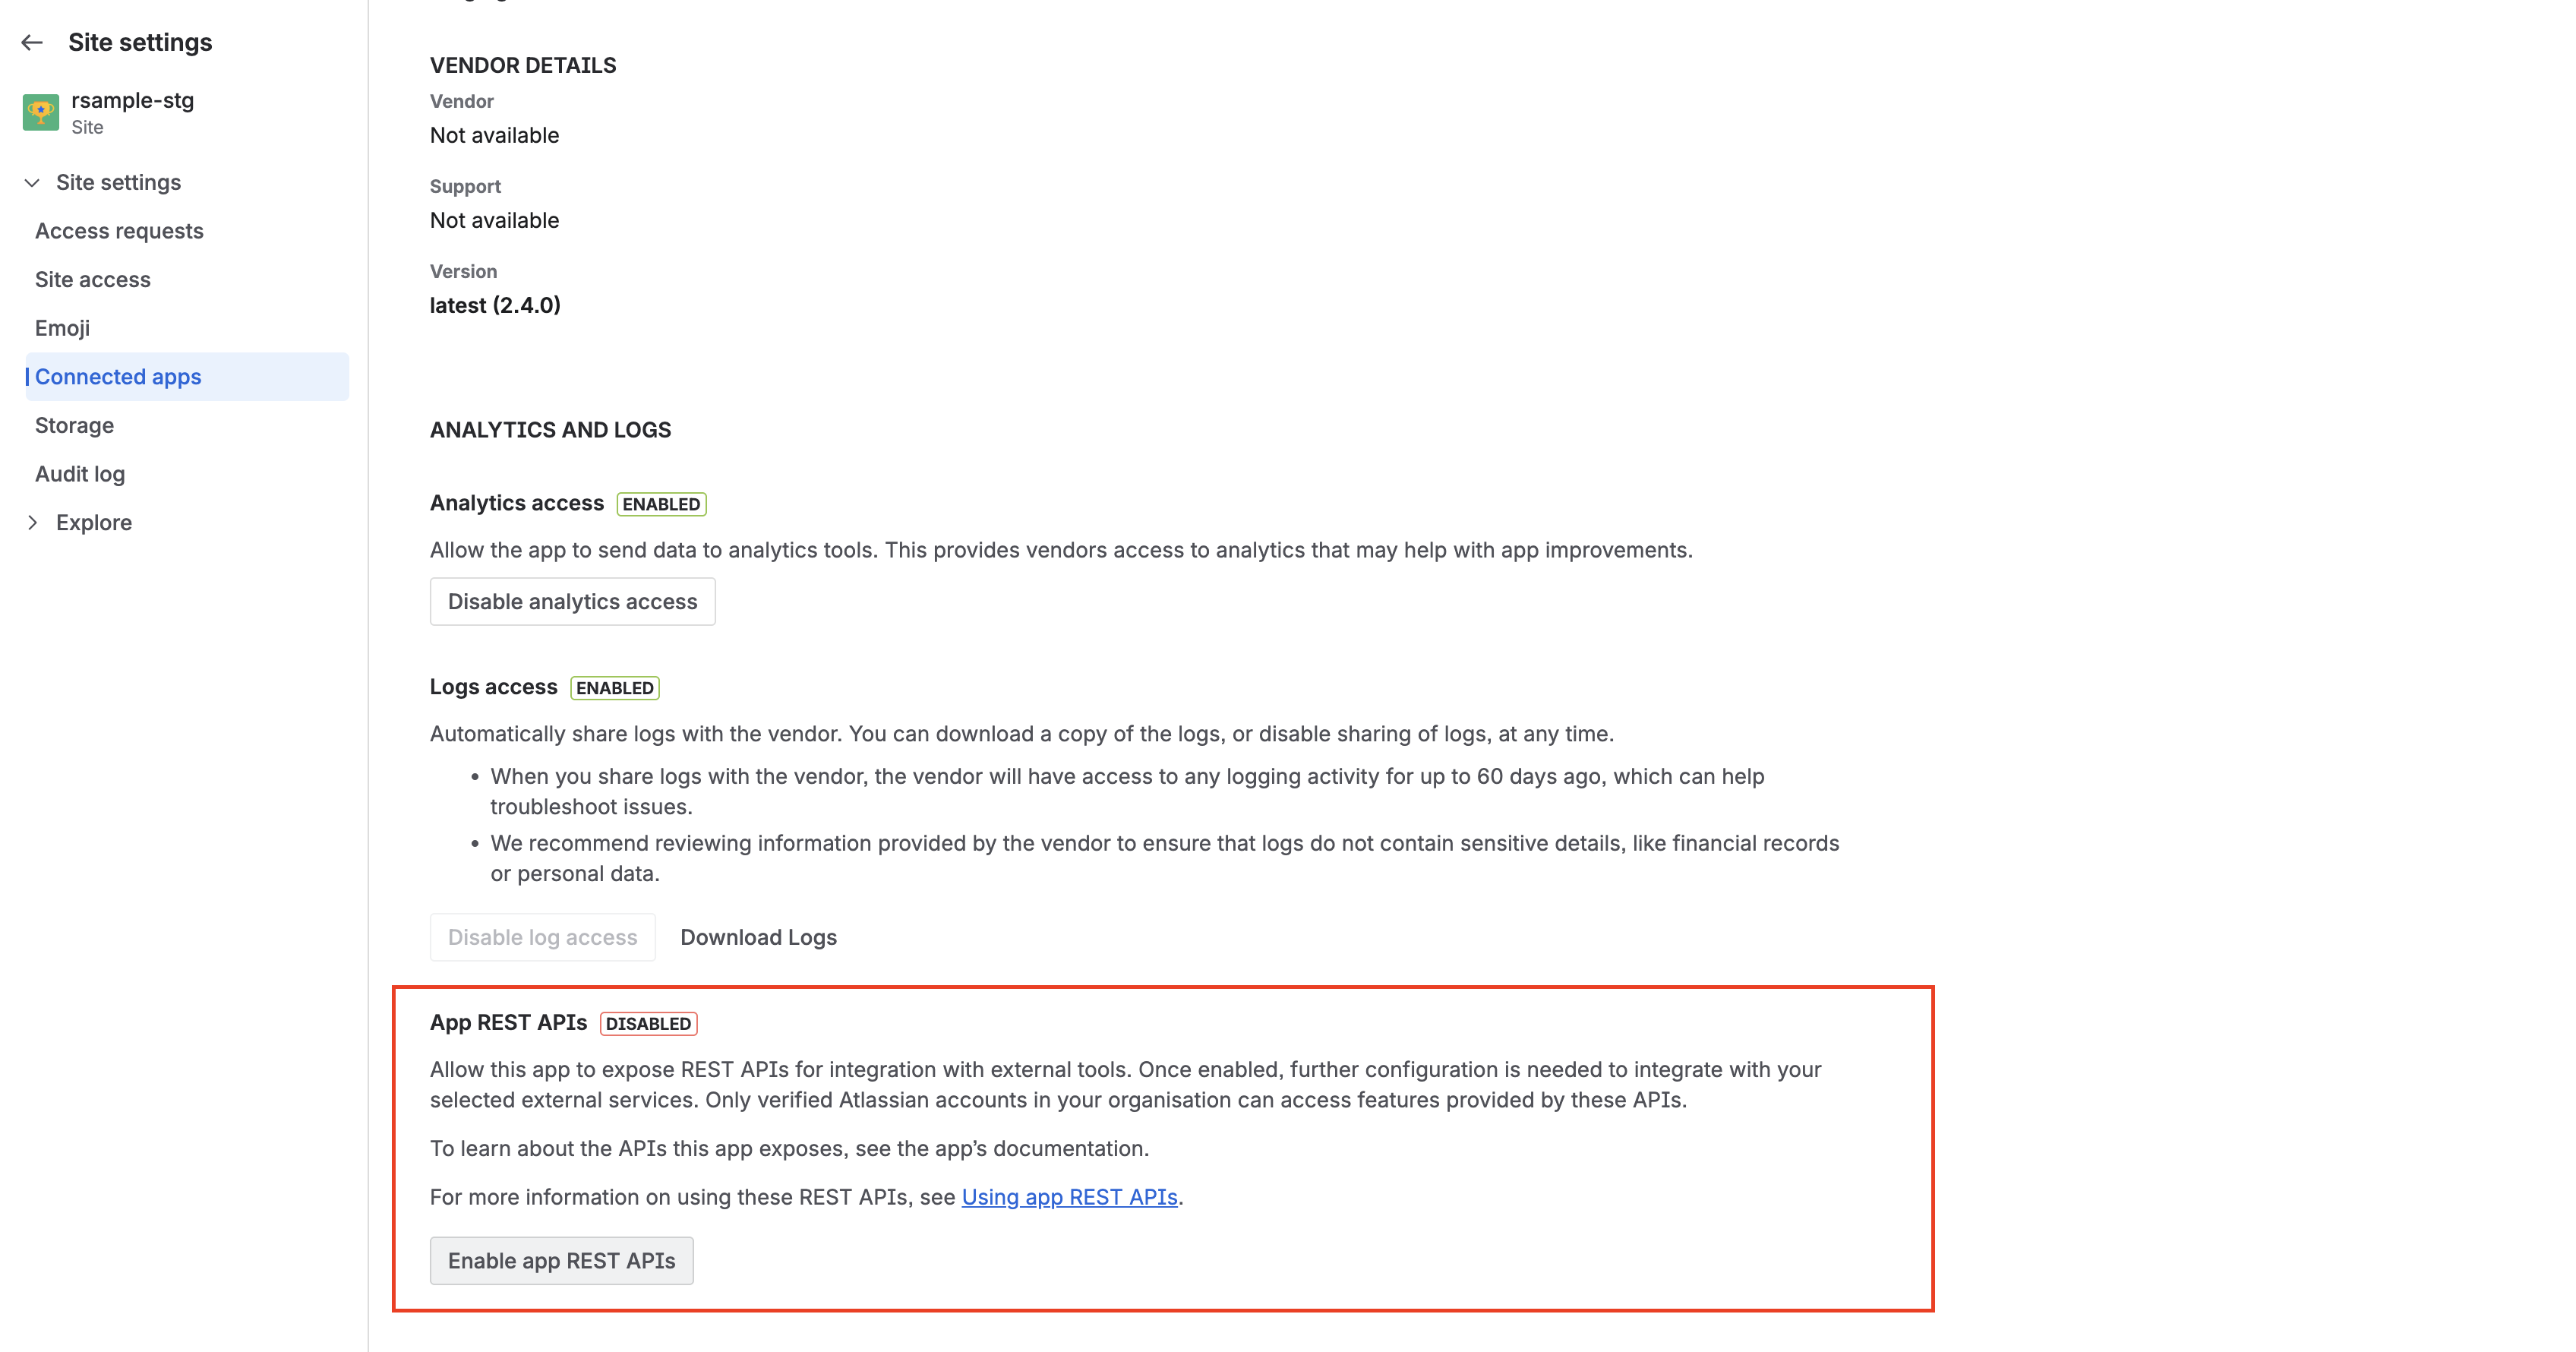
On the app details page, open the Details tab and locate the App REST APIs section. There, there is a button that you can use to enable or disable app REST APIs - you can do so at any time. Disabling it will immediately block API calls to this app’s REST endpoints for that site.
App REST APIs on Forge are disabled by default. If the site or organization admin doesn’t enable this feature in Connected apps, app REST APIs won’t be accessible to members of the site.
Step 2: Create a 3LO integration for the app
Forge app REST APIs use 3LO (OAuth 2.0) for authentication and authorization. To call an app REST API, you must first create a 3LO integration and grant it access to the appropriate scopes.
Only members of the site where the Forge app is installed can create a 3LO integration that connects to that app’s REST APIs.
Create a 3LO app
-
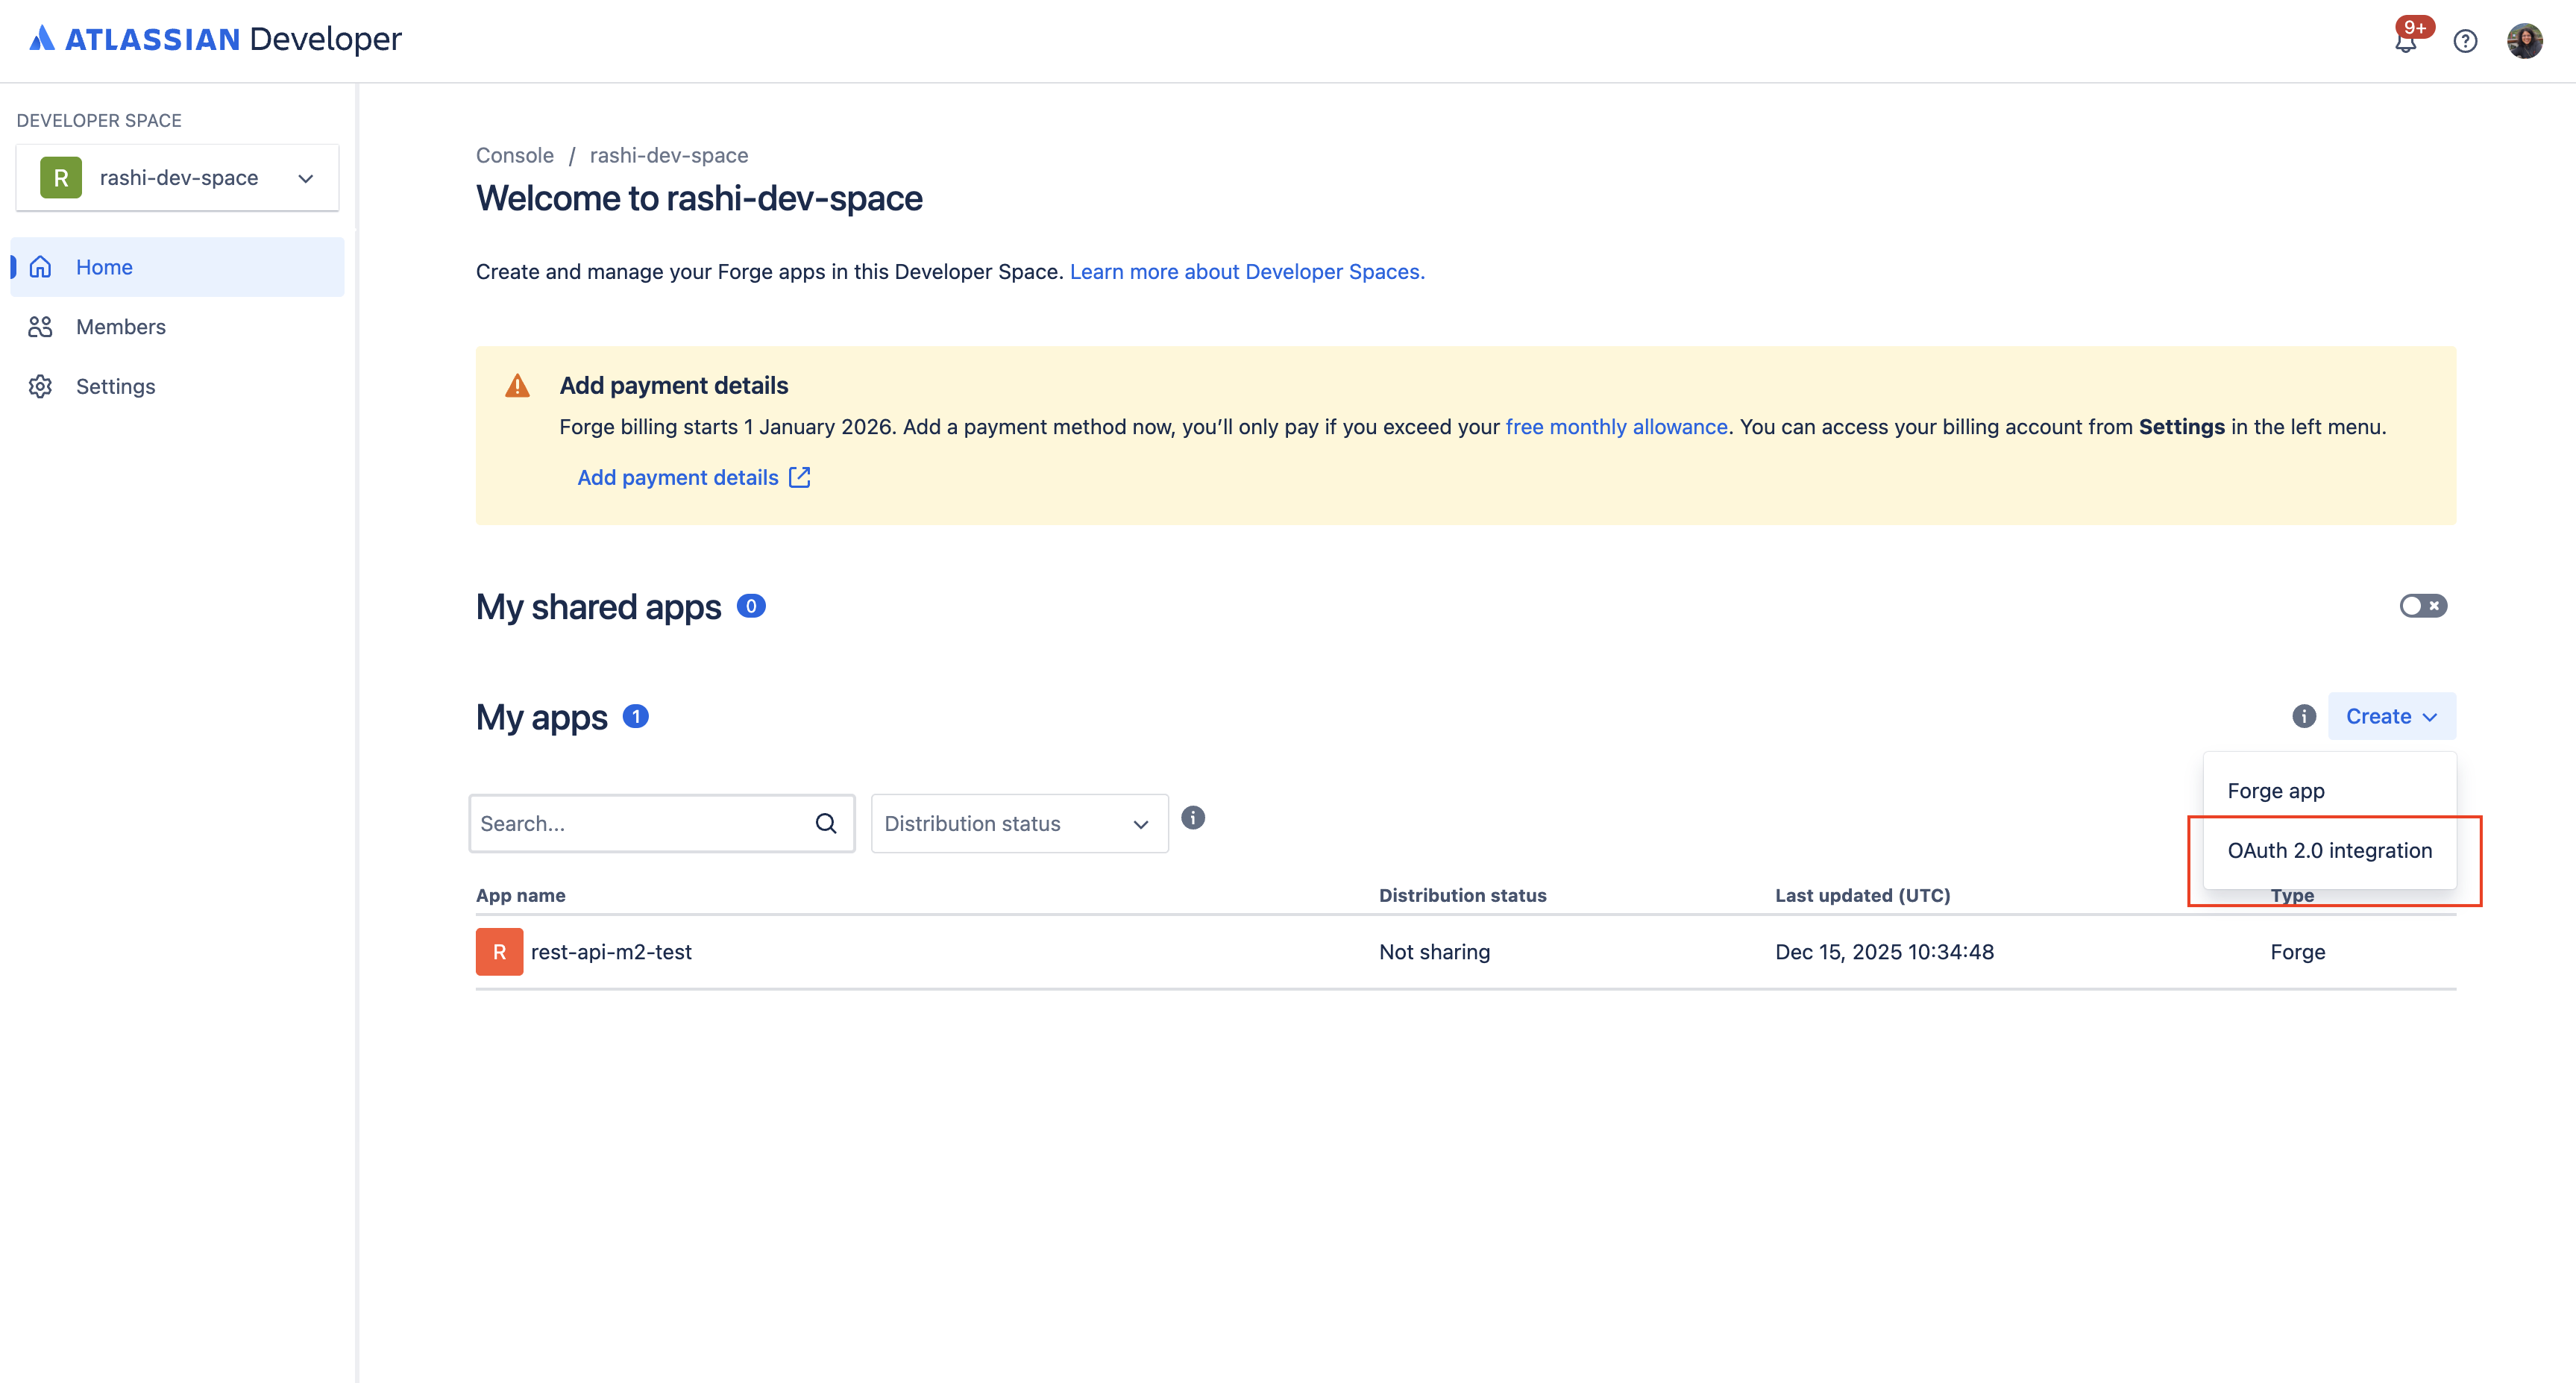
Go to the Developer Console.
-
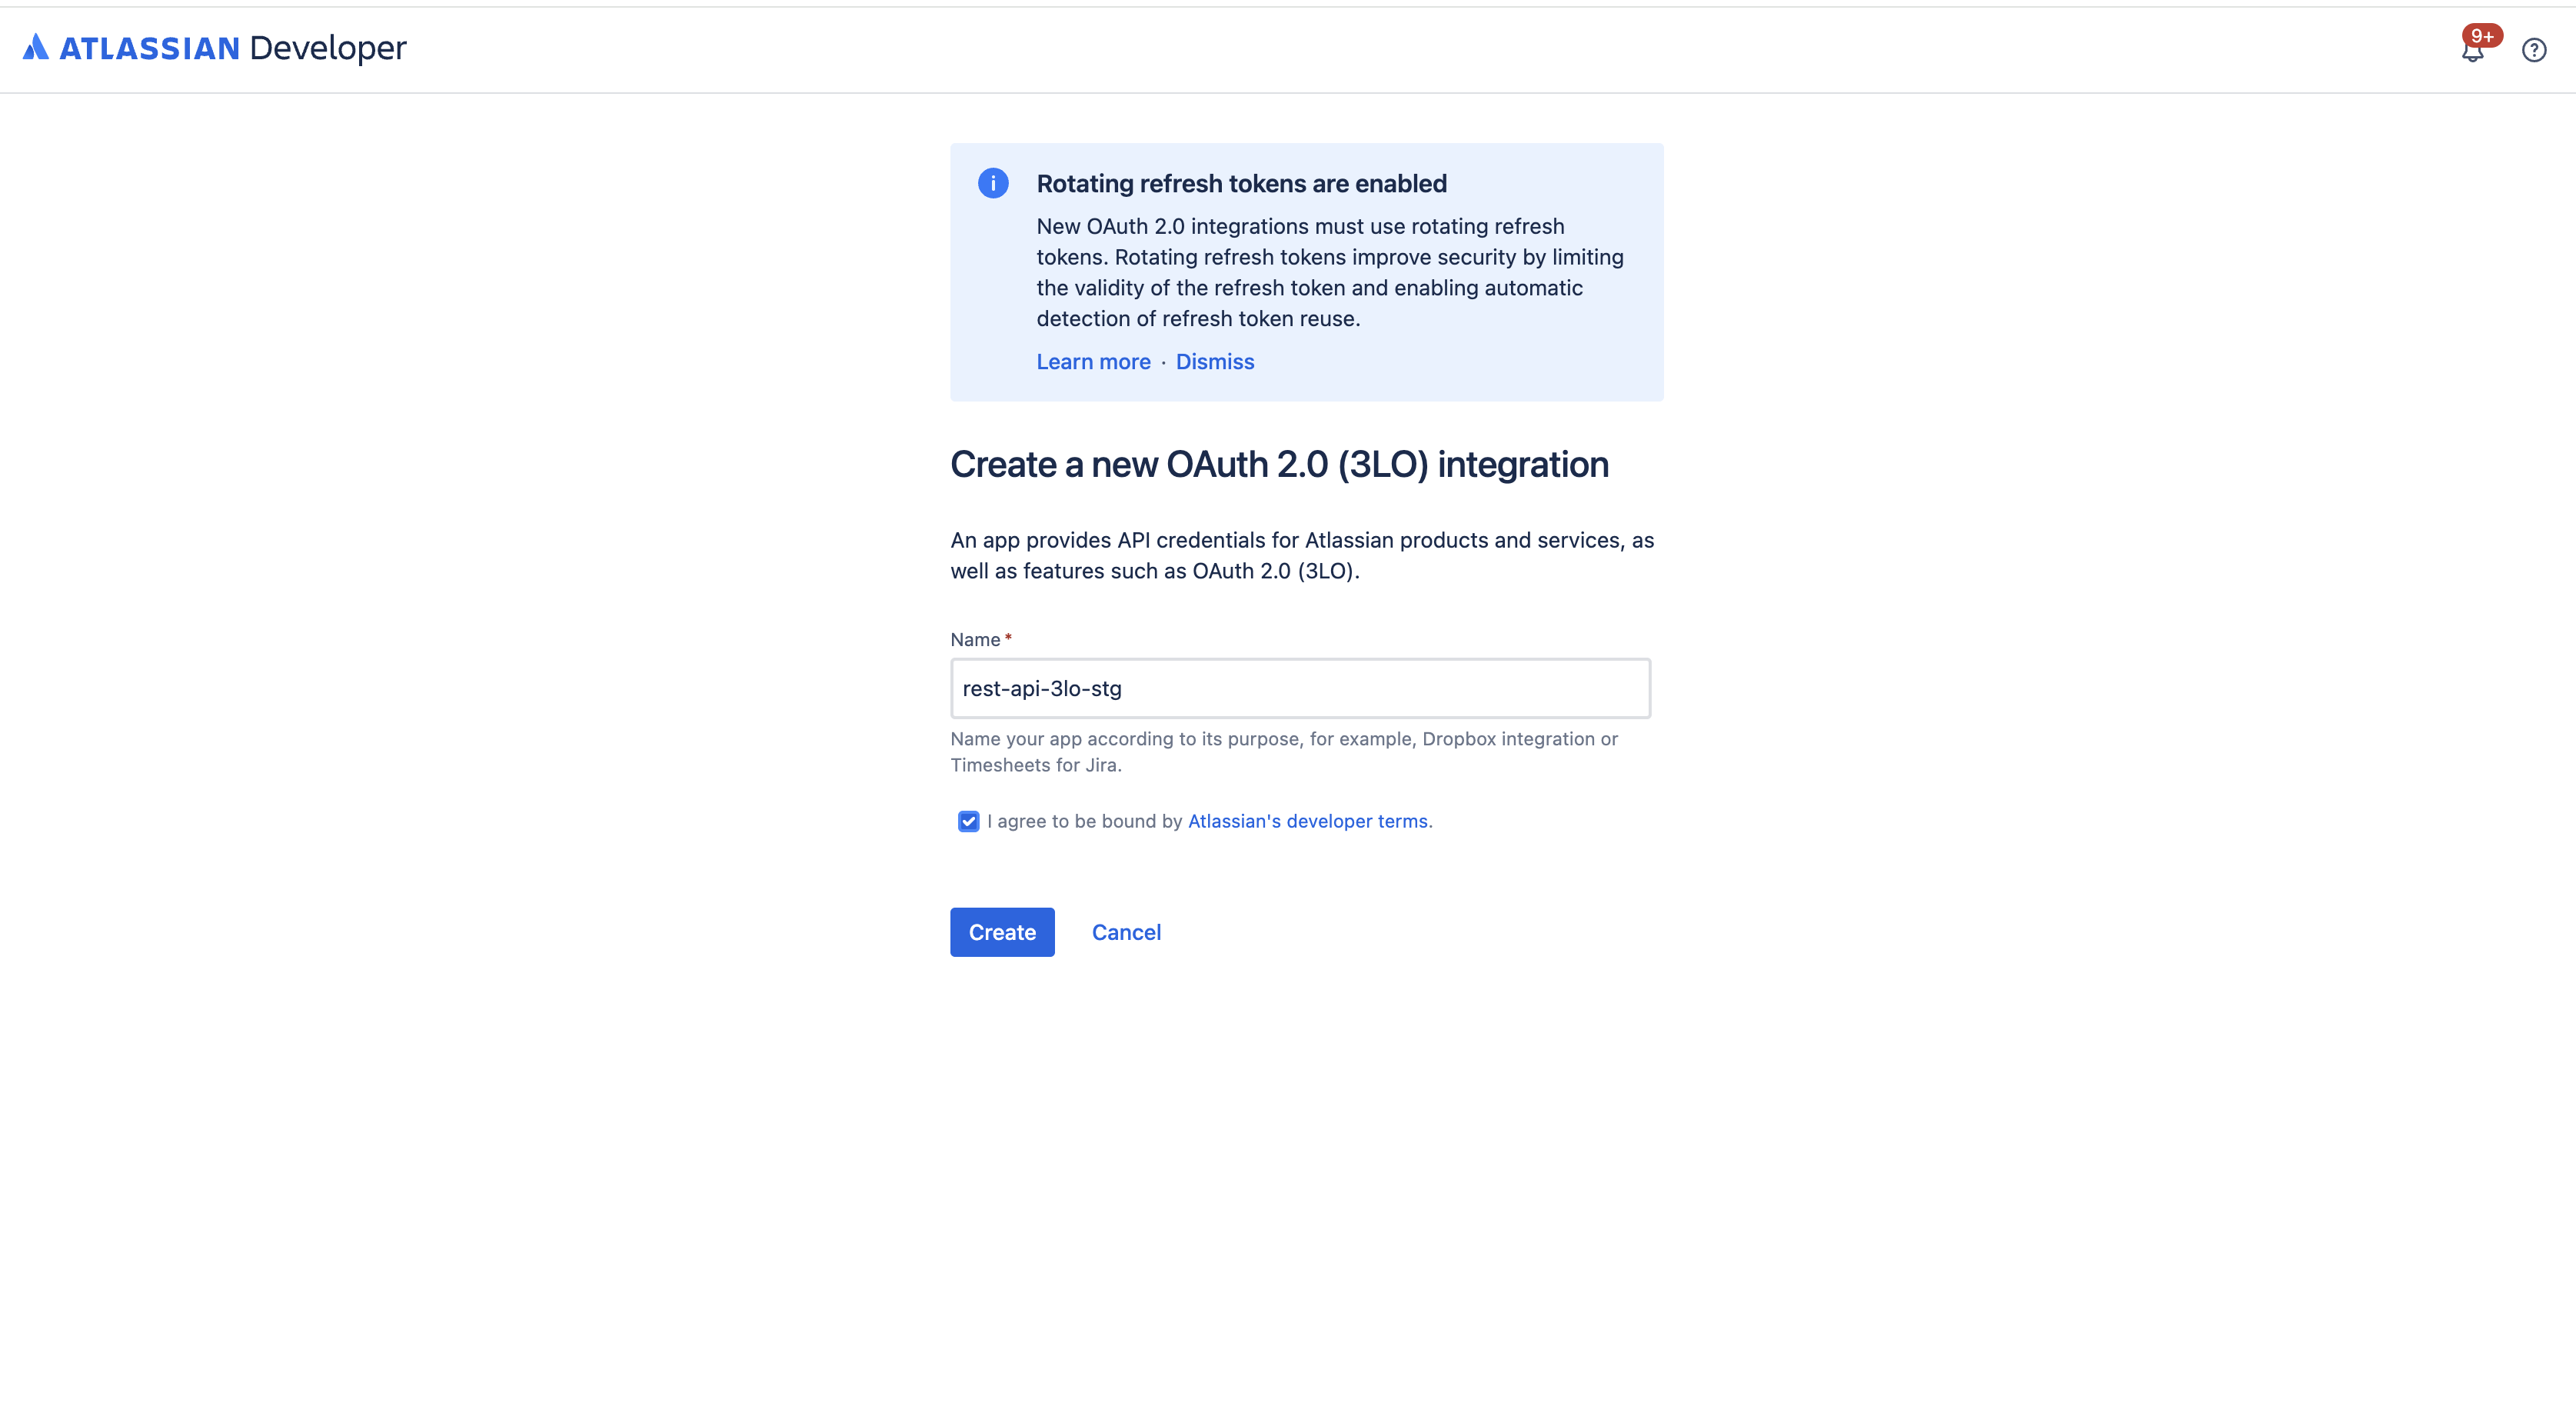
Click Create and select OAuth 2.0 integration.
-
Follow the prompts to name and create your 3LO app.
Connect the 3LO app to the Forge app
-
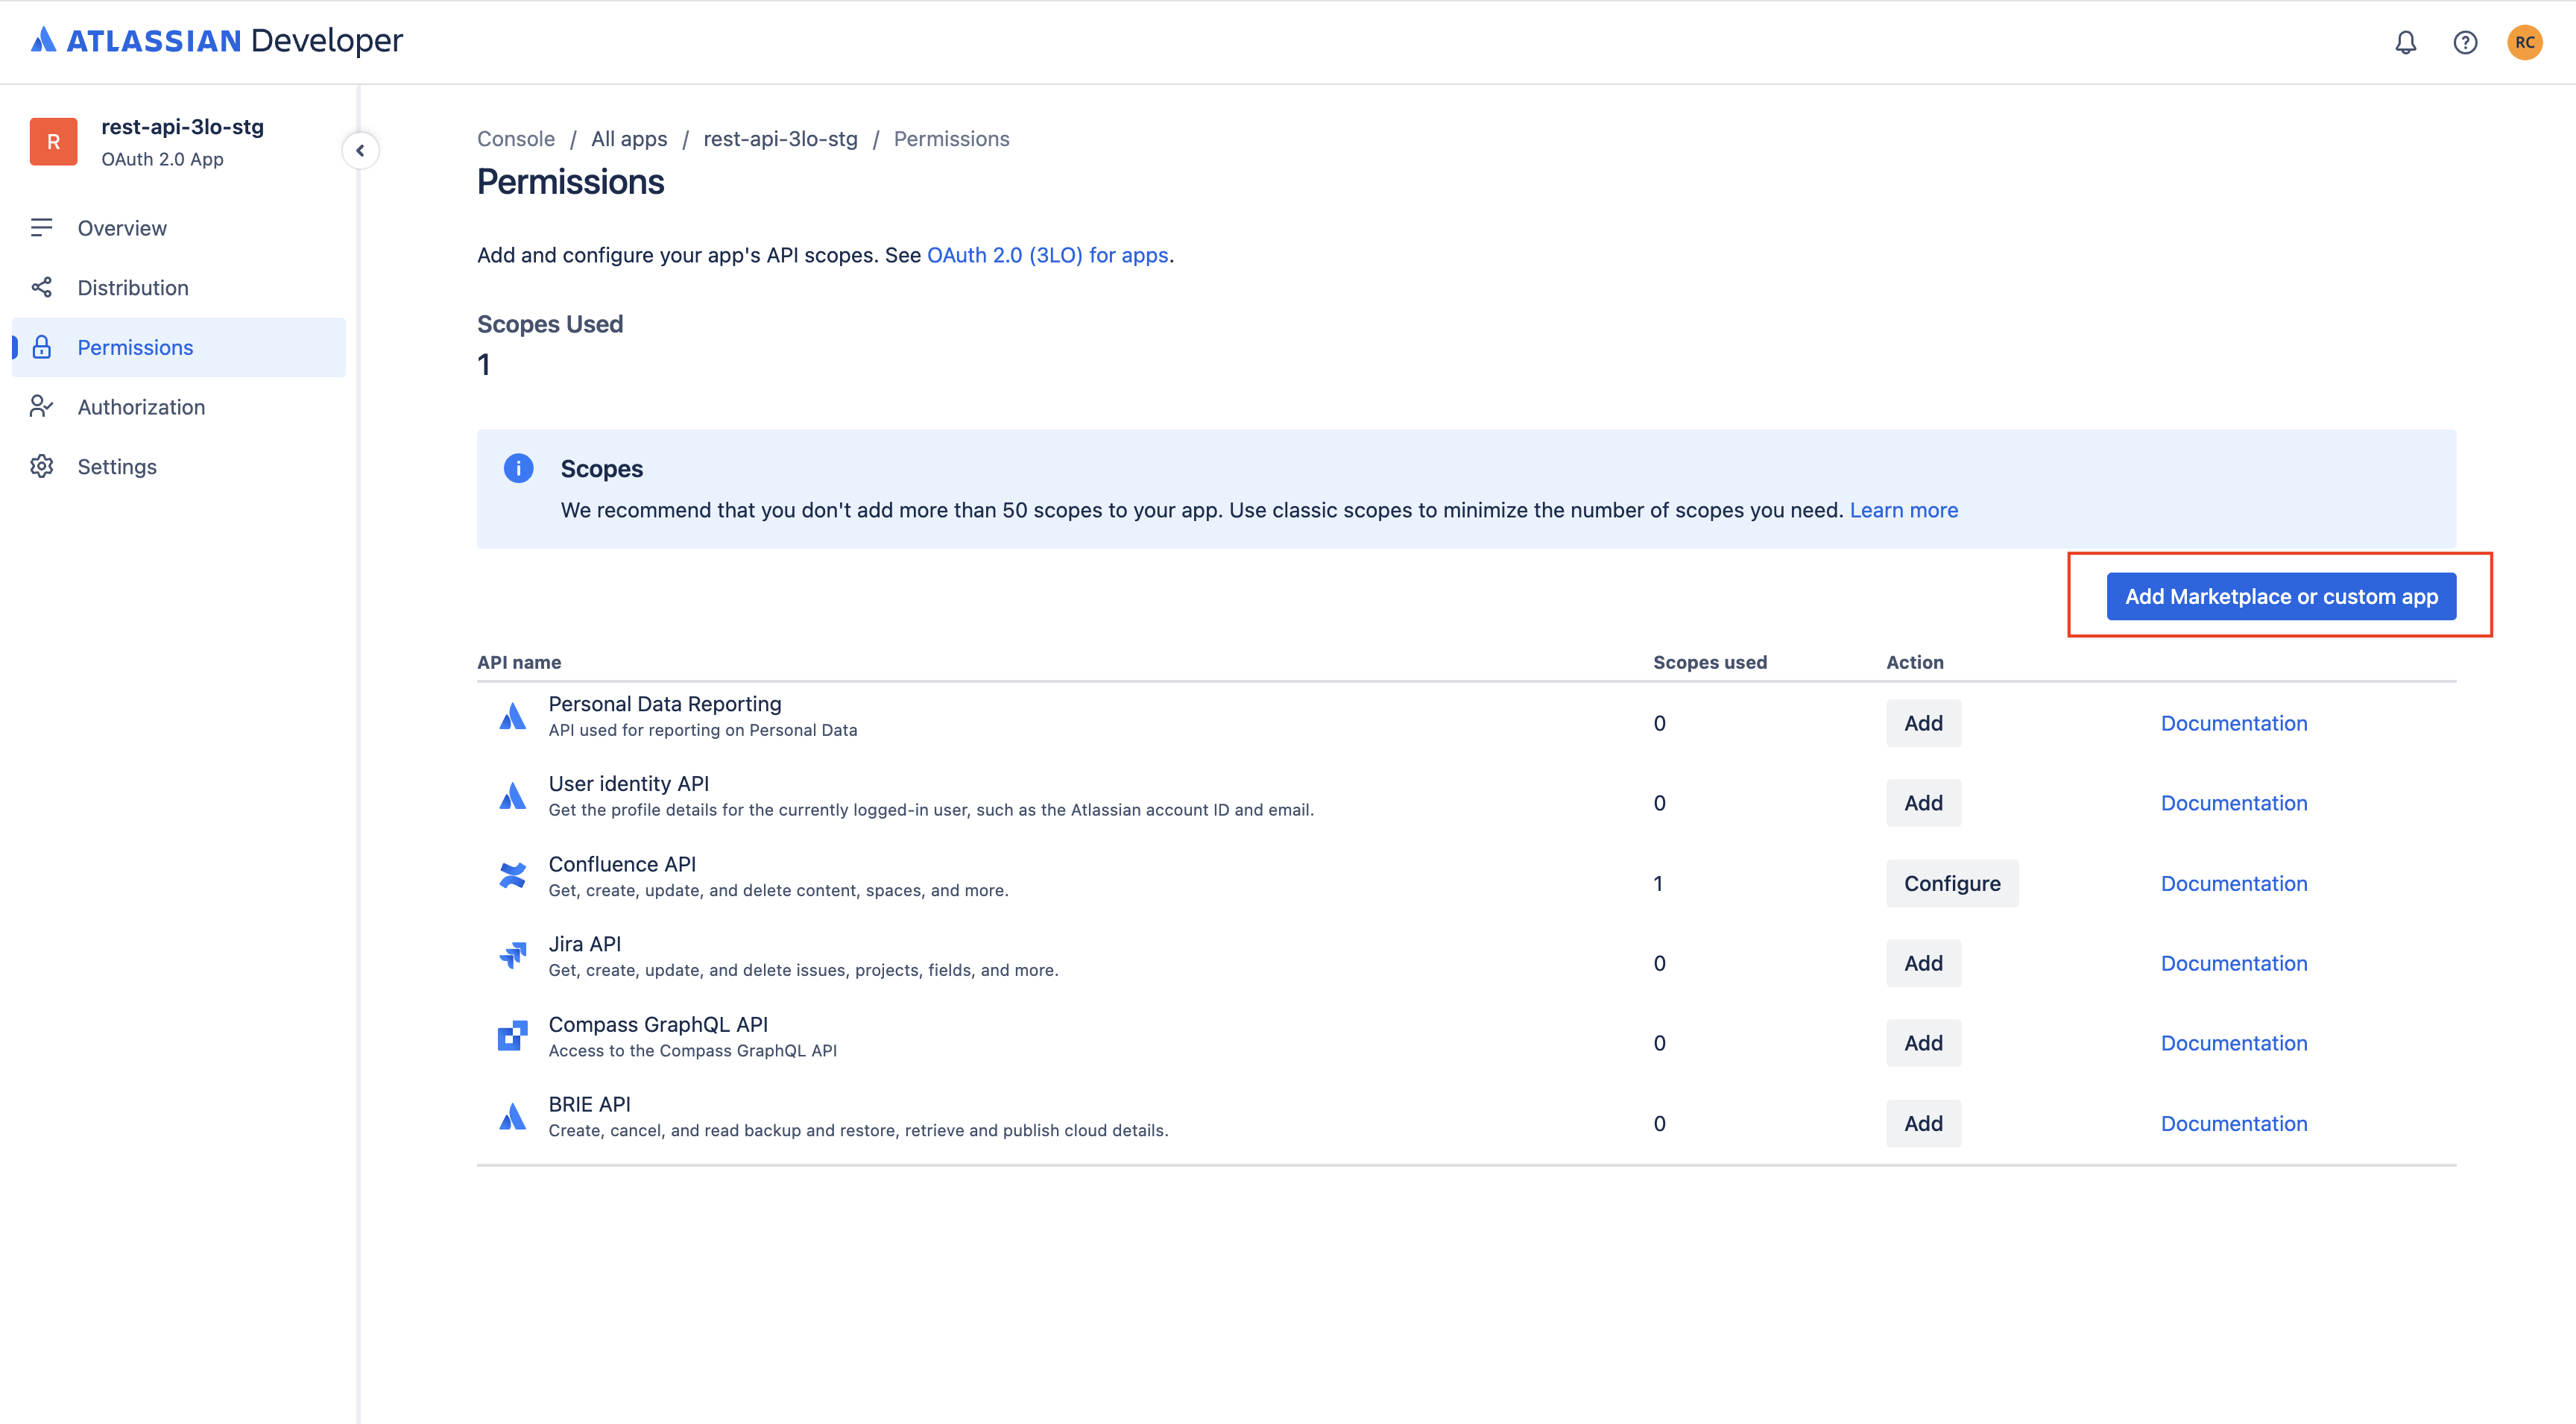
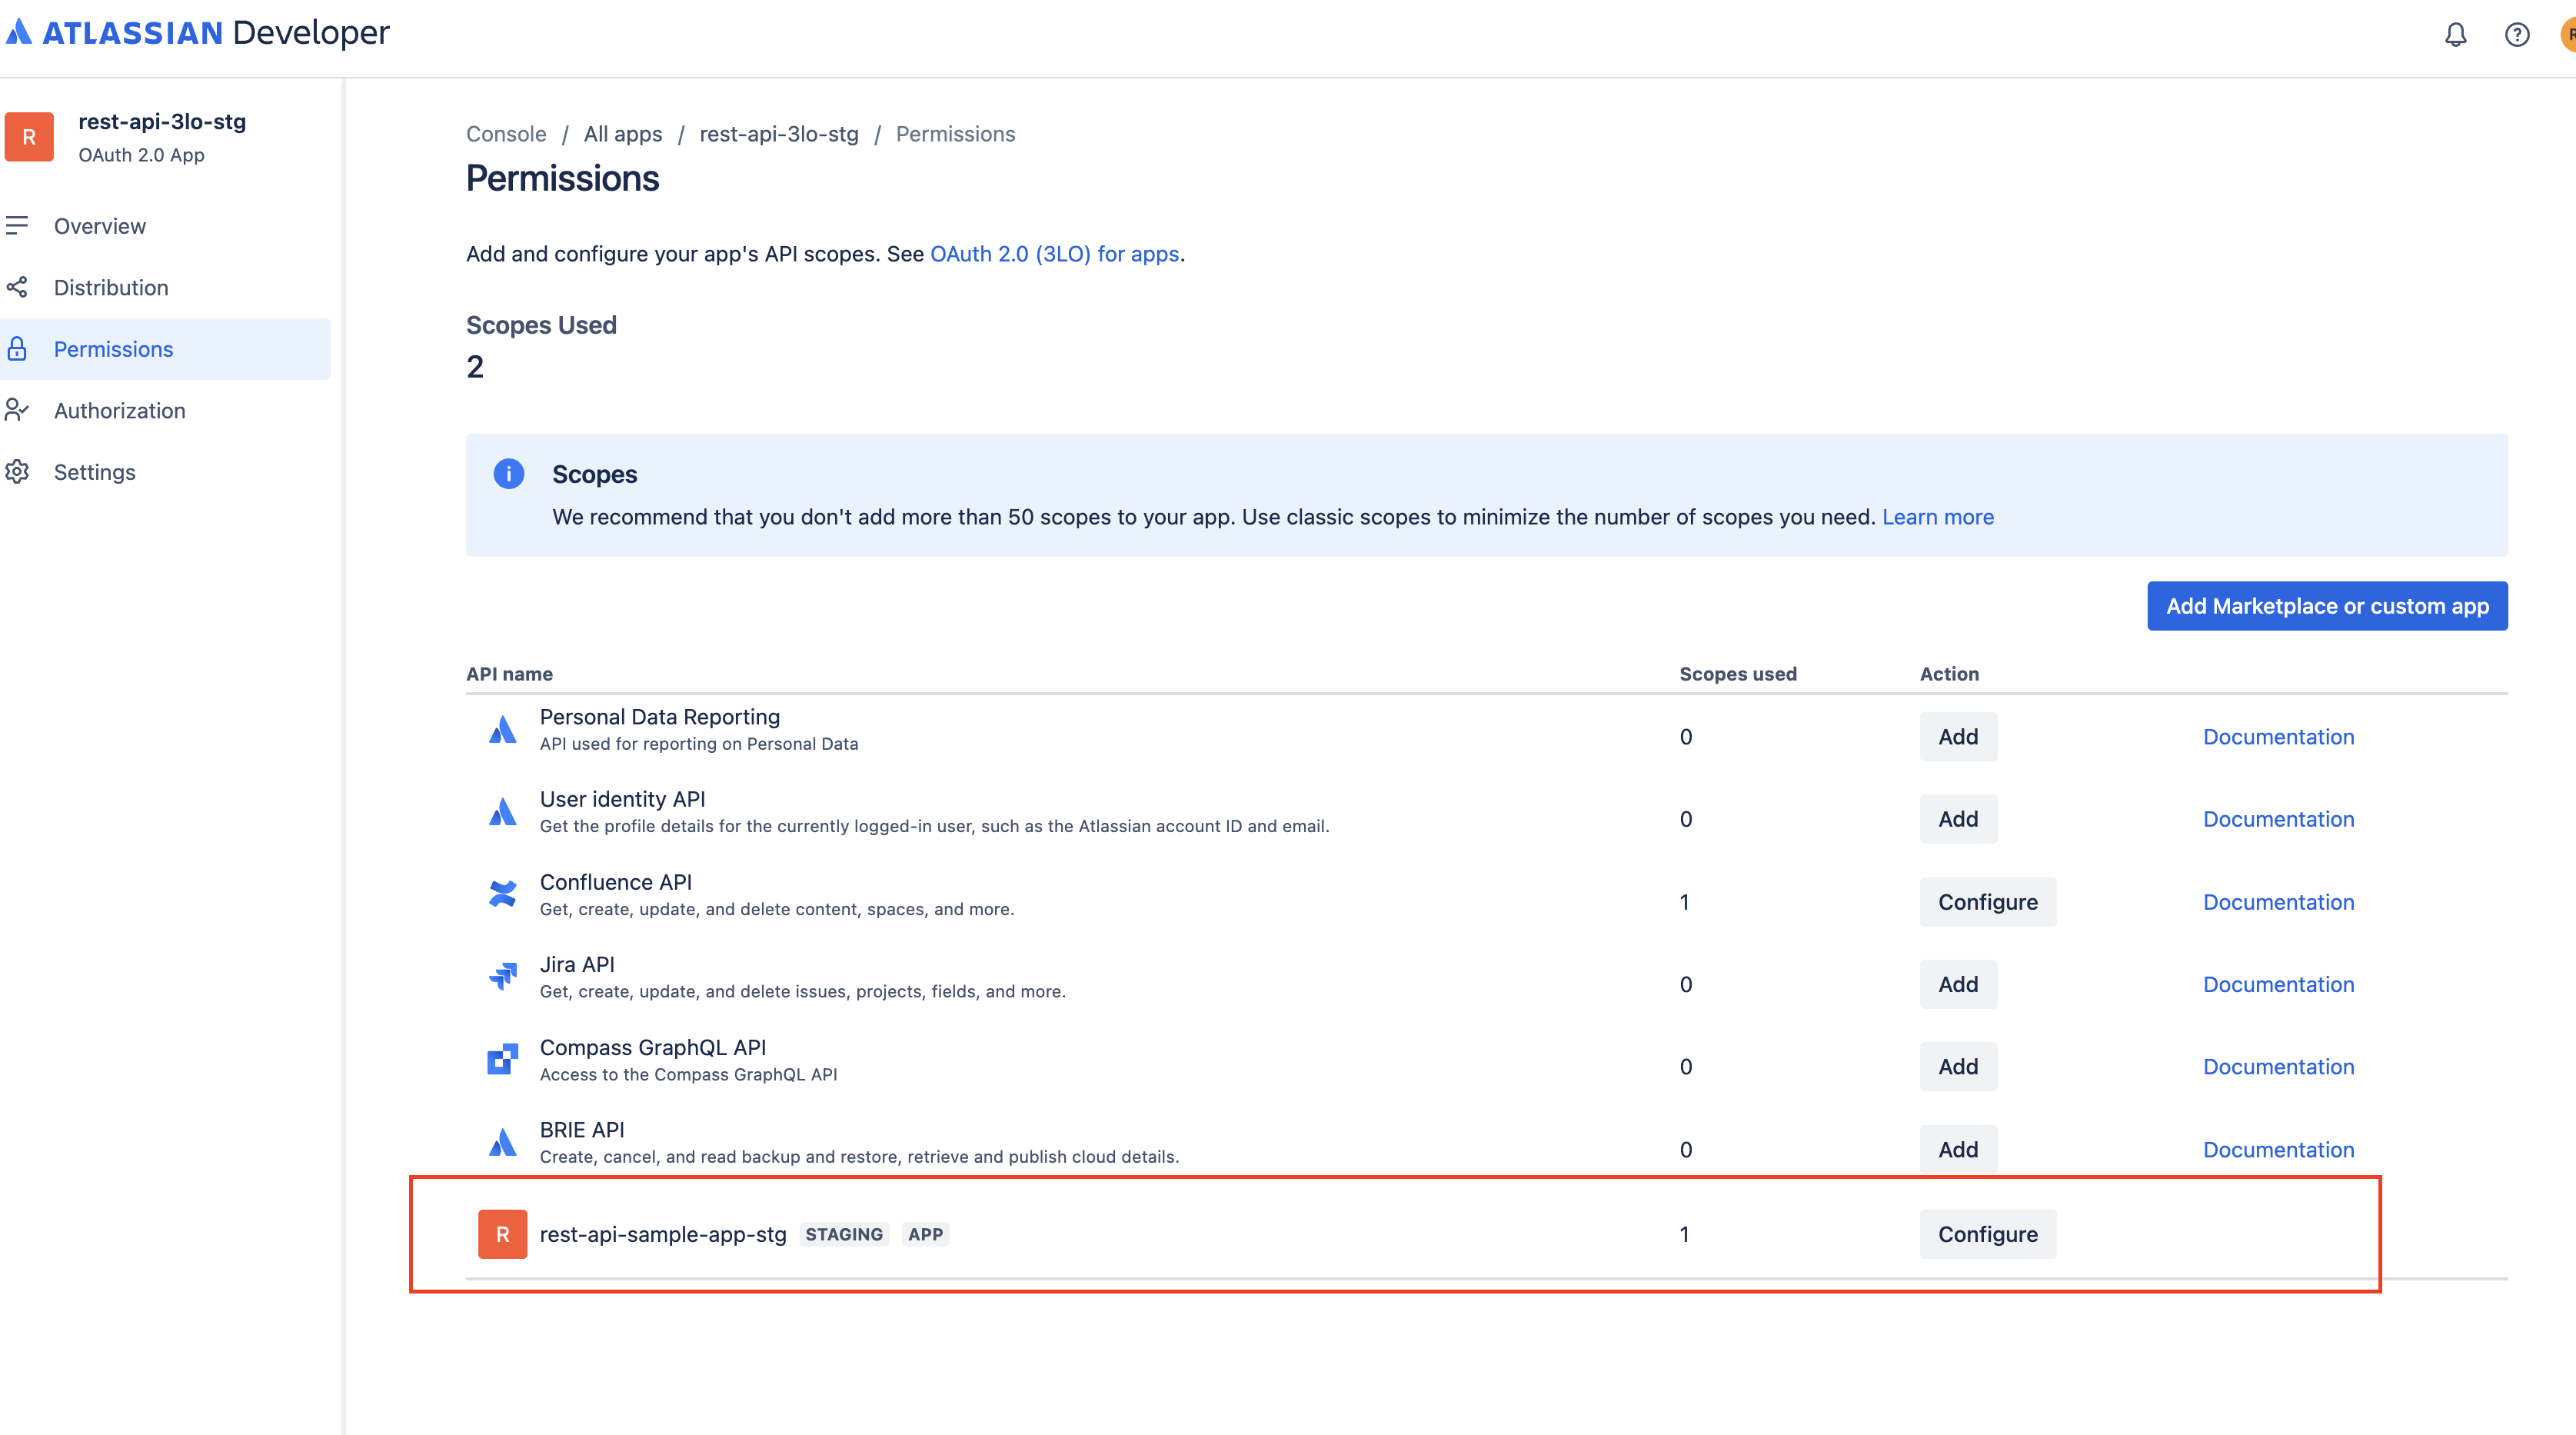
In your 3LO app, open the Permissions section.
-
On the right side, click Add Marketplace or custom app.
-
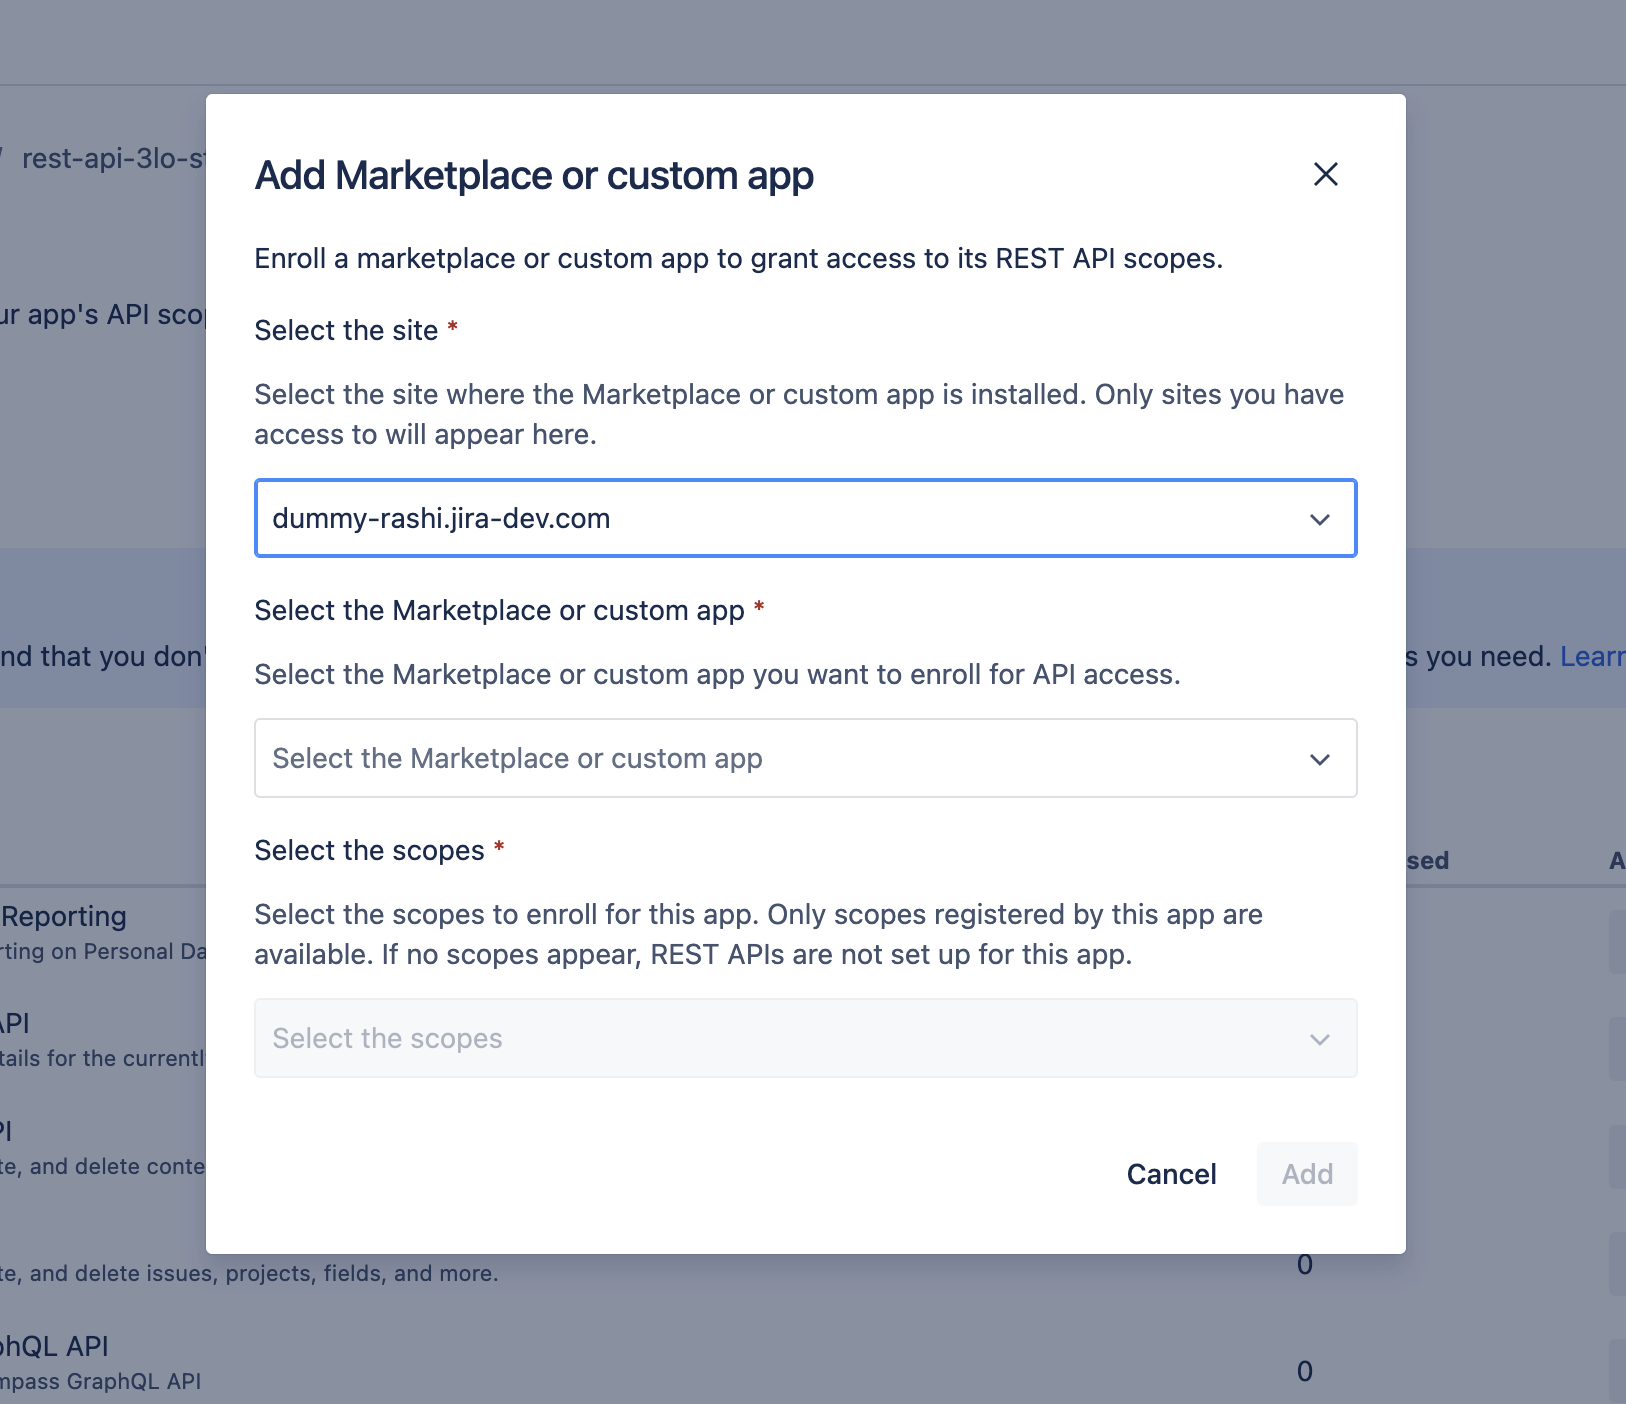
In the modal that opens, first select the site where the Forge app is installed.
-
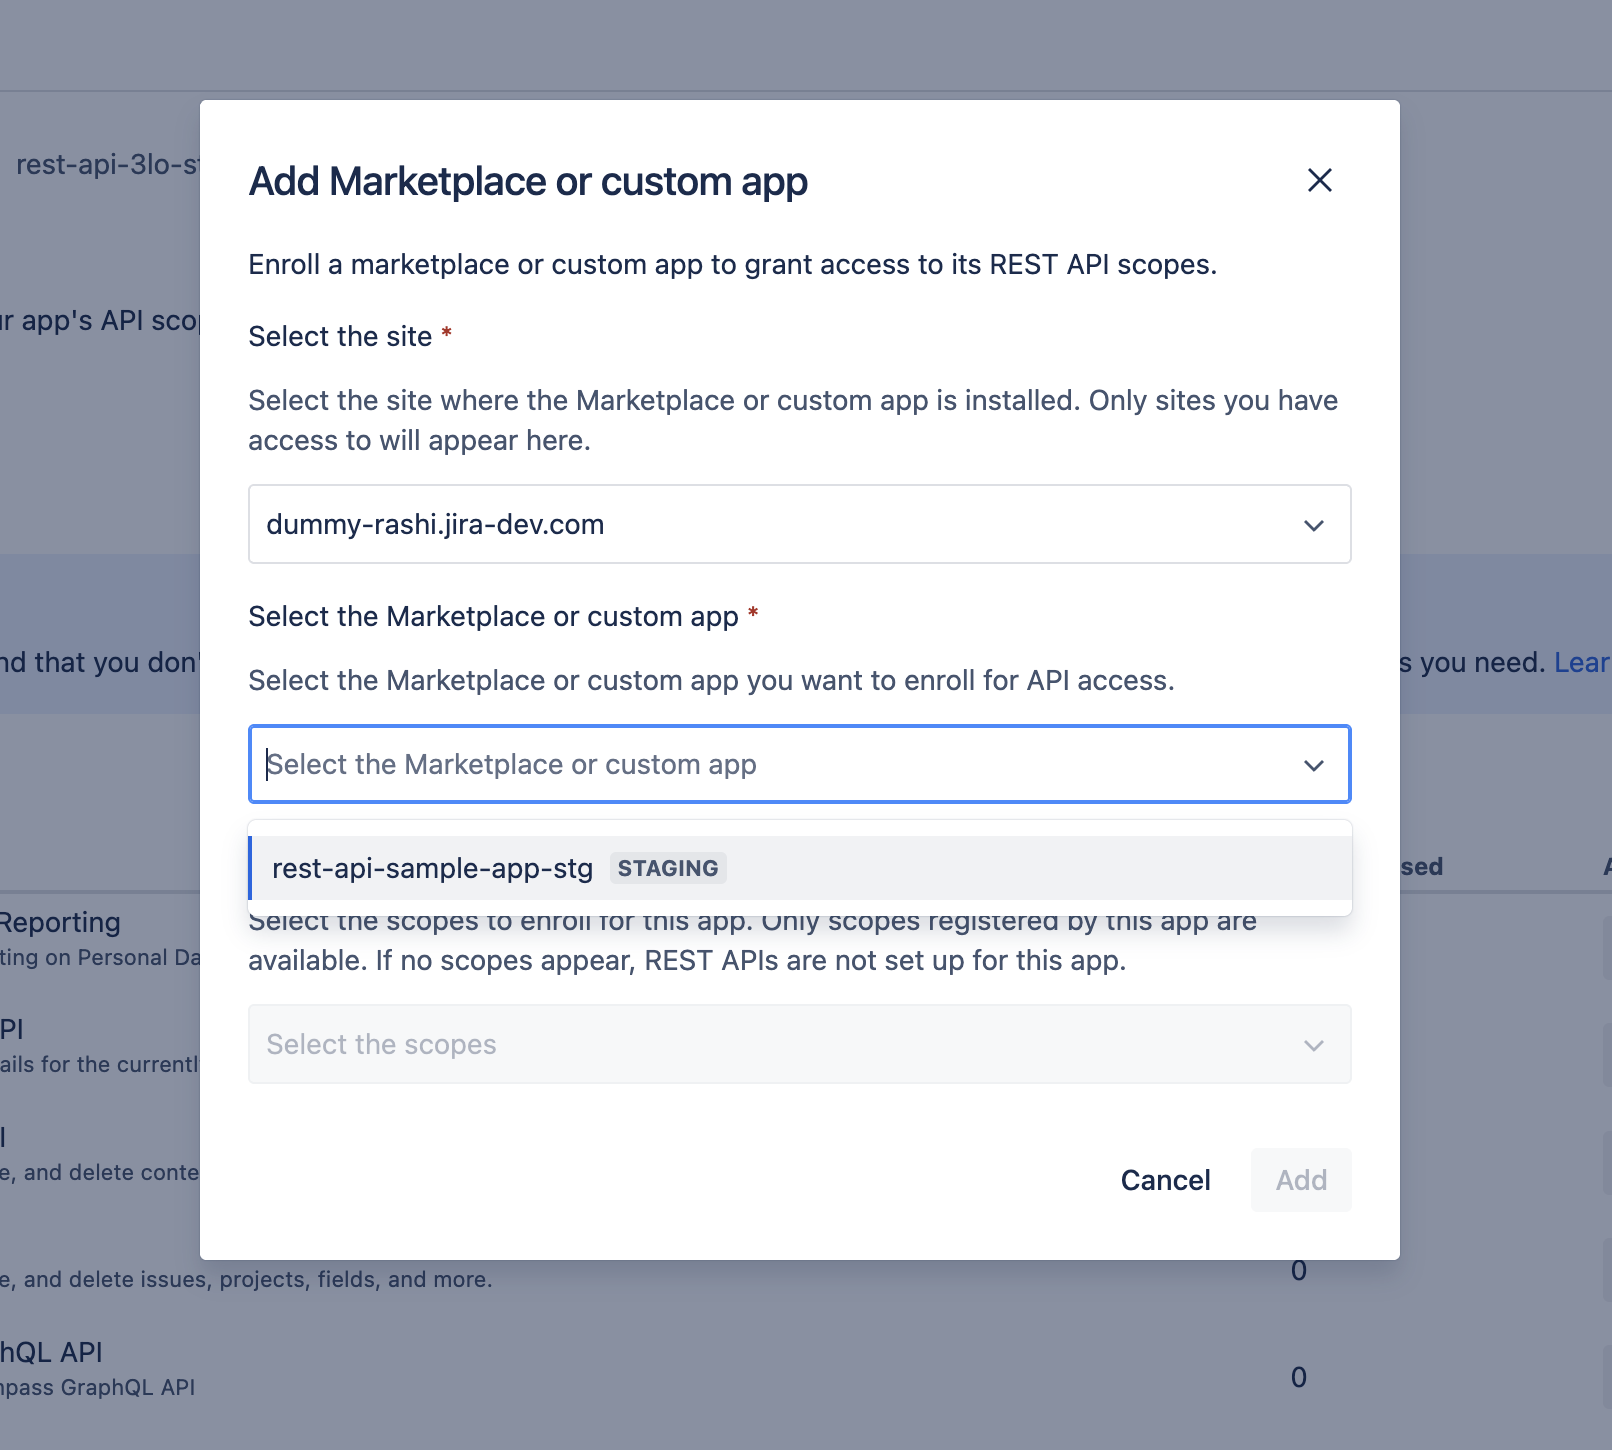
After you select the site, you’ll see a list of Forge apps installed on that site. Choose the Forge app (and environment) that exposes the REST APIs you want to access.
-
Select the scopes that your integration needs, based on the app developer’s documentation. You must select at least one scope.

Select only the scopes that you need in order to access the APIs. For example, if you only need to use the
/getEmployeeNameAPI, select the scope mapped to it, such asread:employee:custom, and do not selectwrite:employee:custom. -
Select Add. The Forge app will then appear in the Permissions tab for your 3LO integration. You can always edit the scopes later as needed.
-
In addition to these app-defined scopes, add the Forge app product scopes required for the relevant Atlassian apps (currently Jira and Confluence). For example:
- Jira:
read:forge-app:jira - Confluence:
read:forge-app:confluence
- Jira:
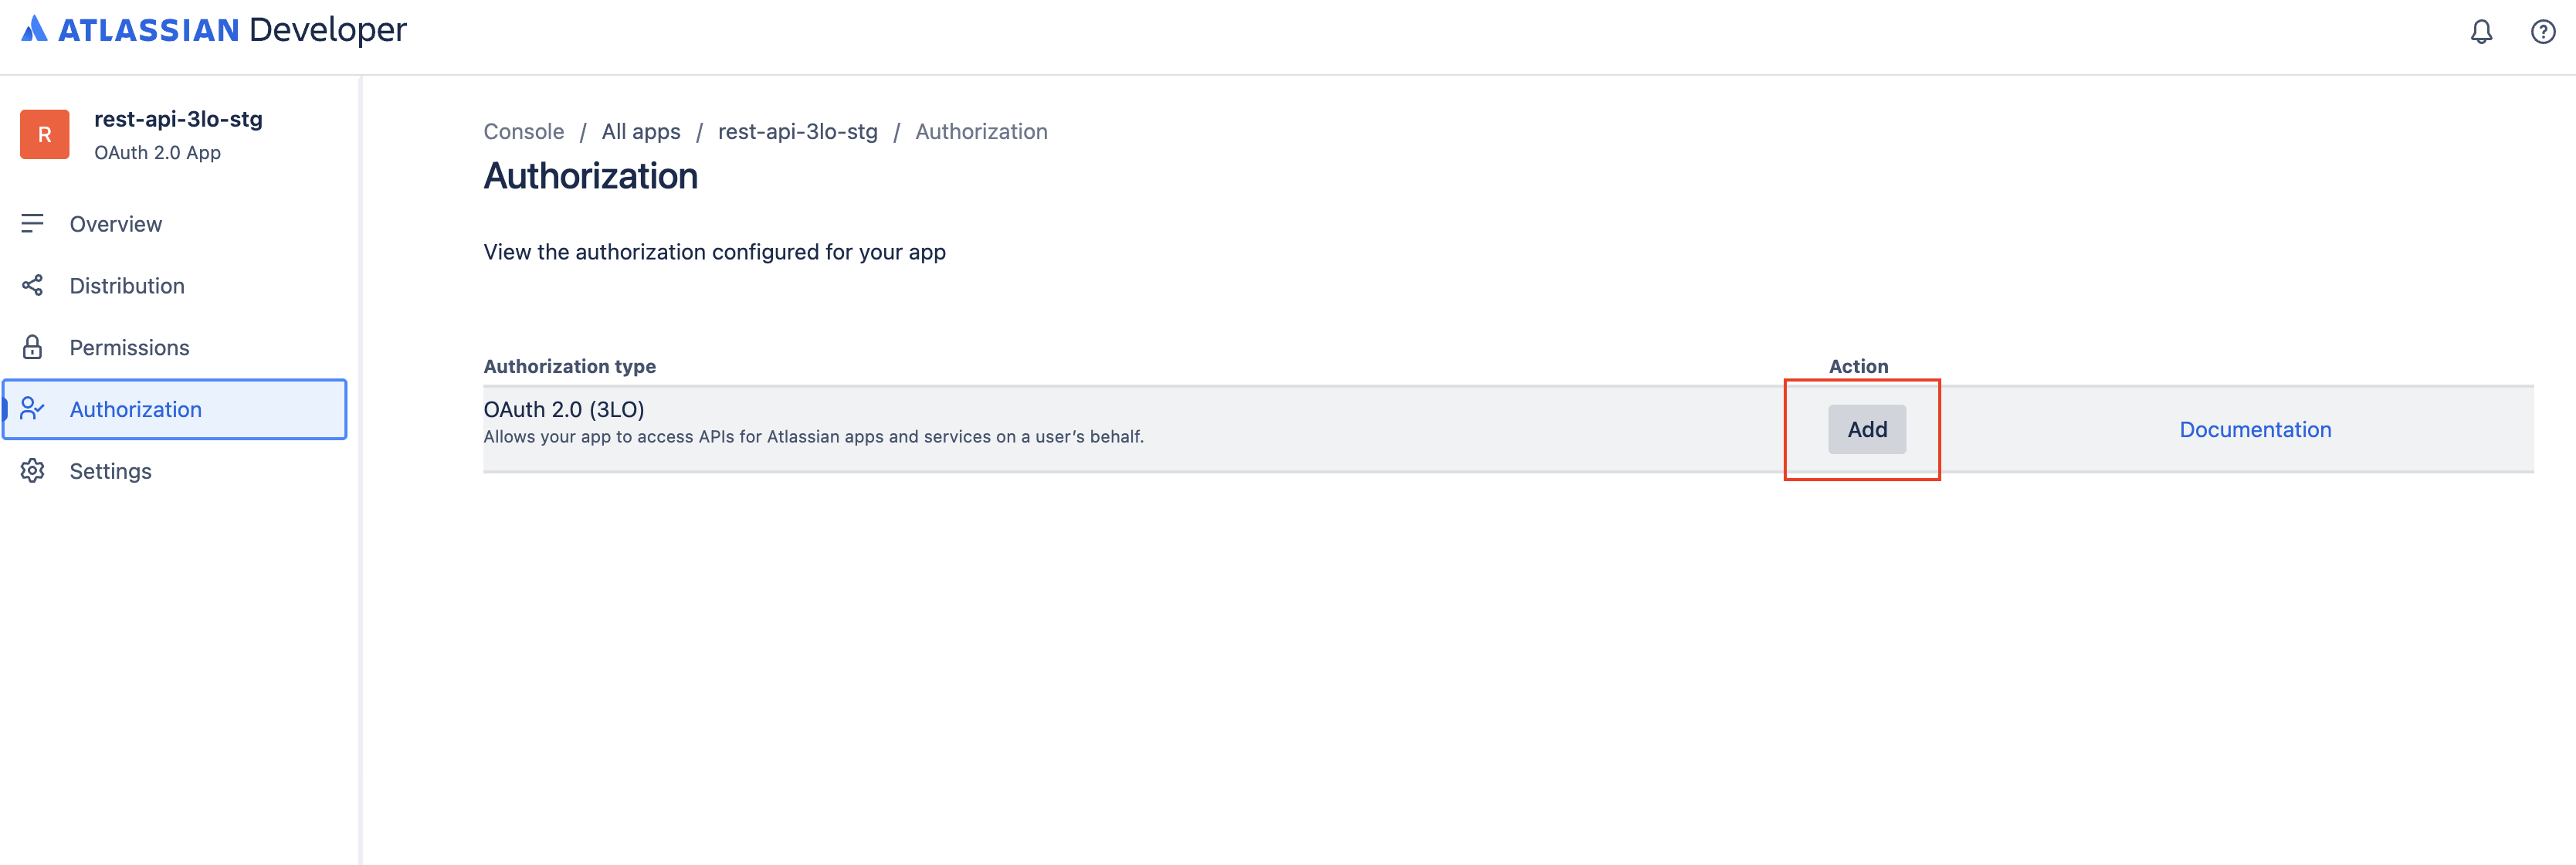
Configure authorization and obtain an access token
-
Navigate to the Authorization section of your 3LO app and configure the callback URL. This URL is required to complete the OAuth 2.0 flow and obtain an authorization code.
-
After you configure the callback, the Developer Console will show an authorization URL for your 3LO app under the Forge app entry. This URL already includes the app-defined scopes and Atlassian app-level Forge scopes you selected.

-
Use the authorization URL to obtain an access token. In a production setup, this flow is usually handled by your integration code, but you can perform it manually for testing:
- Paste the authorization URL into your browser and press Enter.
- On the 3LO consent screen, choose the site where the Forge app is installed and click Accept.
- After consent, you'll be redirected to the callback URL with a
codequery parameter. Copy this authorization code. - Exchange the authorization code for an access token by following the instructions in Exchange authorization code for access token.
Step 3: Call the app REST APIs
App REST API calls must include the 3LO access token in the Authorization header.
Example request
1
2curl --request GET \
  --url <REQUEST_URL> \
  --header "Authorization: Bearer ACCESS_TOKEN" \
  --header "Accept: application/json"
- Replace
<REQUEST_URL>with one of the app’s REST API endpoints. - Replace
ACCESS_TOKENwith the token you obtained in Step 2.
The app documentation should list the exact URLs and methods for each endpoint. In general, app REST API URLs follow one of these patterns:
https://api.atlassian.com/svc/<product>/<cloud-id>/apps/<app-id>_<env-id>/<path>https://<site-name>/gateway/api/svc/<product>/apps/<app-id>_<env-id>/<path>
Both URLs invoke the same function: the first uses the cloud ID, and the second uses the site name.
If using the first URL, you can retrieve the cloud-id for a site through the GET API
https://<site-name>/_edge/tenant_info. The environment-id and app-id are app-specific
and have to be shared with the end-customers by the developers.
Choose whichever form best fits your integration or existing URL handling.
Dynamic paths and parameters
App REST APIs support dynamic paths and query parameters, depending on how the path is defined in
the app’s apiRoute configuration. For example, given this base URL:
1
2https://api.atlassian.com/svc/confluence/a12bc345-678d-9e1f-ghi0-1jkl112131m4/apps/zy2x11w1-0v1u-9876-ts54-3r210qponmlk_3aaa01b0-02cc-1d00-3eee-1f01g001h1i0/getEmployeeName
These requests might map to the following path values:
| Example URL | path declared in apiRoute |
|---|---|
.../getEmployeeName?id=1234 | /getEmployeeName |
.../getEmployeeName/1234 | /getEmployeeName/* |
.../getEmployeeName/new | /getEmployeeName/* |
.../getEmployeeName/new/1234 | /getEmployeeName/** |
Refer to the app developer’s documentation for the exact paths, parameters, and URL patterns supported by each REST API.
Custom headers
You can also pass custom headers when calling app REST APIs, for example:
1
2curl --request GET \
  --url "https://api.atlassian.com/svc/confluence/a12bc345-678d-9e1f-ghi0-1jkl112131m4/apps/zy2x11w1-0v1u-9876-ts54-3r210qponmlk_3aaa01b0-02cc-1d00-3eee-1f01g001h1i0/getEmployeeName" \
  --header "Authorization: Bearer ACCESS_TOKEN" \
  --header "Accept: application/json" \
  --header "id: 1234"
Replace ACCESS_TOKEN and any custom headers with values appropriate for your integration.
Rate this page: